Connect multiple DIVARs IP all‑in‑one 5000 at the same time to Enterprise system
Symptoms
If one of DIVARs IP 5000 AIO is selected on a user profile, the Operator Client opens the site and works fine. One message is displayed when two or more DIVARs are added into the same Enterprise system.
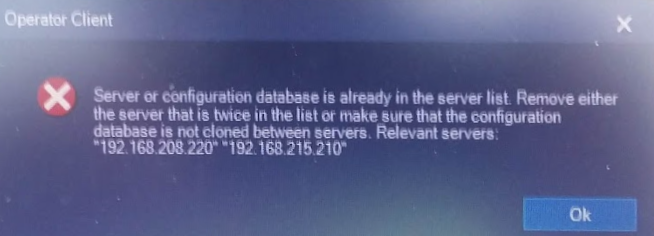
The second DIVAR IP 5000 AIO was added as usual in the Enterprise system but the connection to it via the Operator Client is not possible. The following message is displayed:
"Server of configuration database is already in the server list. Remove either the server that is twice in the list or make sure that the configuration database is not cloned between servers."
If you already have a DIP 5000 AIO into your Enterprise system and you want to add additional units but you receive the above message, you can solve this by using the steps below.
Solution
NEW update
BVMS ≥ v11.0
A solution was implemented in BVMS v11.0 : Configuration Client - System - Activation manager:
Please note that:
This does not require a change for theActivatebutton to become active. What is required is enabling theGenerate new Management Server IDcheckbox and activating the working copy of the configuration.
Any favorite views created before this step will need to be recreated, as the user data is dependent on the the ServerID
Starting with BVMS v10.0.1 version, the serverID is not changed upon export. On import, though, the serverID is changed to the one of the current/ running Elements.bvms file. Thus, if the Elements.bvms file is not removed before the import, the serverID will be the same as before. From the error displayed on login it looks like the 2 new servers share the same BVMS ID.
In order to change the ID of the BVMS you can do the following on one of the new systems.
Pick either server and then perform the following:
Log into Configuration Client of the DIP 5000 AIO
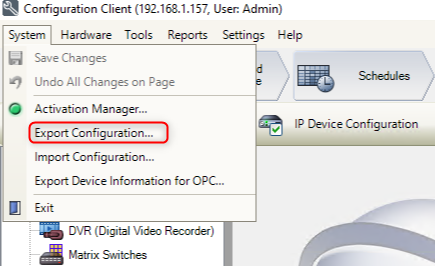
Export the current configuration and save it anywhere (Configuration Client > go to "System" > select "Export Configuration..." option) => resulting into a BVMS.zip
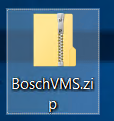
The .zip configuration file should look like the following:
Stop the Bosch VMS Central Server service
Open folder C:\ProgramData\Bosch\VMS
Delete/ Rename the Elements.bvms file
Restart the Bosch VMS Central Server service
Log into the BVMS Configuration Client (user name Admin, no password)
Set the same password for the Admin user as the one for the exported configuration (important!)
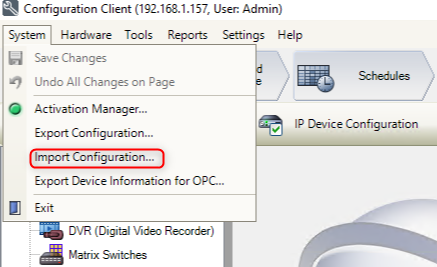
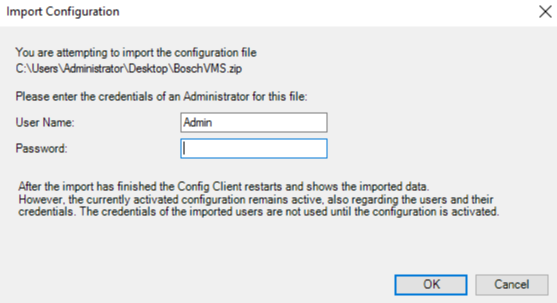
Go back in Configuration Client and use the import function (go to "System" > select "Import Configuration..." option). After this step the Configuration Client will restart.
Select the .zip file exported and click "Open" Enter the credentials and click the "OK" button
Log into the BVMS Configuration Client with the new password
Activate the imported configuration. At this point the configuration client will restart one more time, after which you can log into the BVMS Configuration Client again.
JavaScript errors detected
Please note, these errors can depend on your browser setup.
If this problem persists, please contact our support.