How to configure Remote Portal to access your Bosch camera through Video Security App?
Remote Portal is an useful tool where you can administrate, do remote configuration, remote viewing, remote maintenance and it has a very nice way of adding new features and services solution. It’s a simple way to connect a local camera to the Remote Portal and to the end user interface.
This article describes step-by-step how you can configure the Remote Portal in order to access the Bosch camera from your tablet or mobile phone via Video Security App.
In order to make sure that your camera can connect to the Bosch Cloud, please follow the steps below:
OpenConfiguration Manager>My devices> login on your camera with its credentials
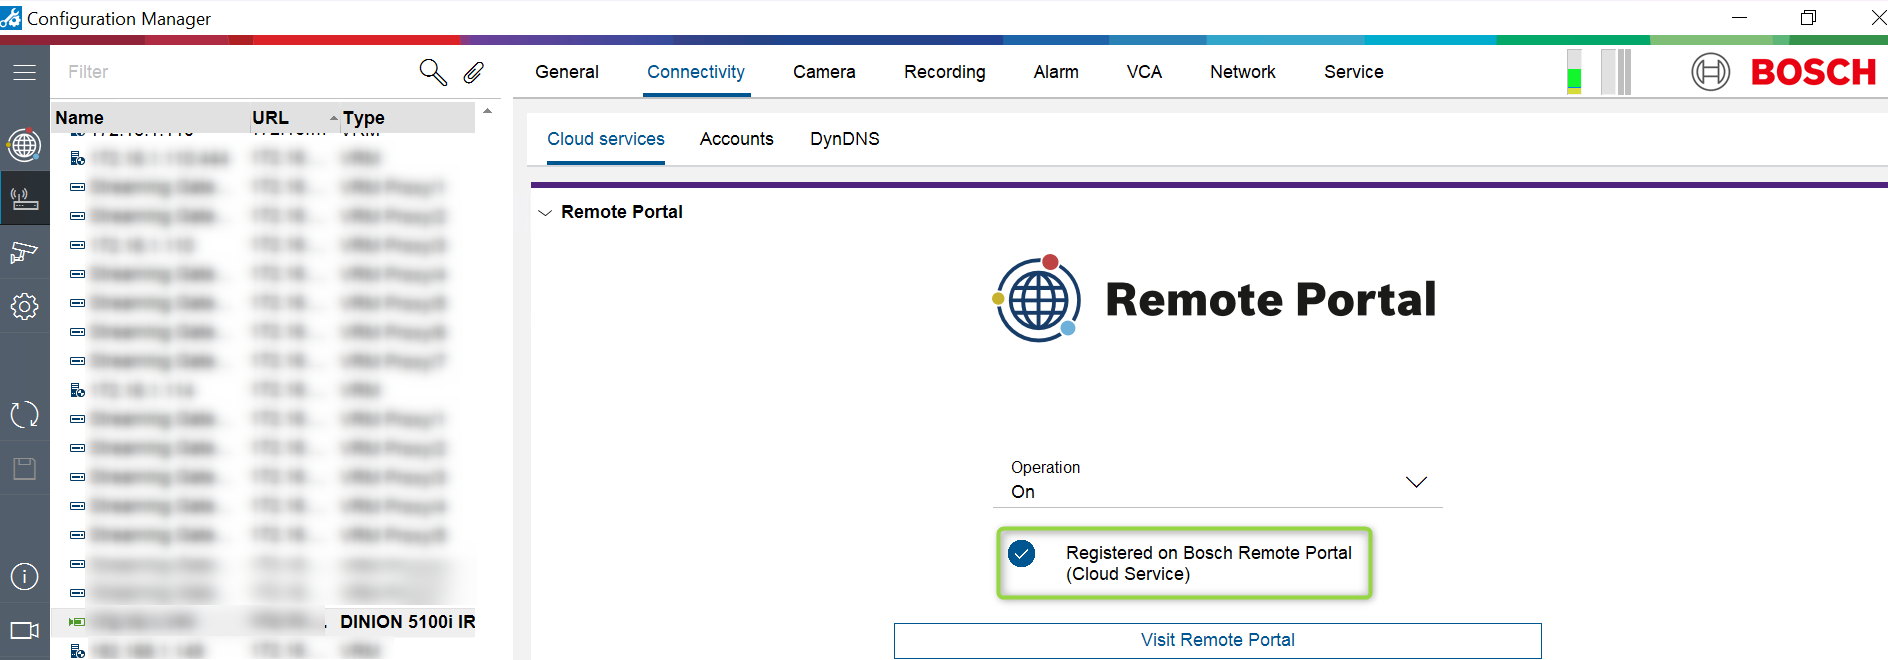
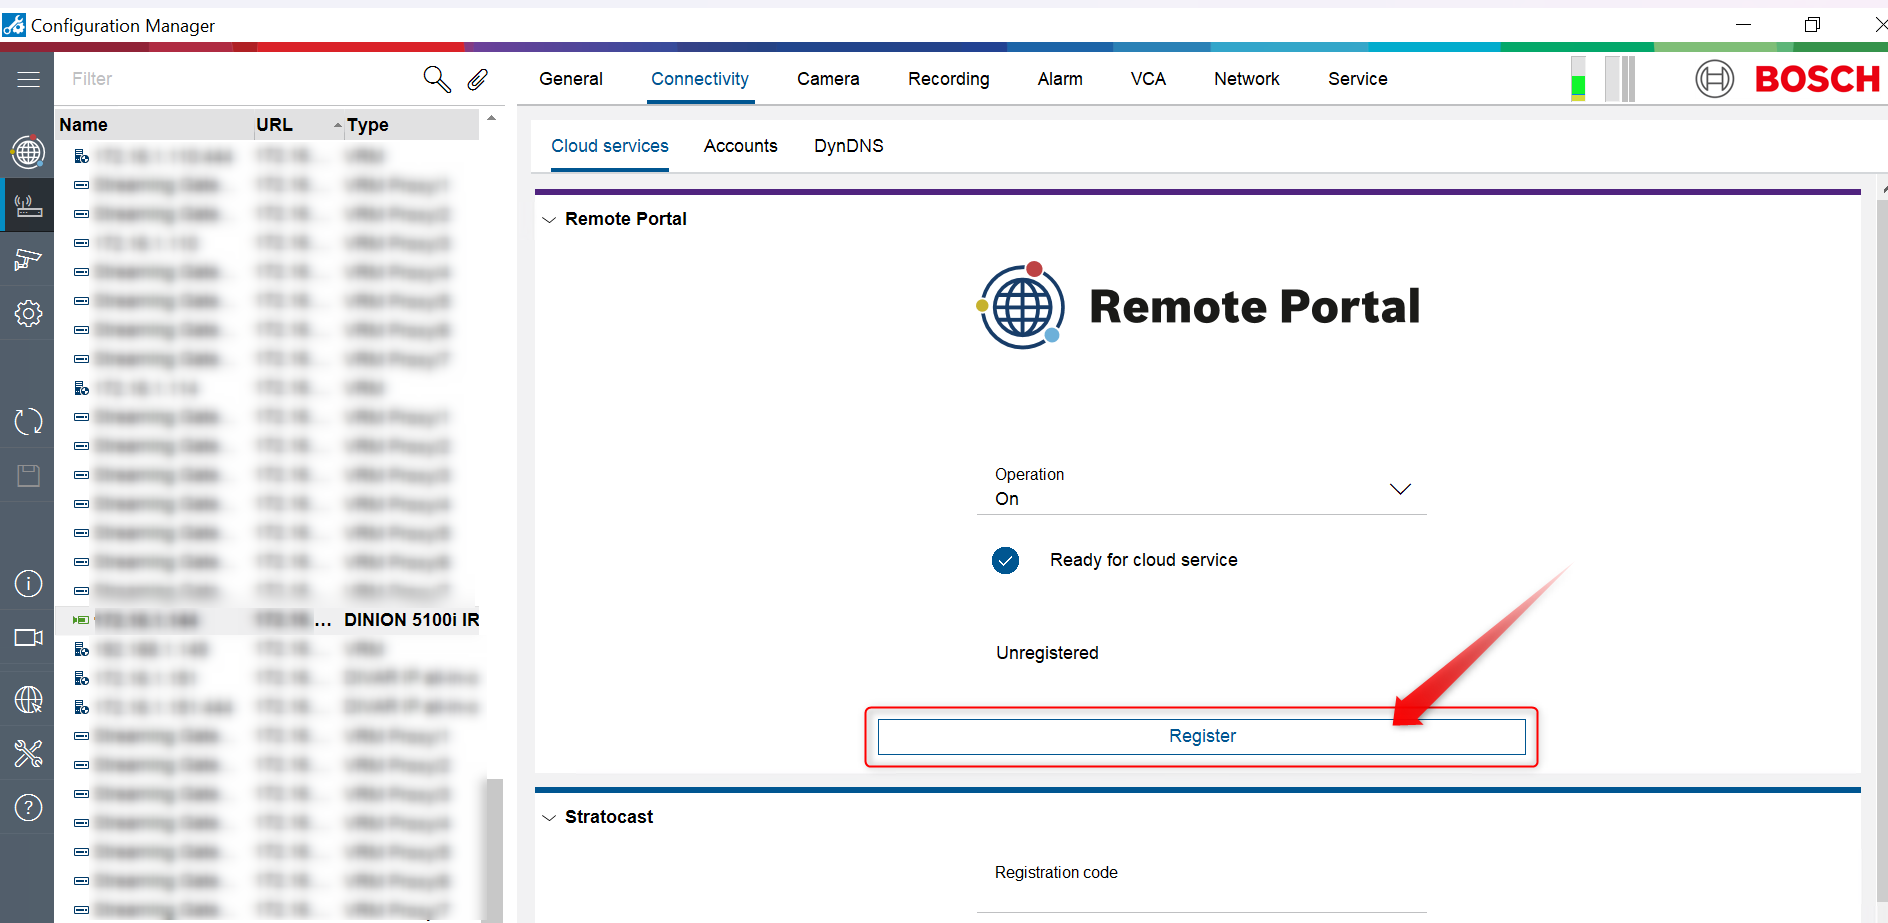
Go to “Connectivity” tab, set Operation to "On", click "Save" and press on “Register” button
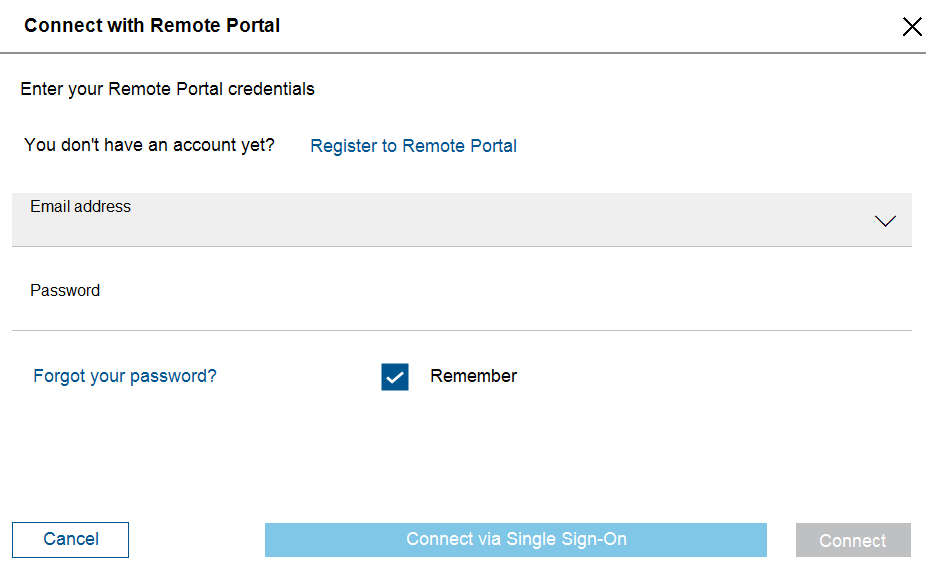
Enter your Bosch Remote Portal credentials. If you have no account yet, go toremote.boschsecurity.comto create one
Important
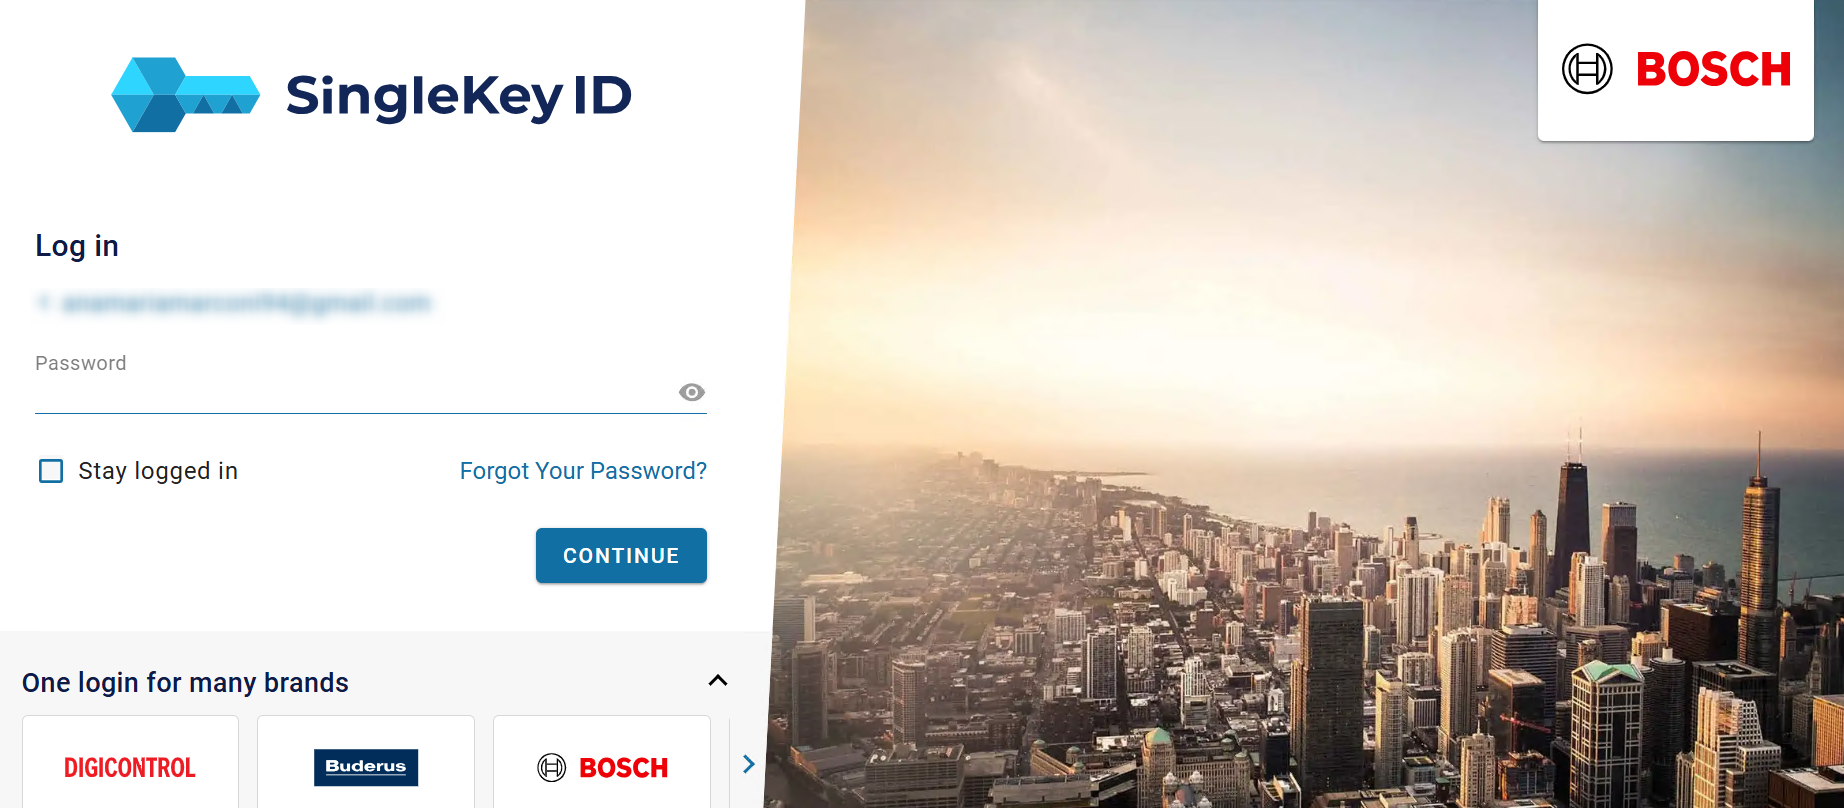
Please be aware that if you have converted your Remote Portal account toLogin with Single Sign-on, you will have to select Connect via Single Sign-On. In this article, we'll continue using this option
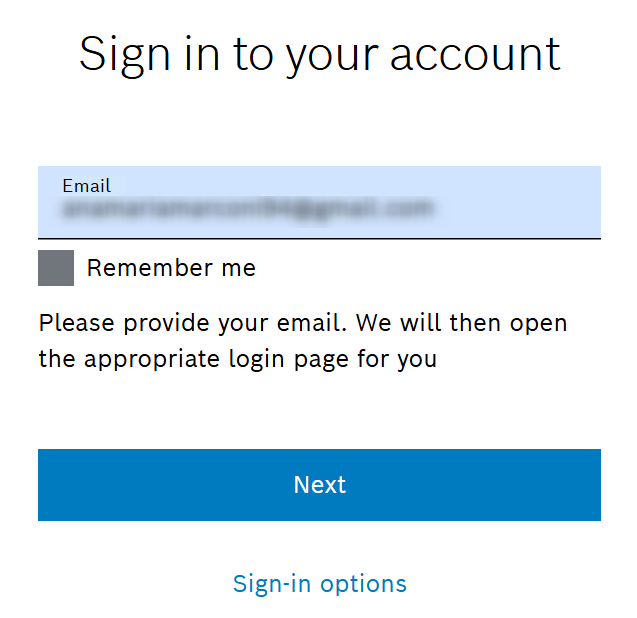
Add your e-mail configured for your Remote Portal account and click Next
Fill in the password and click Continue
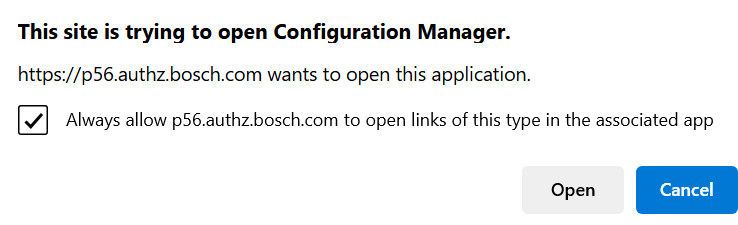
Click Open
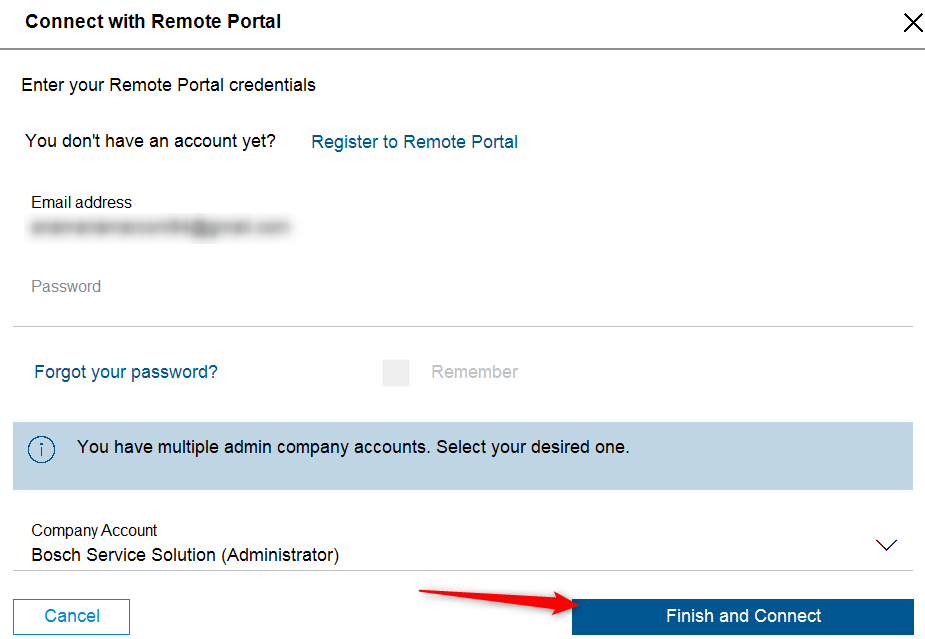
If you have multiple admin company accounts, select the desired one and click Finish and Connect In case your credentials are associated with multiple company accounts in Remote Portal, make sure that you have also defined a 'default commissioning company'. Otherwise, the camera does not know which account it belongs to, which prevents a successful registration. See here how toConfigure the Default Commissioning Company
Now, the camera is connected to the Remote Portal.
B. Organize your cameras in Remote Portal in Groups
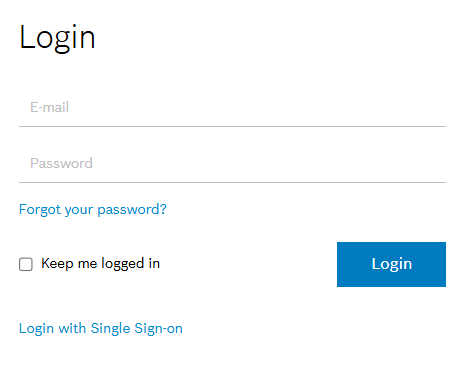
Access Remote Portaland login with your Bosch Remote Portal credentials This action requires Admin rights
Important
Please be aware that if you have converted your Remote Portal account to Login with Single Sign-on, you will have to select Login with Single Sign-On.
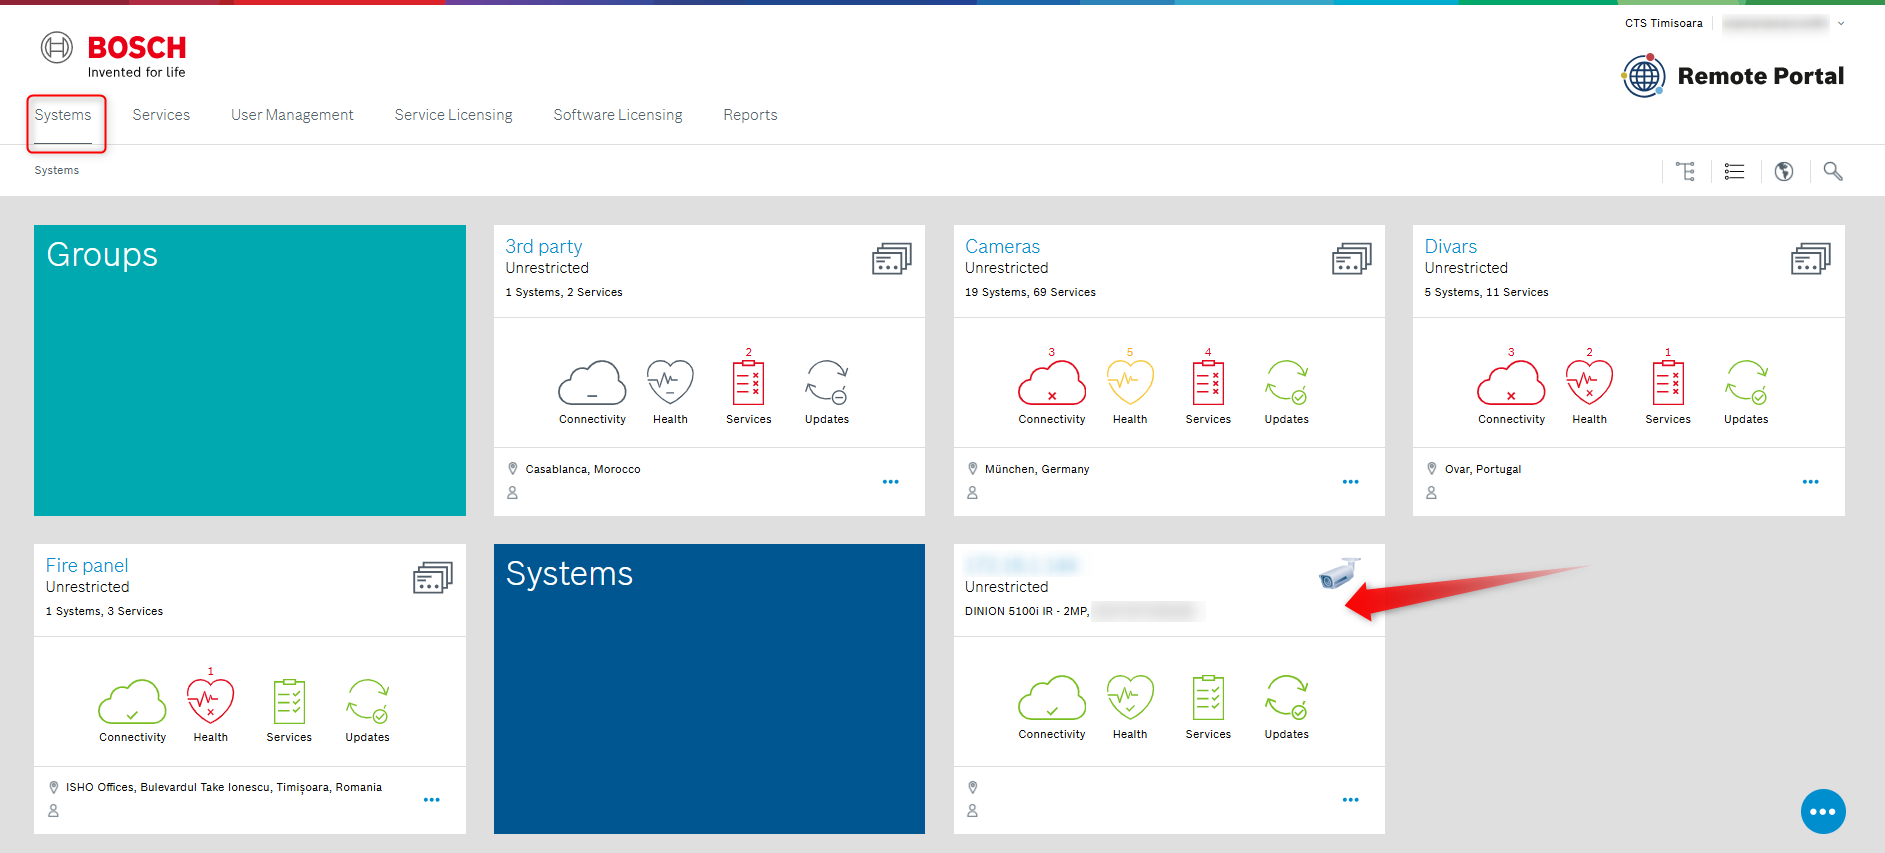
Select “Systems” tab. Your camera will be displayed here:
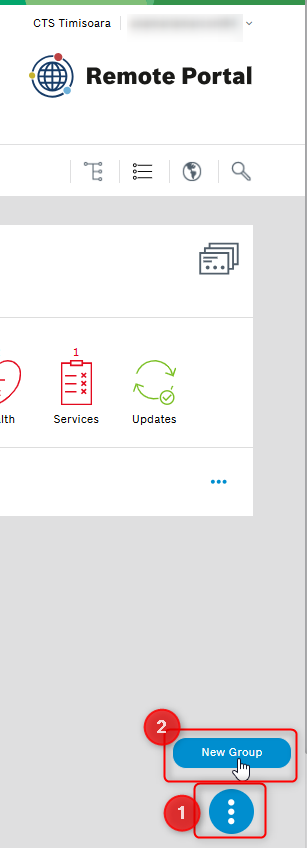
Then, press “” button from the bottom right side > click New Group
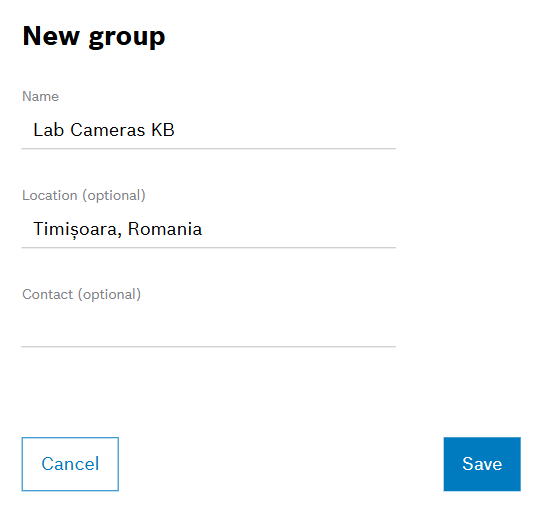
Name the group. You can add the contact person and the Location where the camera is located >Save
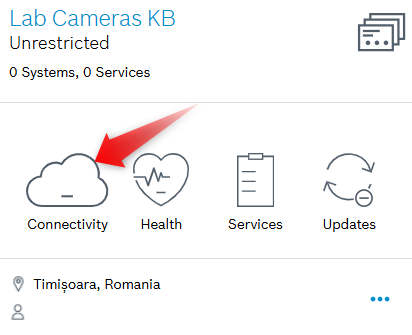
You will see that there is no connectivity displayed. This is because no camera was added for the new group
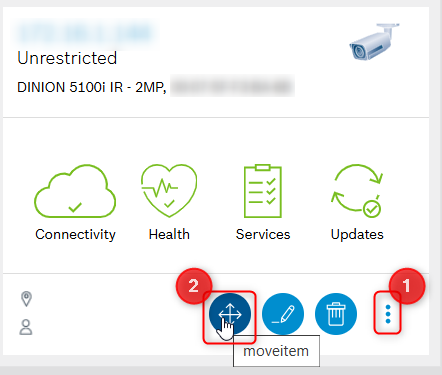
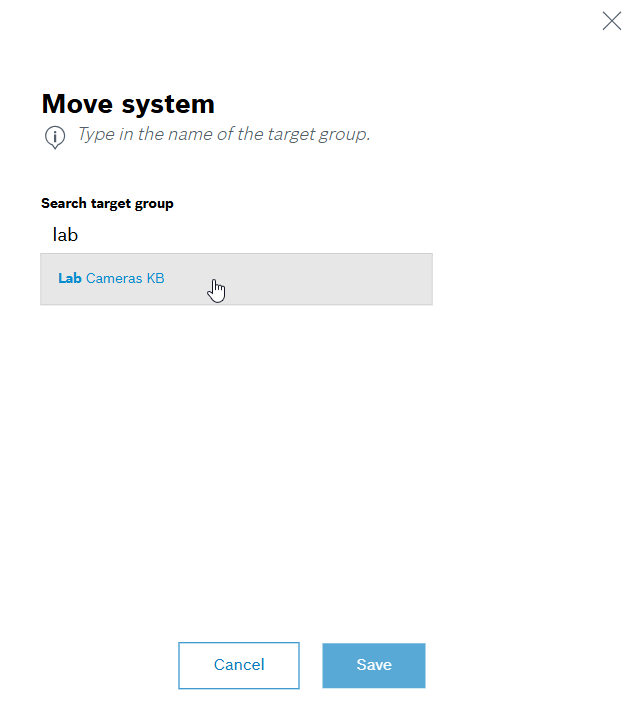
In order to assign the camera to the new group, press on the 3 dots button > press the “Move” button
Type in the target group name > select the Group > Save
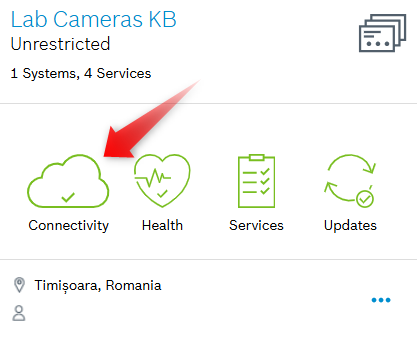
From this point, the camera is now belonging to the group and the connectivity becomes green.
C) Add a Customer user to the Remote Connect service
It is important to add the Customer user to the Remote Connect service for every camera so that he is able to display these cameras on the Video Security App.
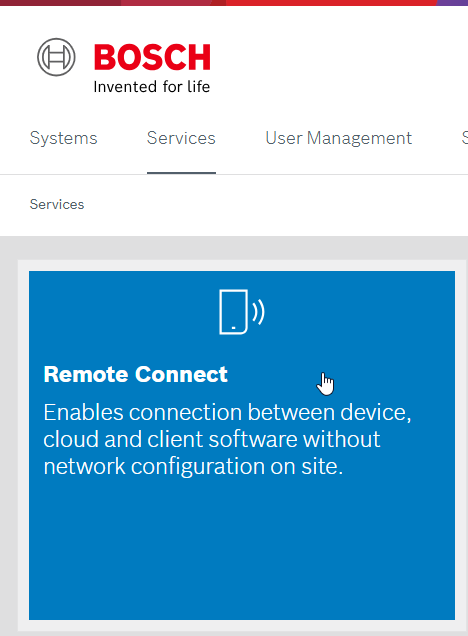
1. Go toServicestab > click on theRemote Connectservice card > service details page opens
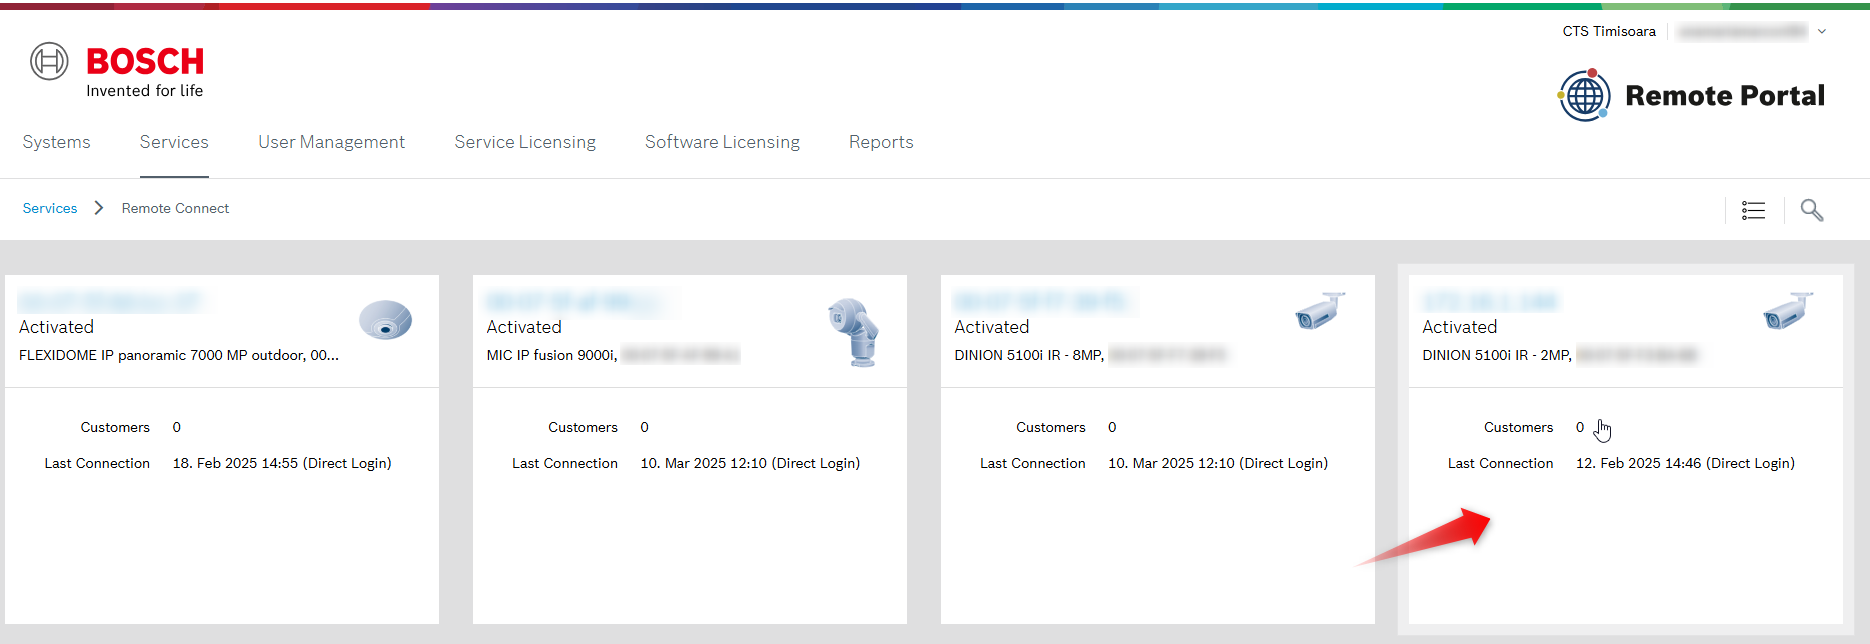
2. Select the camera you want to add a Customer user for:
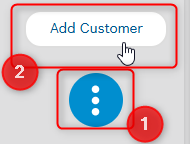
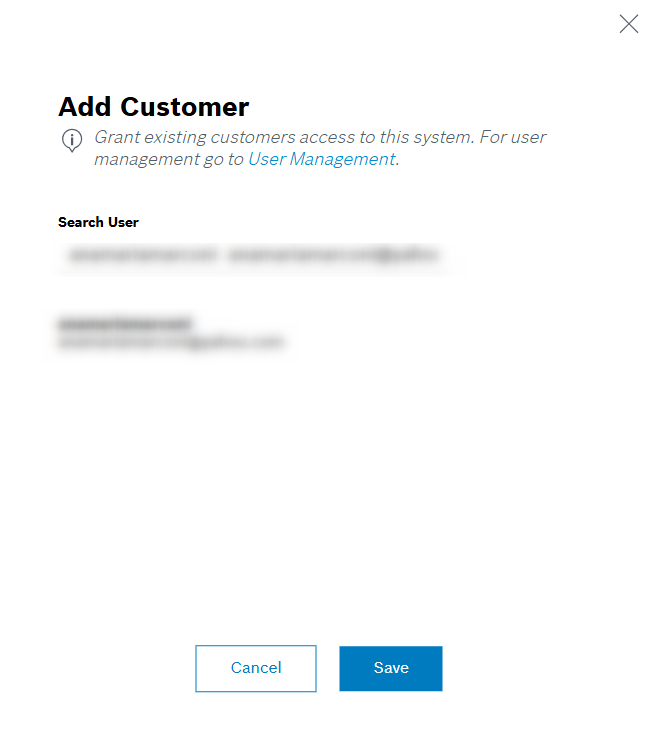
3. Click on the "" button> click Add Customer
4. Select the related user > click Save.
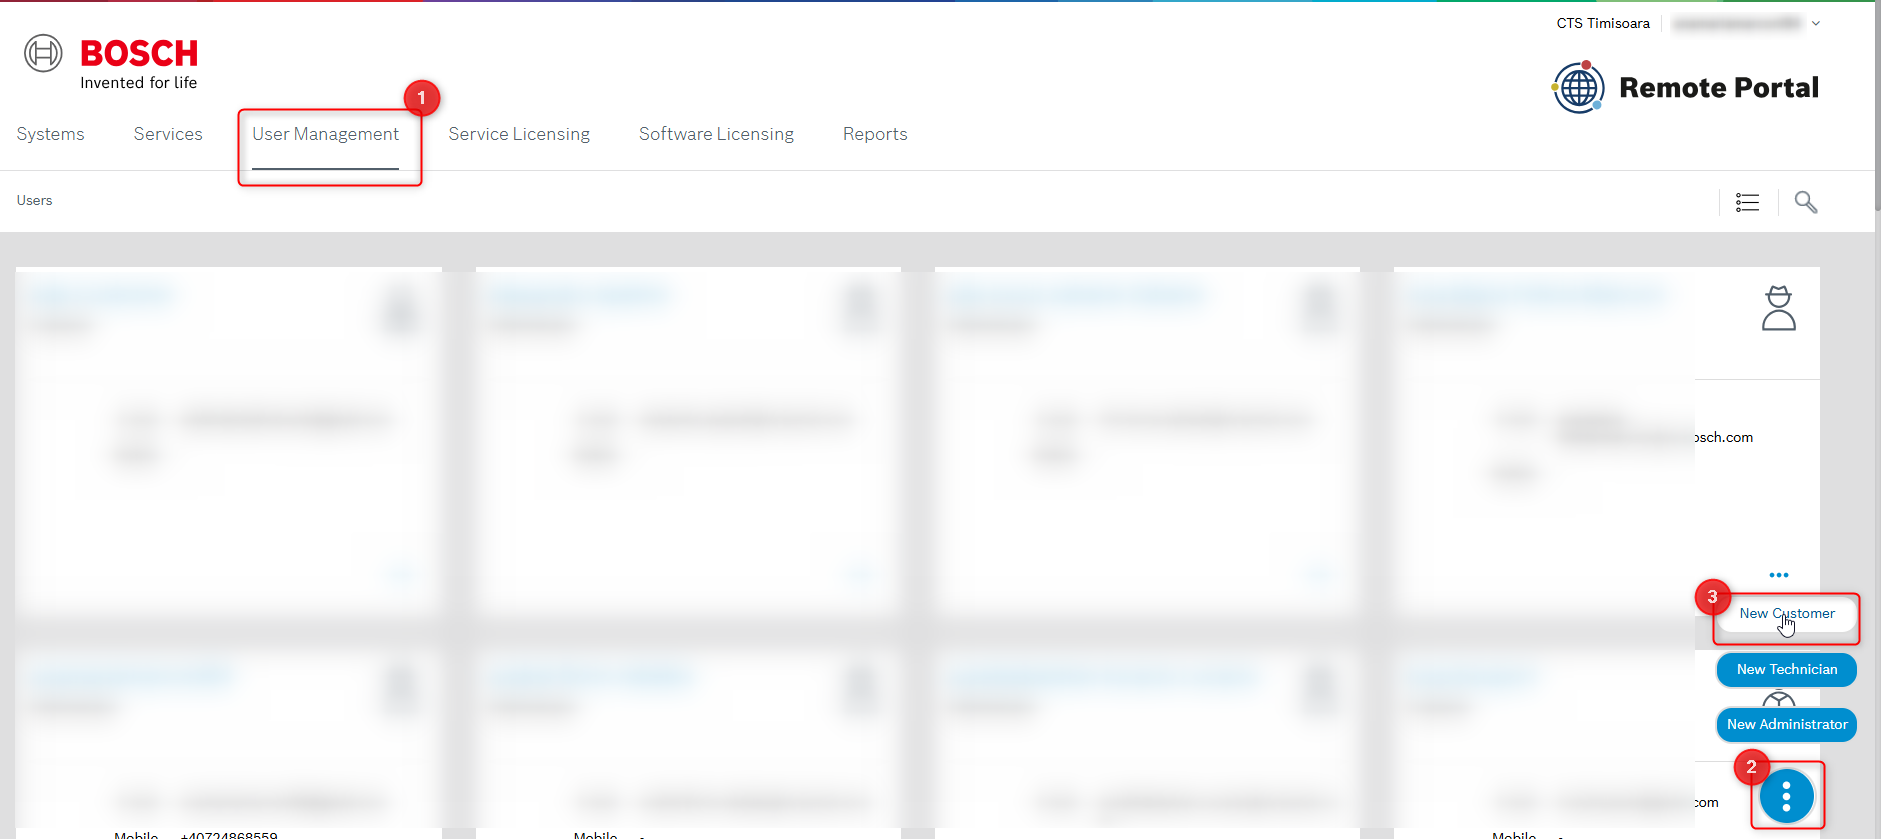
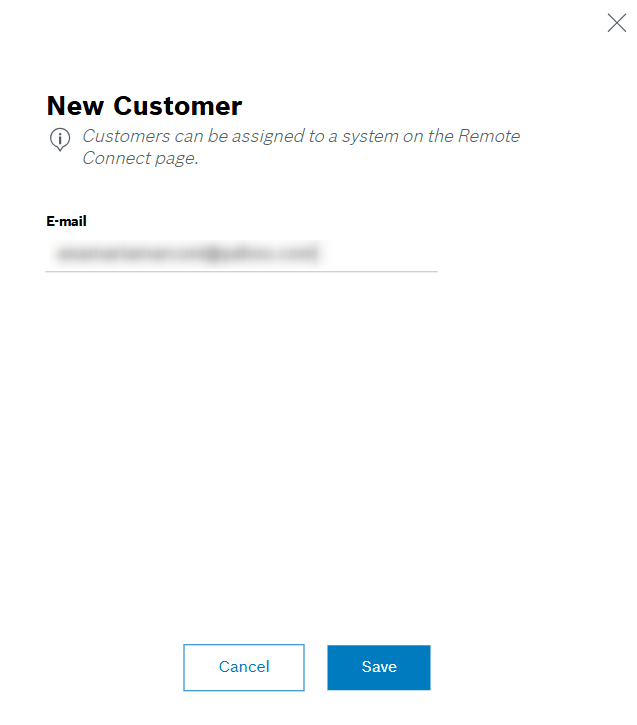
If you don't find the customer's account, then you have to add him inUser Management > Click on the "" button > select New Customer> add the customer's e-mail address > click Save
The customer has to accept the invitation.
5. Now the Customer user can access the device.
D) View camera image via Video Security App as Customer user
In case you have not yet installed the app, you can find it in Download Area from Bosch Security website.
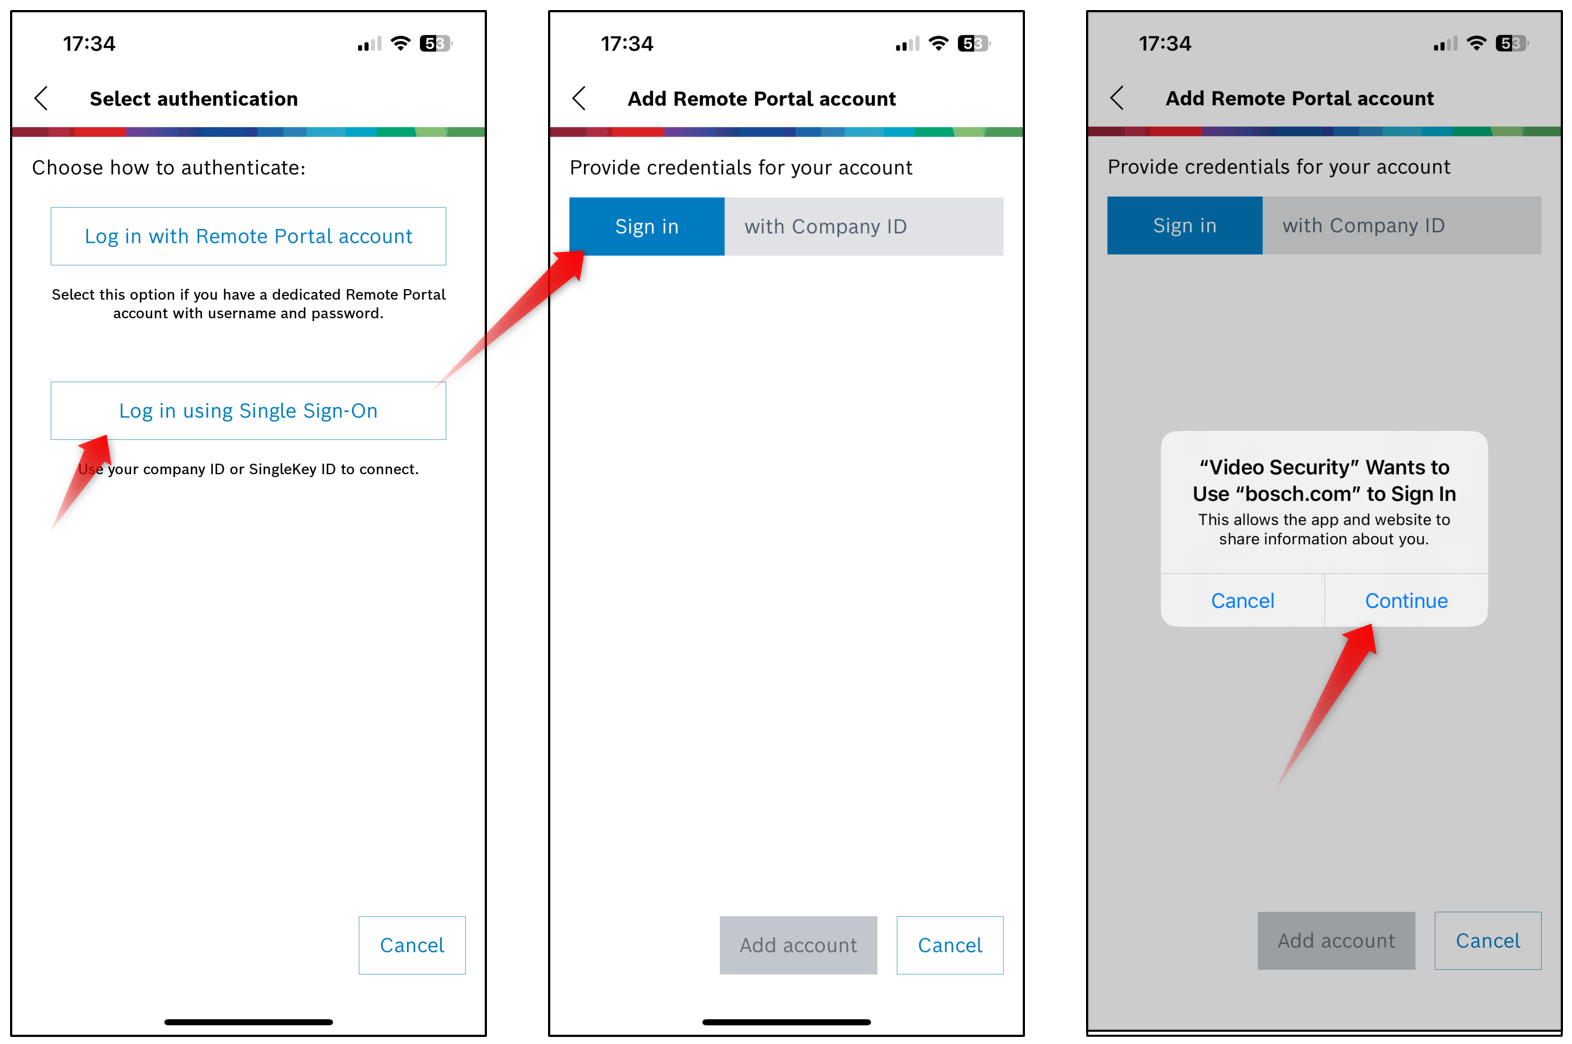
1. Open the App
2. Login with your credentials (Customer user)
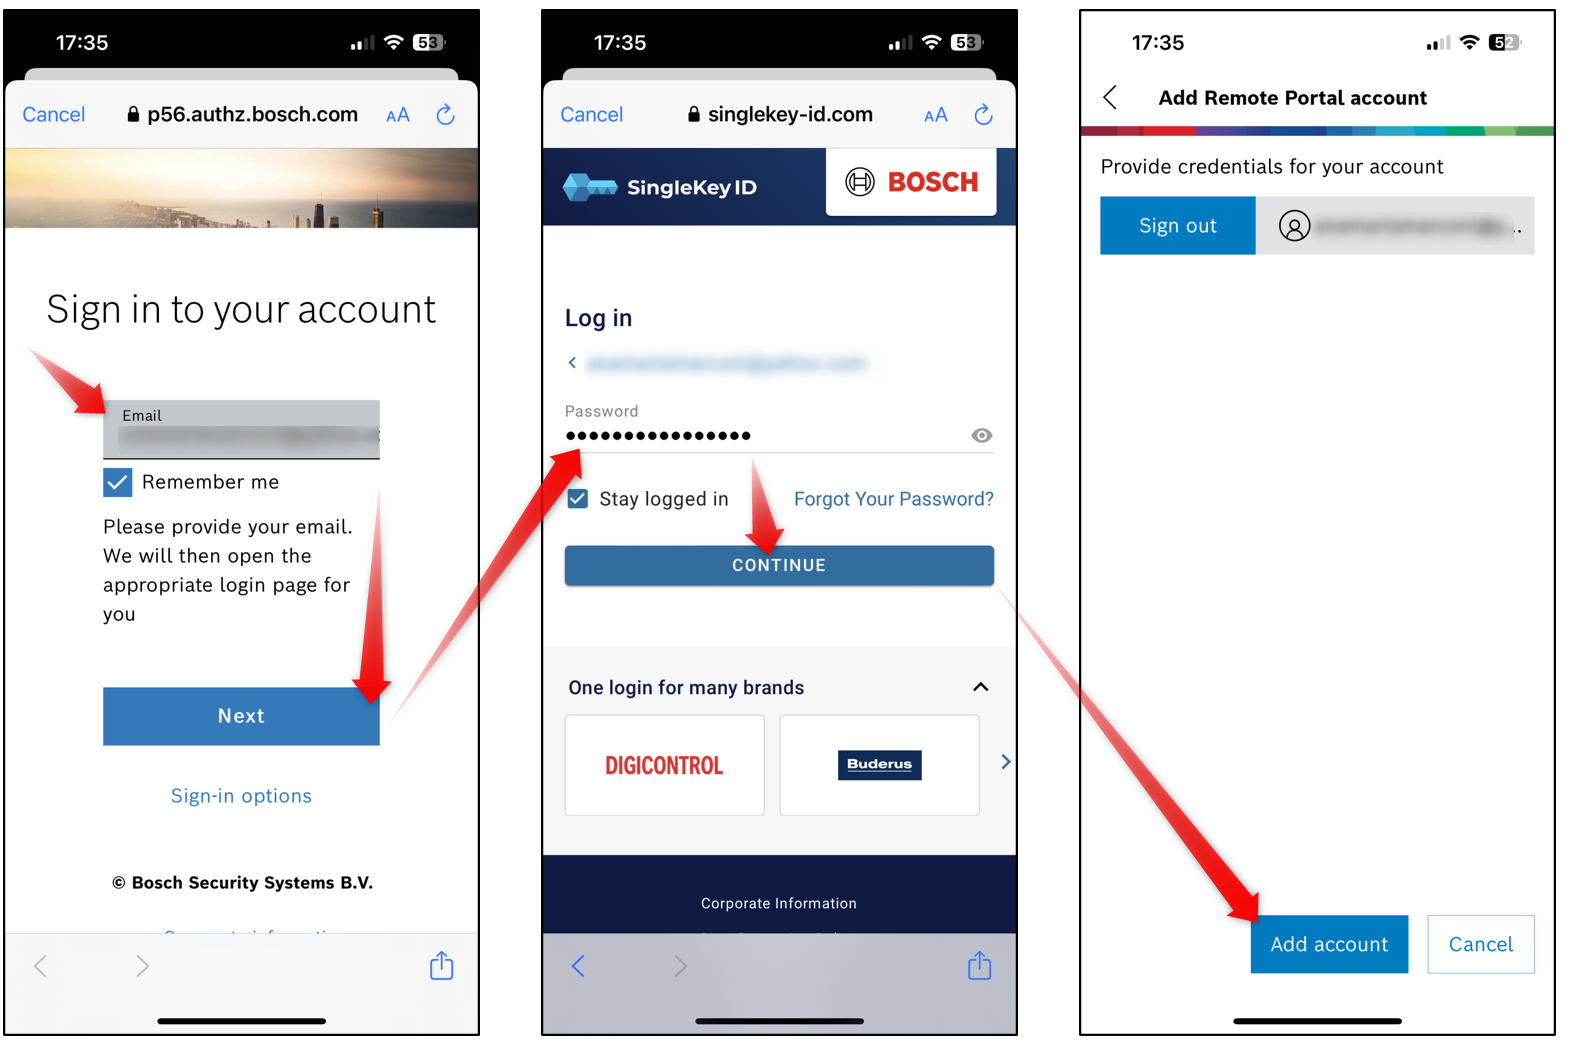
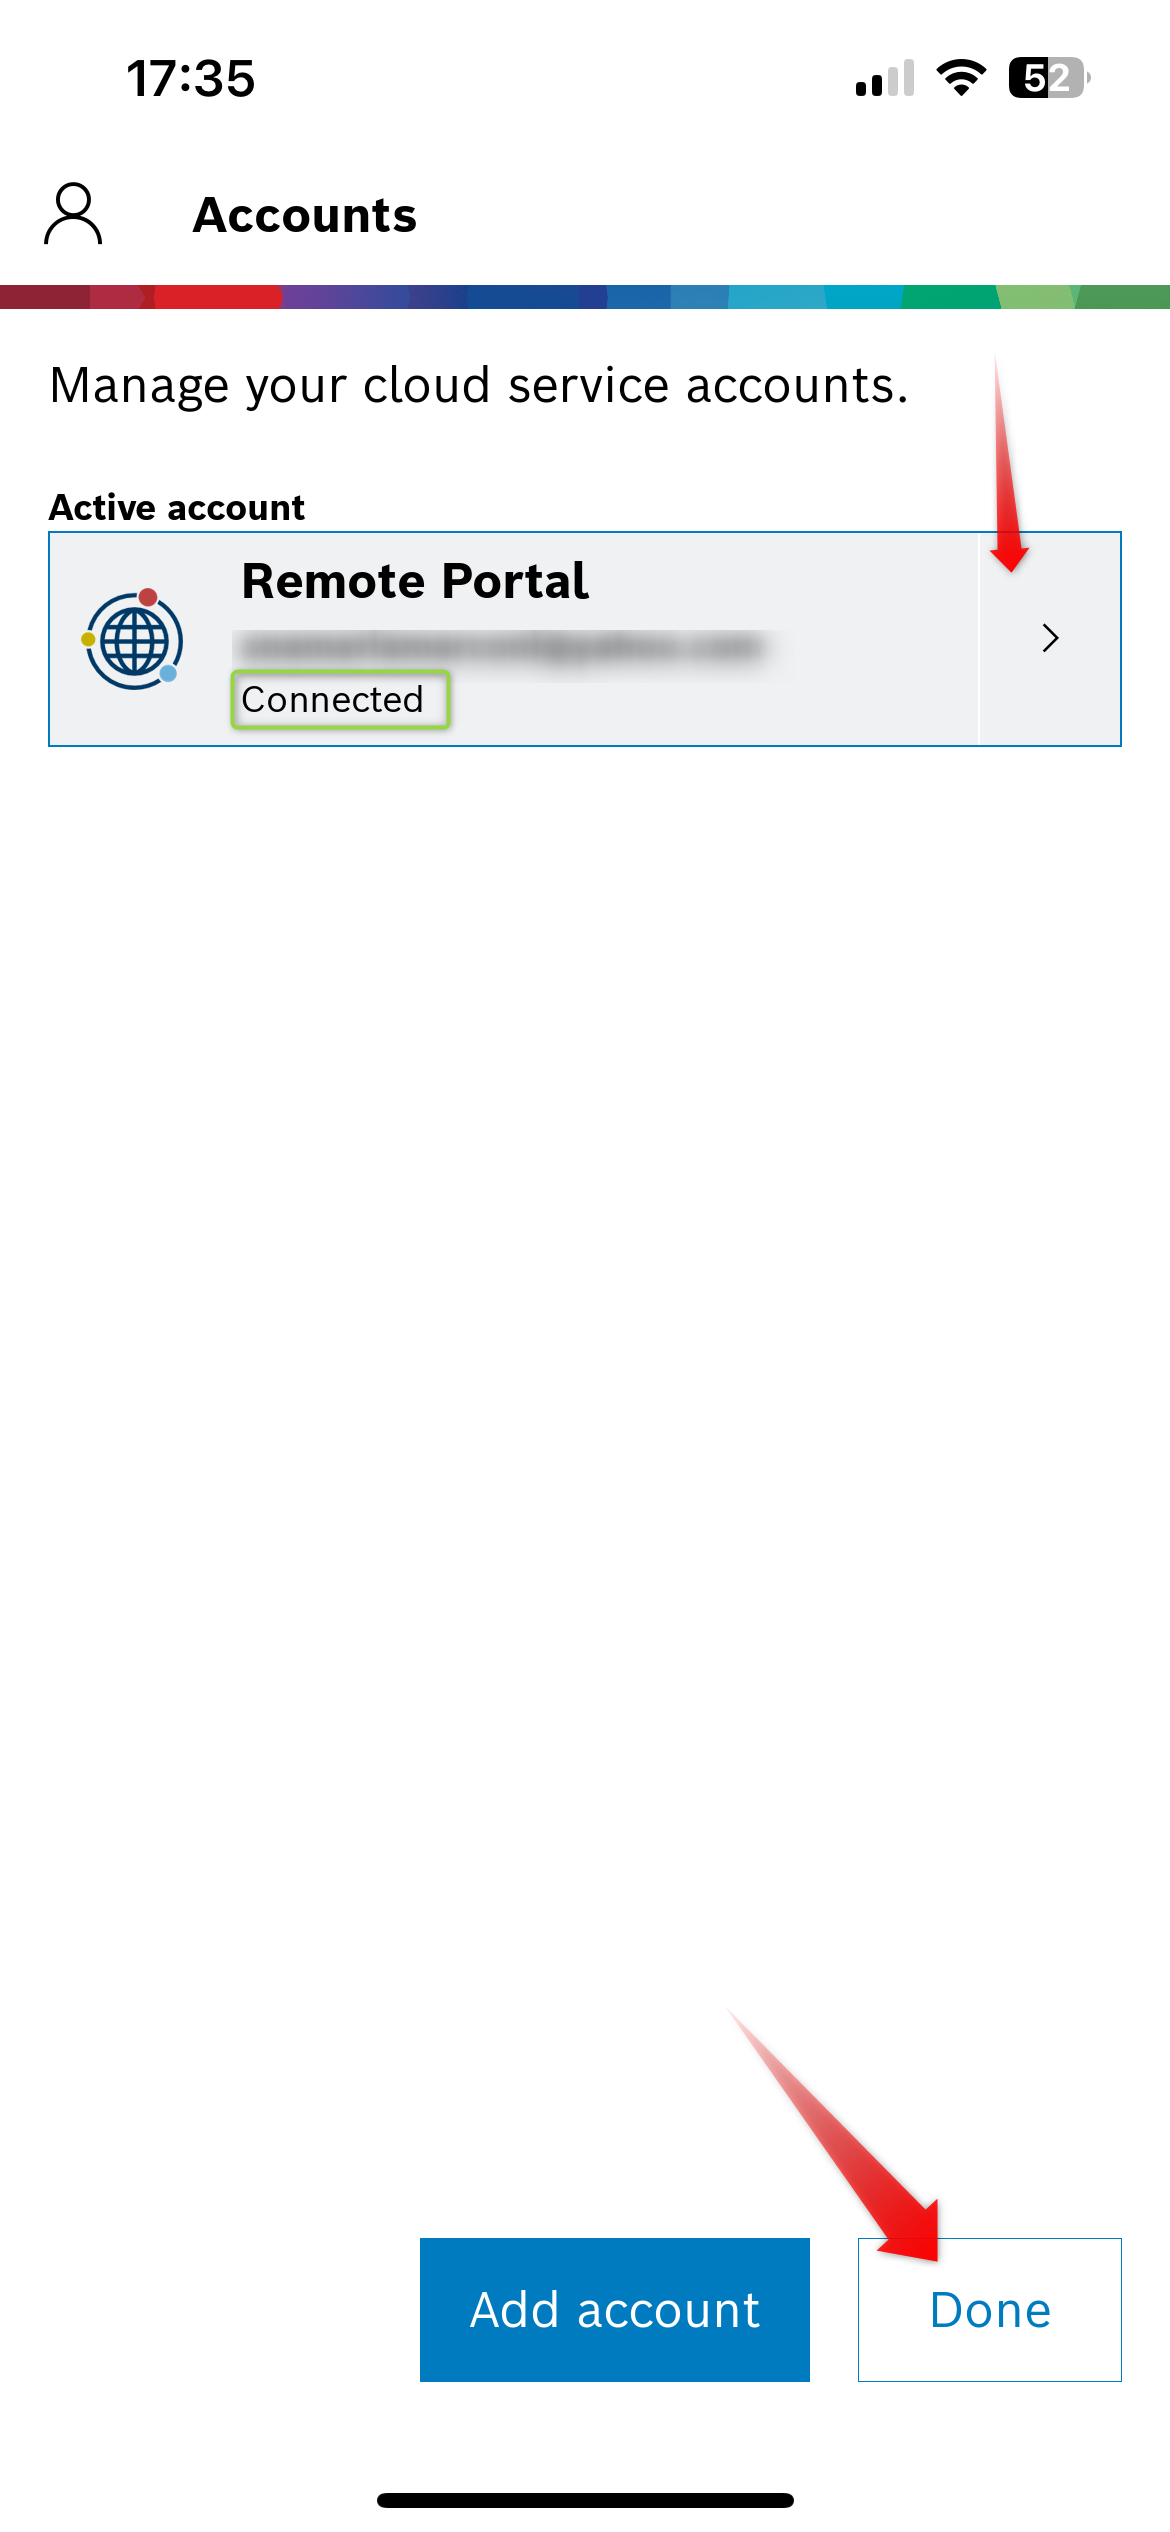
• Press on theCloud service link> clickAdd accountbutton > SelectRemote Portal> SelectLog in using Single Sign-On> clickSign in>Continue> Complete your credentials >Continue>Add account> You will be connected to the Bosch Remote Portal >Done
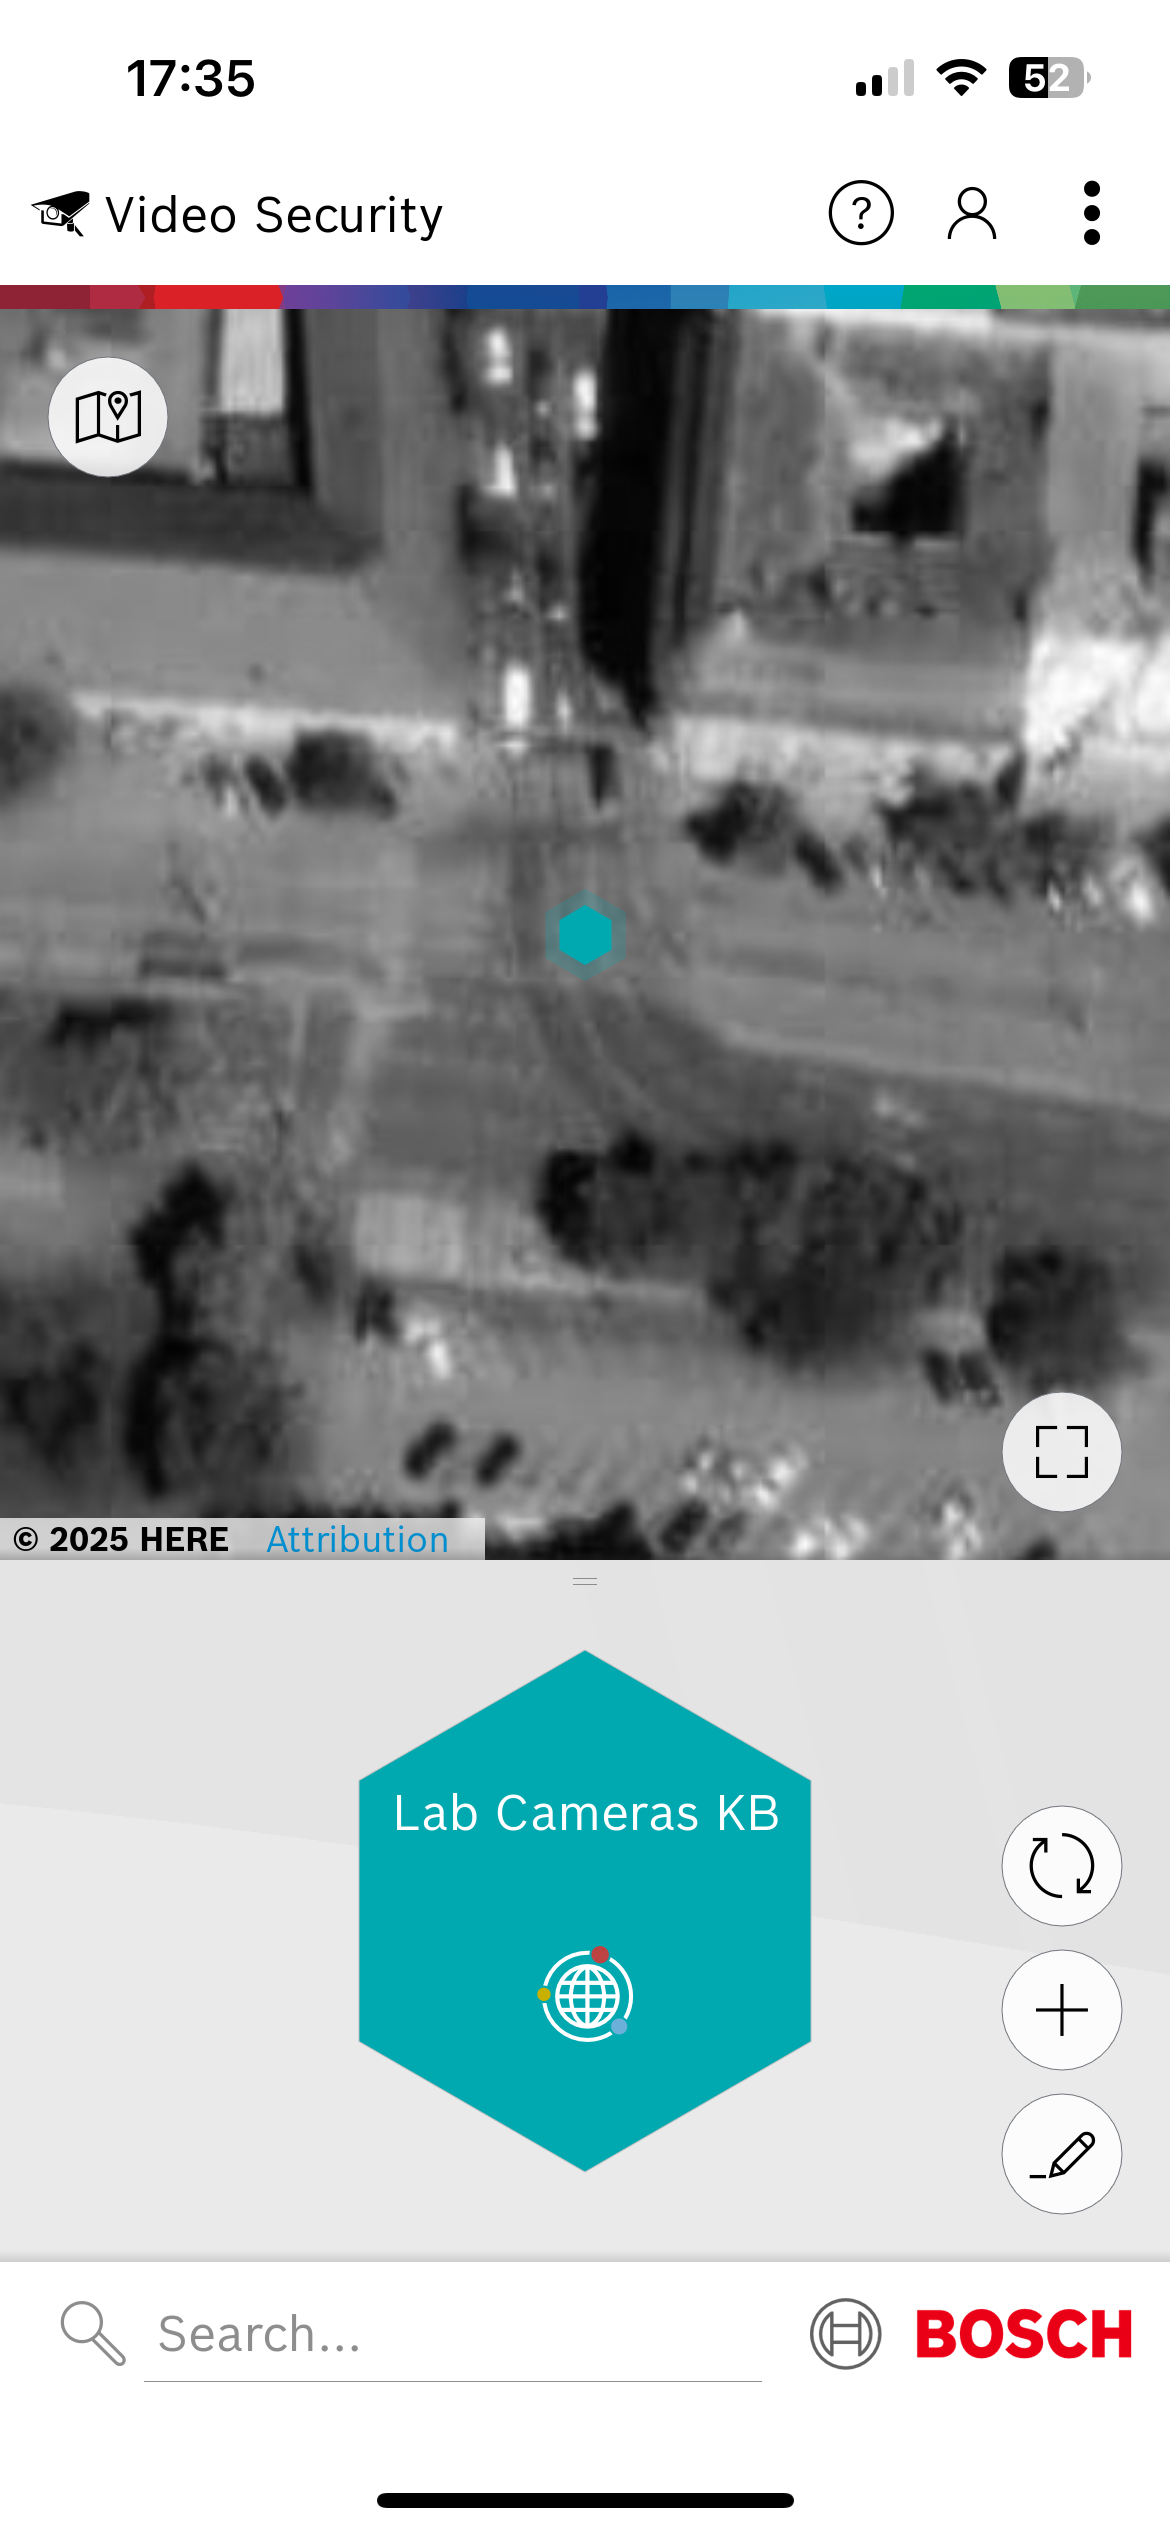
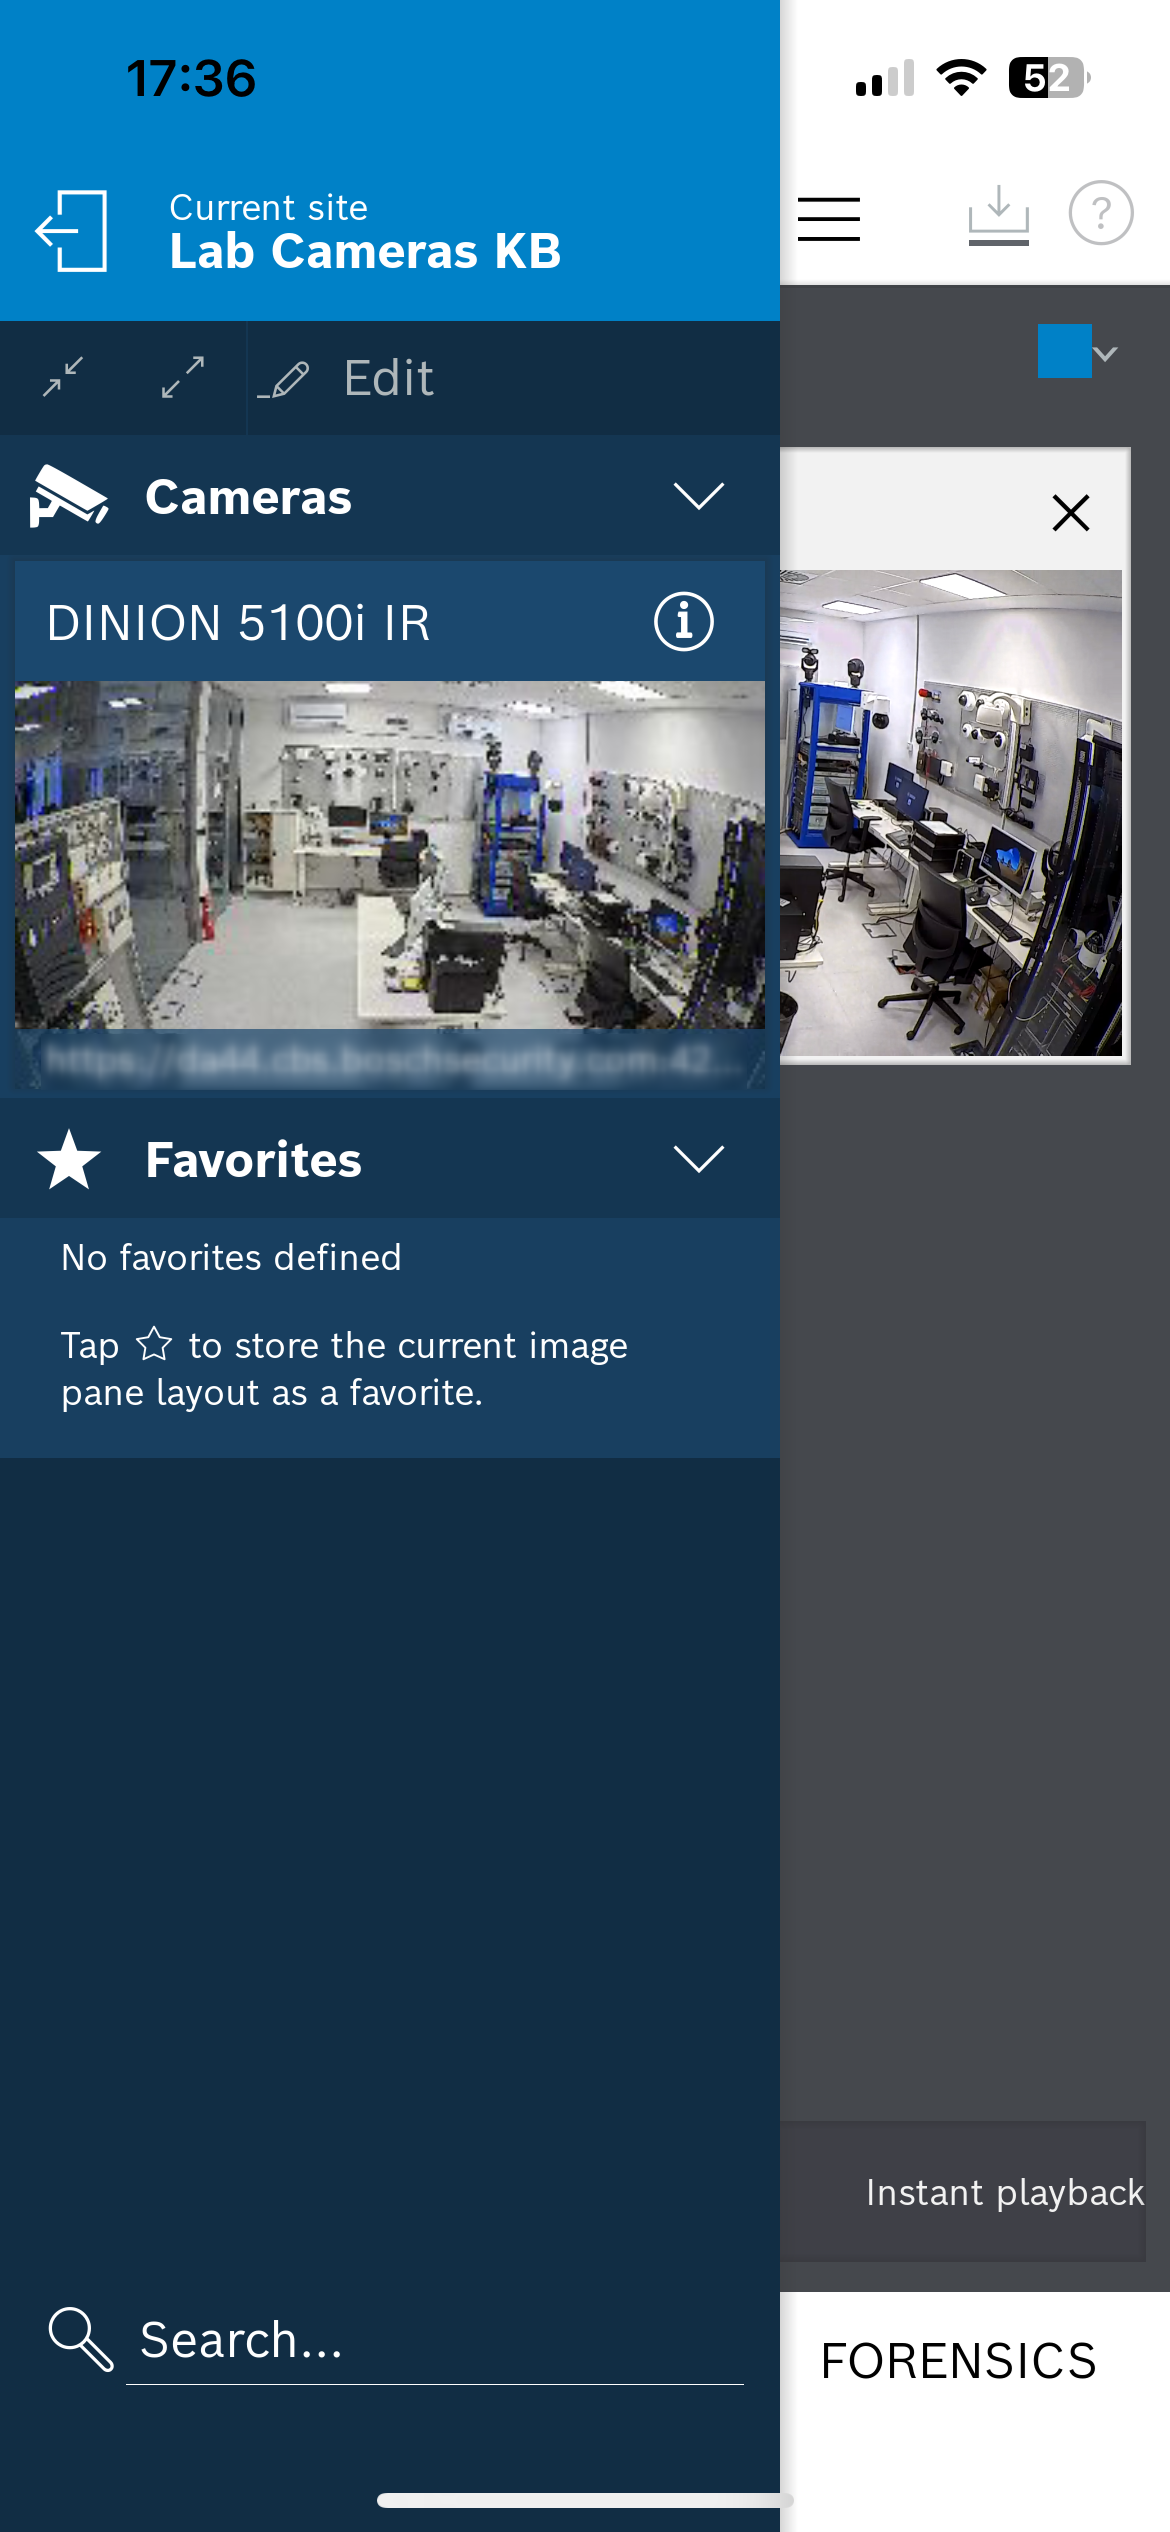
3. Select the Group name. In this example “Lab Cameras KB”
4. Now, the customer user will have the possibility to watch it live. He can also go into recordings, to the PLAYBACK
Note: The same workflow can be used to display a camera on the Windows app "Video Security Client".
If you are using your PC, you need to install Bosch Video Security Client for PC from here.

 In case your credentials are associated with multiple company accounts in Remote Portal, make sure that you have also defined a 'default commissioning company'. Otherwise, the camera does not know which account it belongs to, which prevents a successful registration.