
How to utilize the Bosch Project Assistant with Milestone XProtect?
This article describes the options for importing (pre-commissioned) Bosch cameras into Milestone XProtect by using the Bosch Project Assistant and the Project Assistant Import Plug-in. The article does not cover the usage of the Project Assistant tool itself.
Project Assistant Project File
To obtain a Project Assistant project file, use the Bosch Project Assistant and export the project as for example shown in this video: Webinar: Bosch Project Assistant Tool (V 1.4) - YouTube.
The exported project file can then be used as a source for the import into XProtect as described below.
Installation and setup
Download the Project Assistant Importer Plug-in from the Bosch downloadstore: https://downloadstore.boschsecurity.com/FILES/Bosch_ProjectAssistantPlug-in_pkg.1.0.0.748.zip.
Extract the package and run the .msi file for installation.
Note that the Project Assistant Importer Plug-in (1.0.0) is not compatible with the AI Alarm Verification Plug-in (1.1.0) and thus the 2 plug-ins can't be installed at the same time.
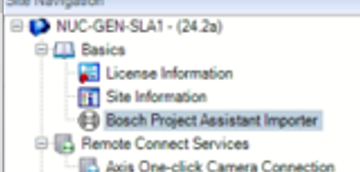
Importing a Project Assistant project
Open the XProtect Management Client since the Project Assistant Importer Plug-in resides in there.
Click on the Project Assistant Importer icon in the Milestone Management tree.
To import a project, select and load the project file after entering the file's password. You can either use the direct import validation or - to speed up the process - uncheck the selection.
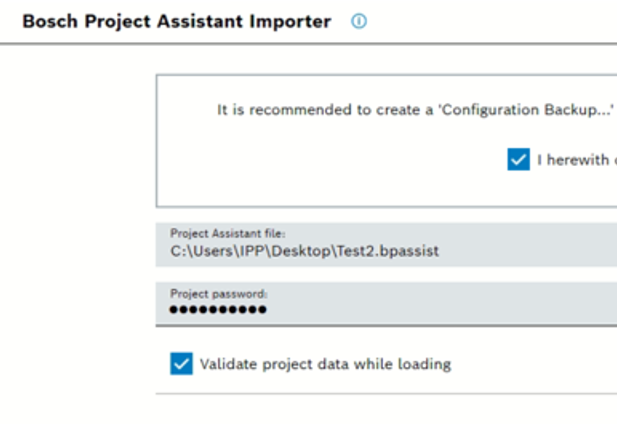
The project file is read and the project's cameras with the respective information is presented in an import table in the plugin.
Import validation
In case the Validate project data while loading option was activated the presented table of the cameras from the project already contains the information if the data from the file is still valid and if the cameras are reachable. However, and by nature - the validation takes a bit time and thus slows down the whole import process.
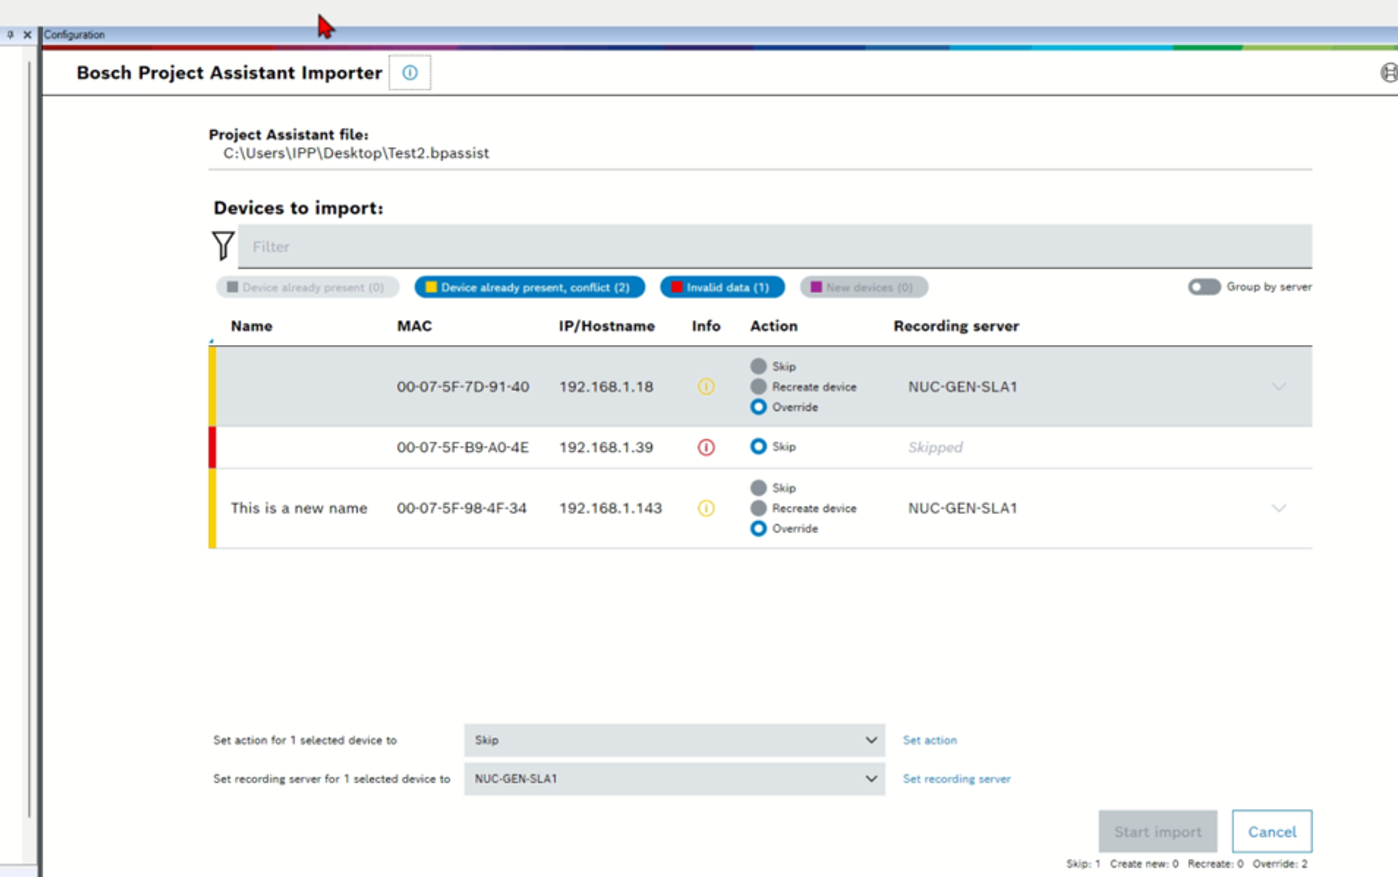
Importing a project
Once a project file has been read the camera information is cross checked with the current XProtect setup and conflicts with already existing cameras are visualized.
The dialog offers the option to bulk assign cameras the available recording servers, or skip certain cameras from the import file for the actual import.
When all cameras have a handled in the import table (either they are not imported, or they have a recording server assigned) the Start import button becomes active and the import process can be initiated.
After the import is finished an import report is generated and presented.