Disclaimer: this guide is intended for Windows advanced users. Knowledge on Windows registry and batch files is highly recommended. If you don’t have knowledge on modifying the Windows registry, do not continue as any mistake can damage the operating system.
Step-by-step guide
This document consists of three parts:
-
Import or create a certificate to the RPS computer
-
Enable Https and configure the certificate binding
-
Import the certificate into AMS server
1. Import or create a certificate to the RPS computer
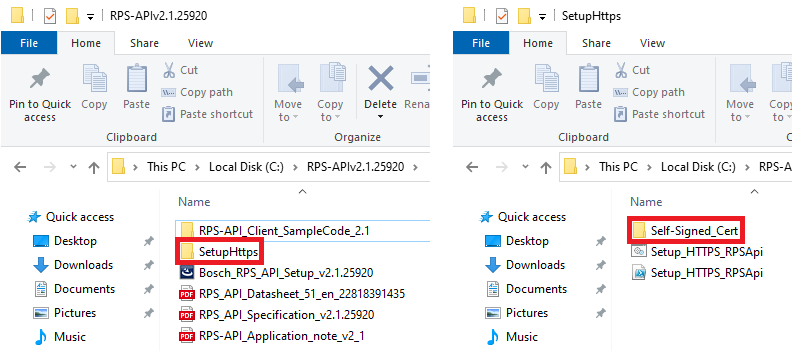
You must use a SSL certificate, if you do not already have one, you can generate a self-signed certificate using a tool included with the RPS API installer folder.
Access “SetupHttps” -> “Self-Signed_Cert”
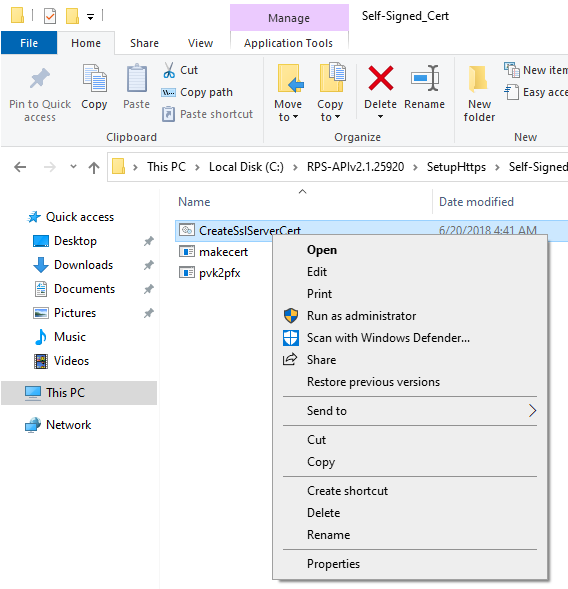
To modify the properties of the certificate right click “CreateSslServerCert” and click Edit
In the –n line, replace “RPSPC” to the computer’s name where the RPS is installed. The –po line is the password assigned to the PFX file created. We recommend to input your own password.
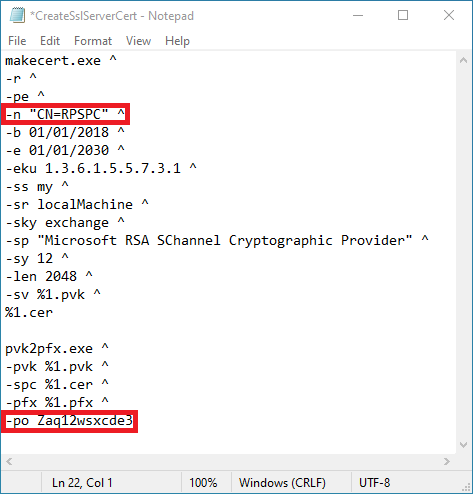
After saving the file, run it (Do not run it as administrator). A prompt to create a password will appear, this to secure the private key of the certificate, this is not required but is recommended.
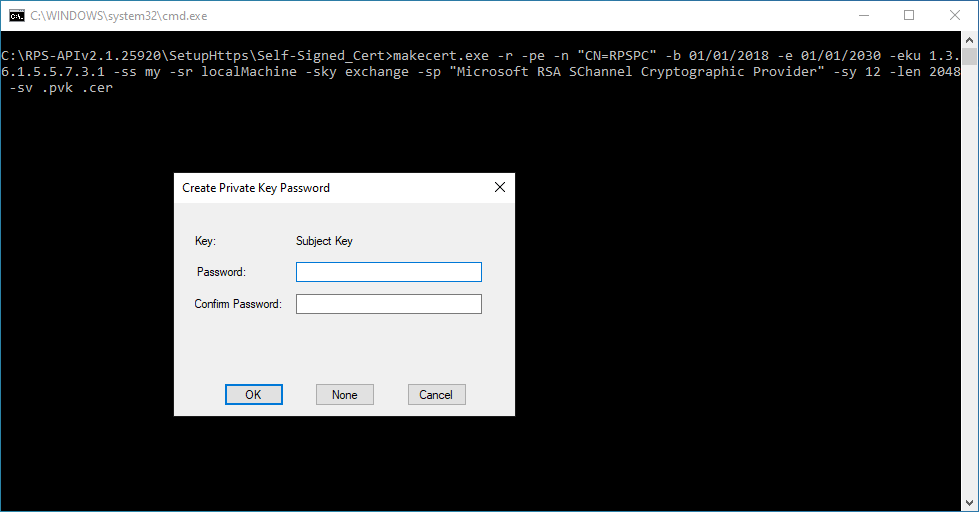
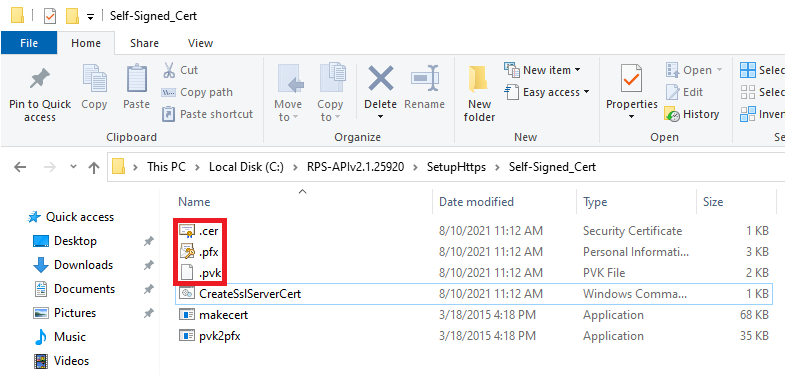
Three files are now created: the certificate, the private key, and the PFX file that contains both files.
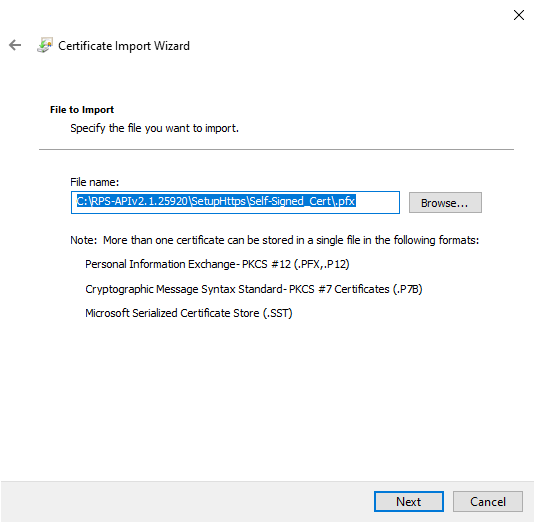
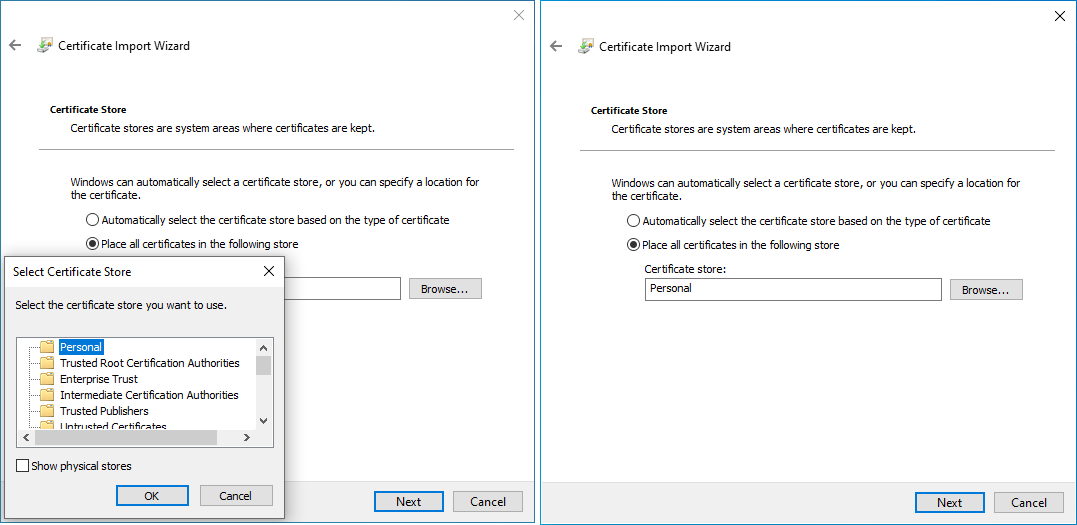
To install the certificate in the RPS computer open the PFX file. In the Certificate Import Wizard, Select Local Machine and click next.

Under File to Import, verify the correct path and file name are populated and click next
Type the private key password created. And click next
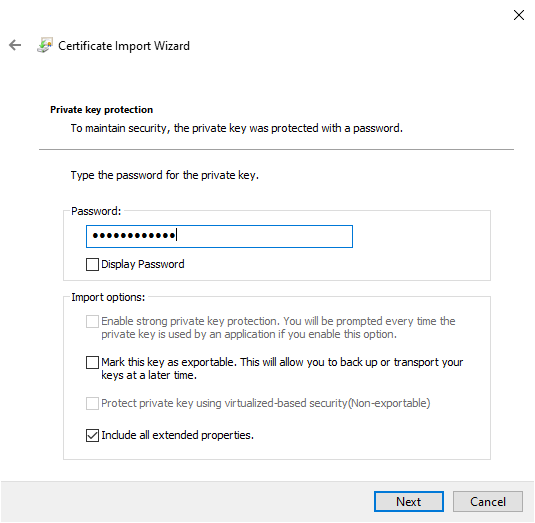
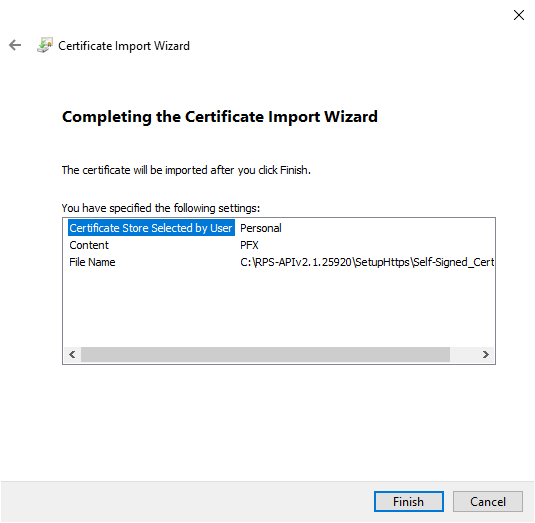
Choose the Certificate store “Personal” and click next
Click Finish
2. Enable Https and configure the certificate binding
To enable Https first stop the RPS API service.
Open Services from the Start Menu
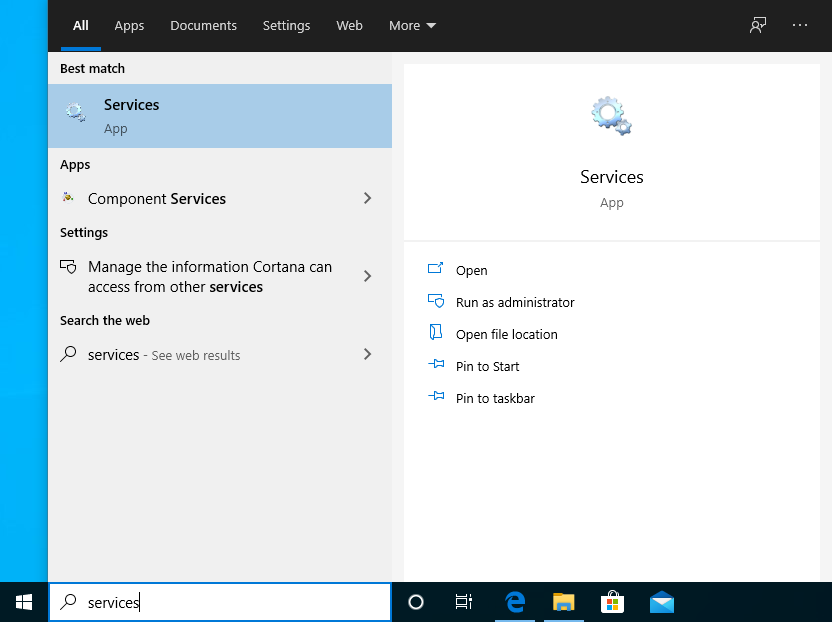
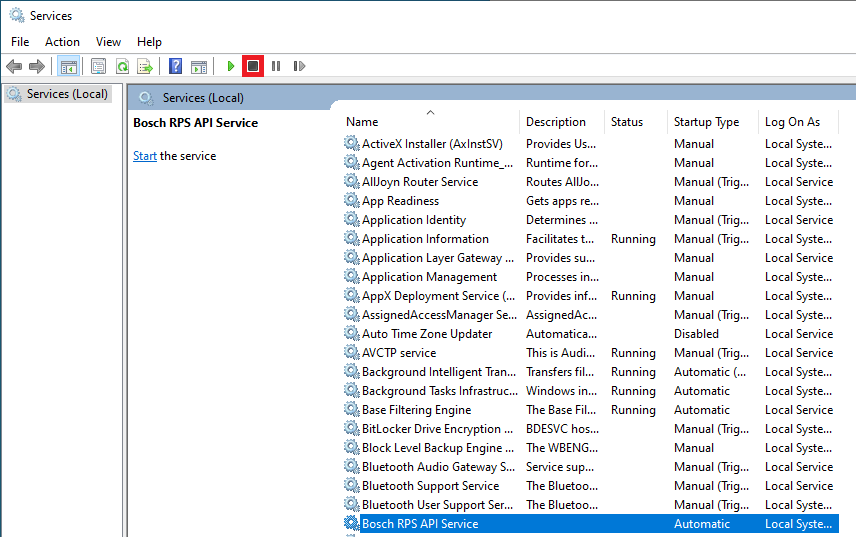
Select Bosch RPS API Service and click the stop button
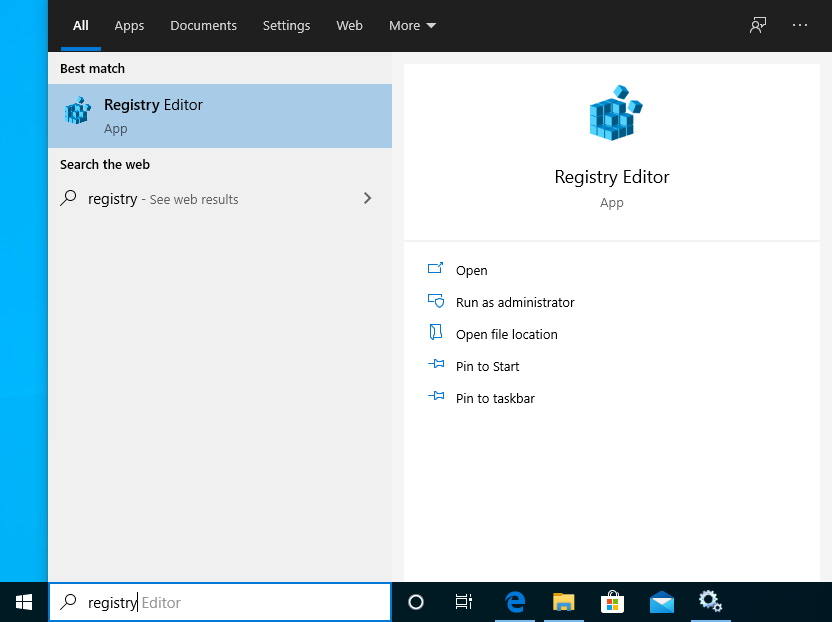
Open the Registry from the start menu
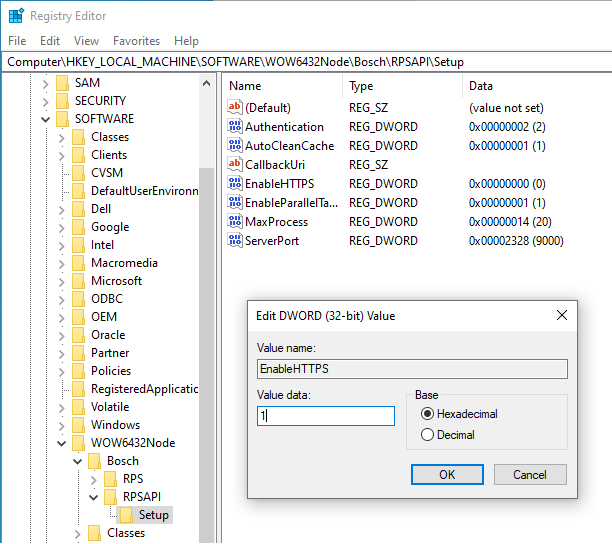
Navigate to “HKEY_LOCAL_MACHINE\SOFTWARE\Wow6432Node\Bosch\RPSAPI\Setup”. Modify the value of “EnableHTTPS” from 0 to 1.
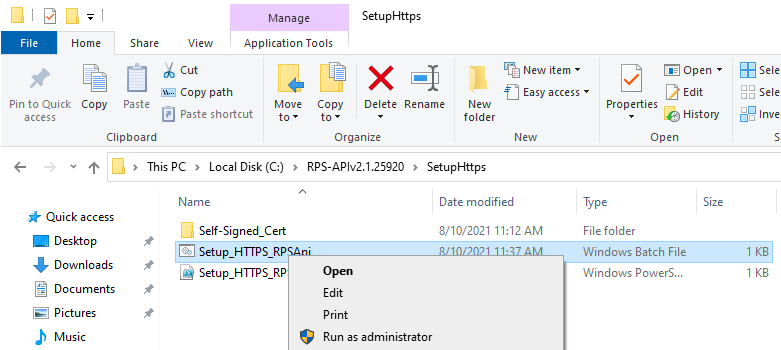
To create the certificate binding the following files are available within the SetupHttps folder:
-
Setup_HTTPS_RPSApi.ps1 (MS PowerShell)
-
Setup_HTTPS_RPSApi.bat (batch file)
In this guide we will use the batch file.
Right click the batch file and click edit
Copy the thumbprint of the certificate used: Open the certificate, go to Details tab and scroll down to Thumbprint.
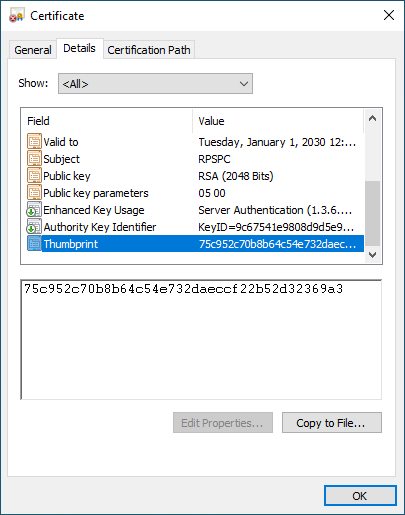
Paste the thumbprint next to certhash=
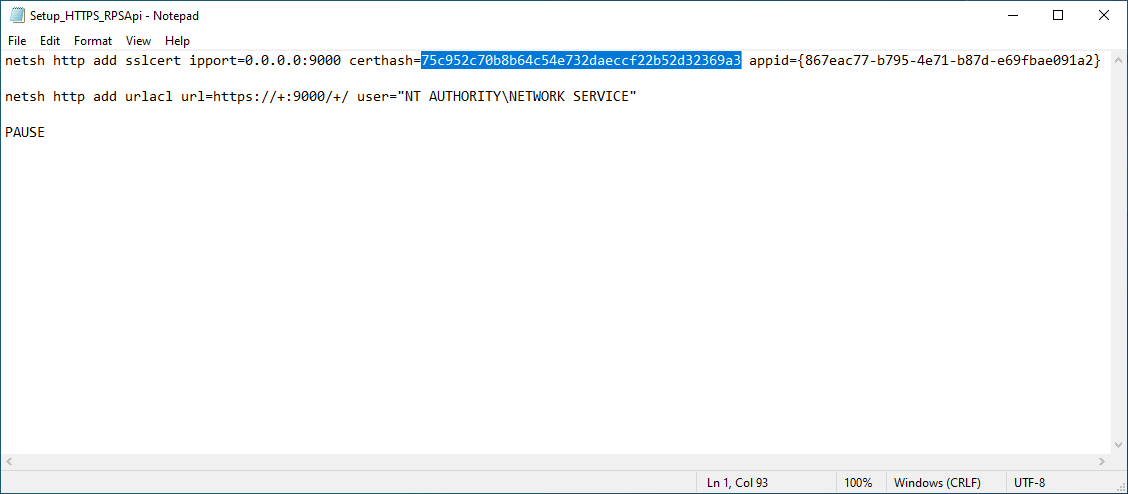
Note: if RPS API is not running in port 9000, change the port number in the batch file.
After saving the batch file, run it as administrator. Successful messages should appear now.
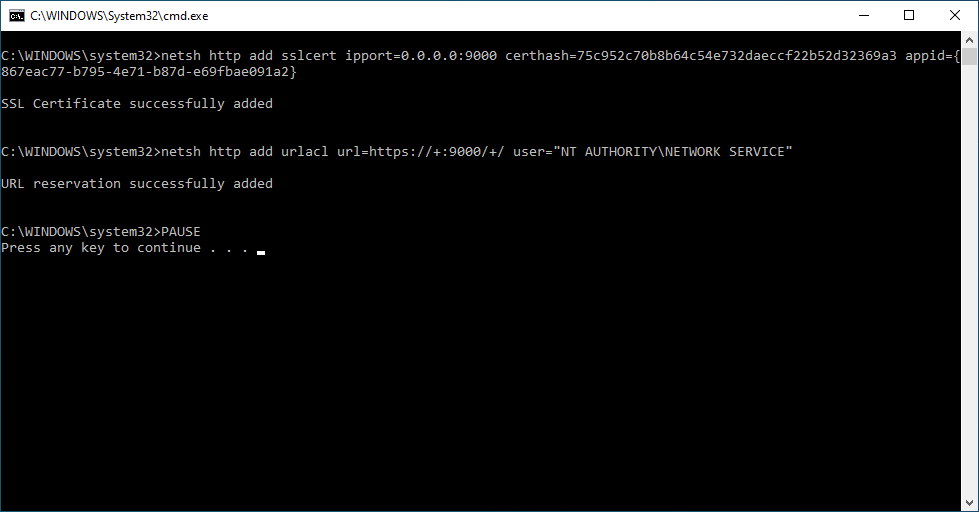
Start the Bosch RPS API Service.
3. Import the certificate into AMS server
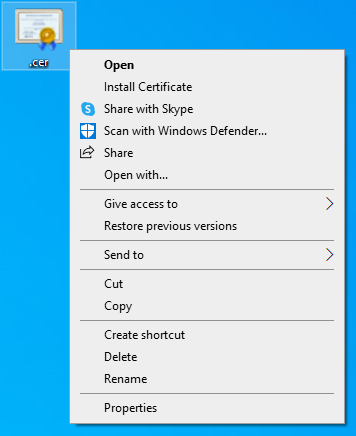
Copy the certificate file and paste into the AMS server
Right click the certificate and click Install Certificate
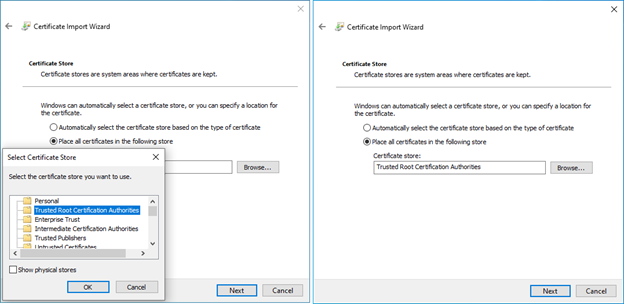
In the Certificate Import Wizard, Select Local Machine and click next.
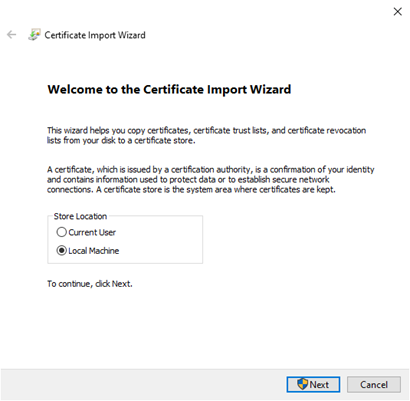
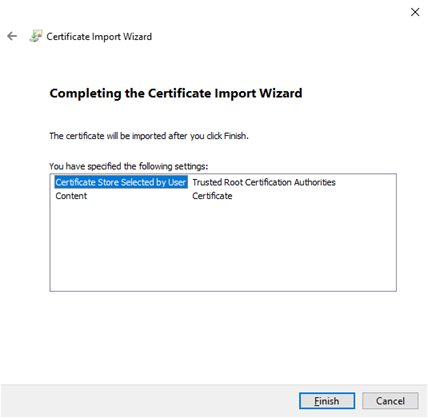
Choose the Certificate store “Trusted Root Certification Authorities” and click next
Click Finish
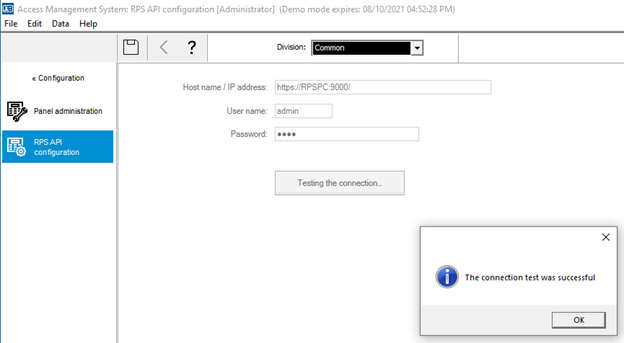
To verify Https communication is working launch AMS.
Go to Configuration -> Panels -> RPS API configuration
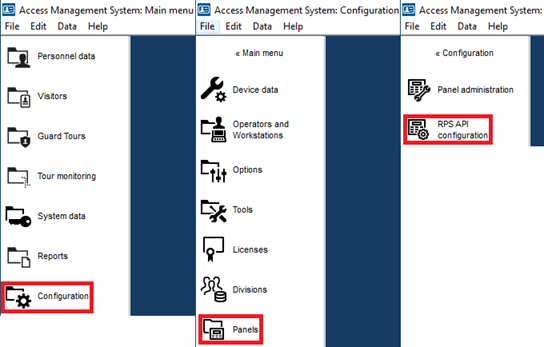
Verify all the values are correct and click Test the connection. A successful message will appear