Starting with version 3.7, a new feature was introduced in Video Security App/ Client: Direct link to cloud recording web interface for Alarm Management accounts
Before using this feature, please be sure that you have configured your devices in a proper way.
Note: VideoView+ for DIVAR IP and cloud recording for Alarm Management require dedicated service licenses.
Once the devices are properly configured, follow the steps below to access the direct link to cloud recording web interface from Video Security App (VSC).
Step-by-step guide
Mobile Video Security App:
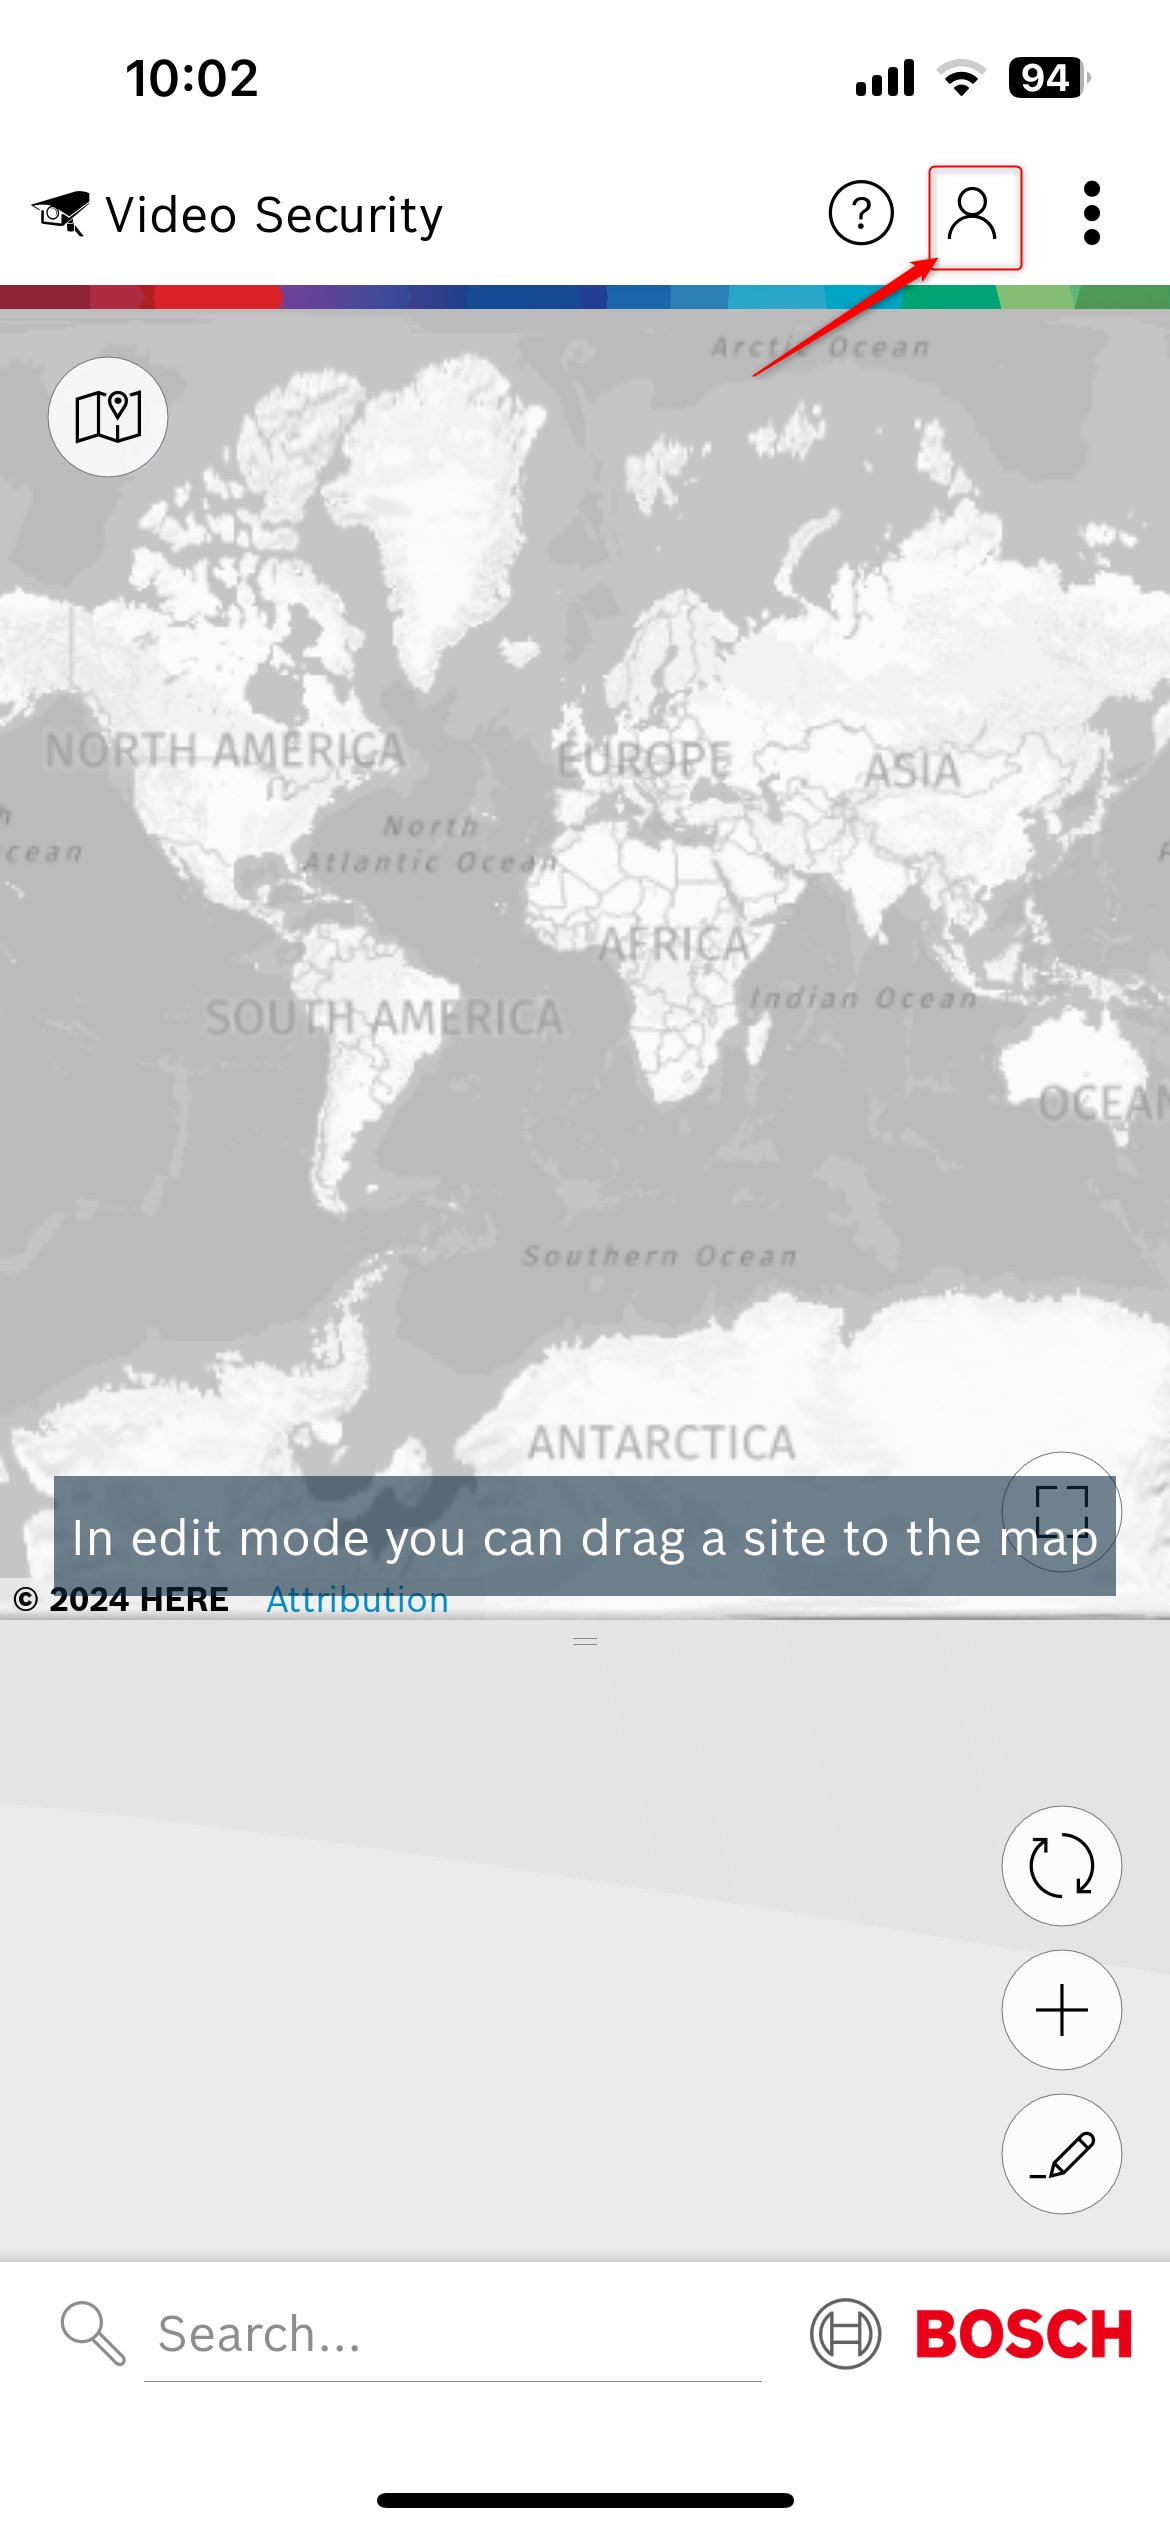
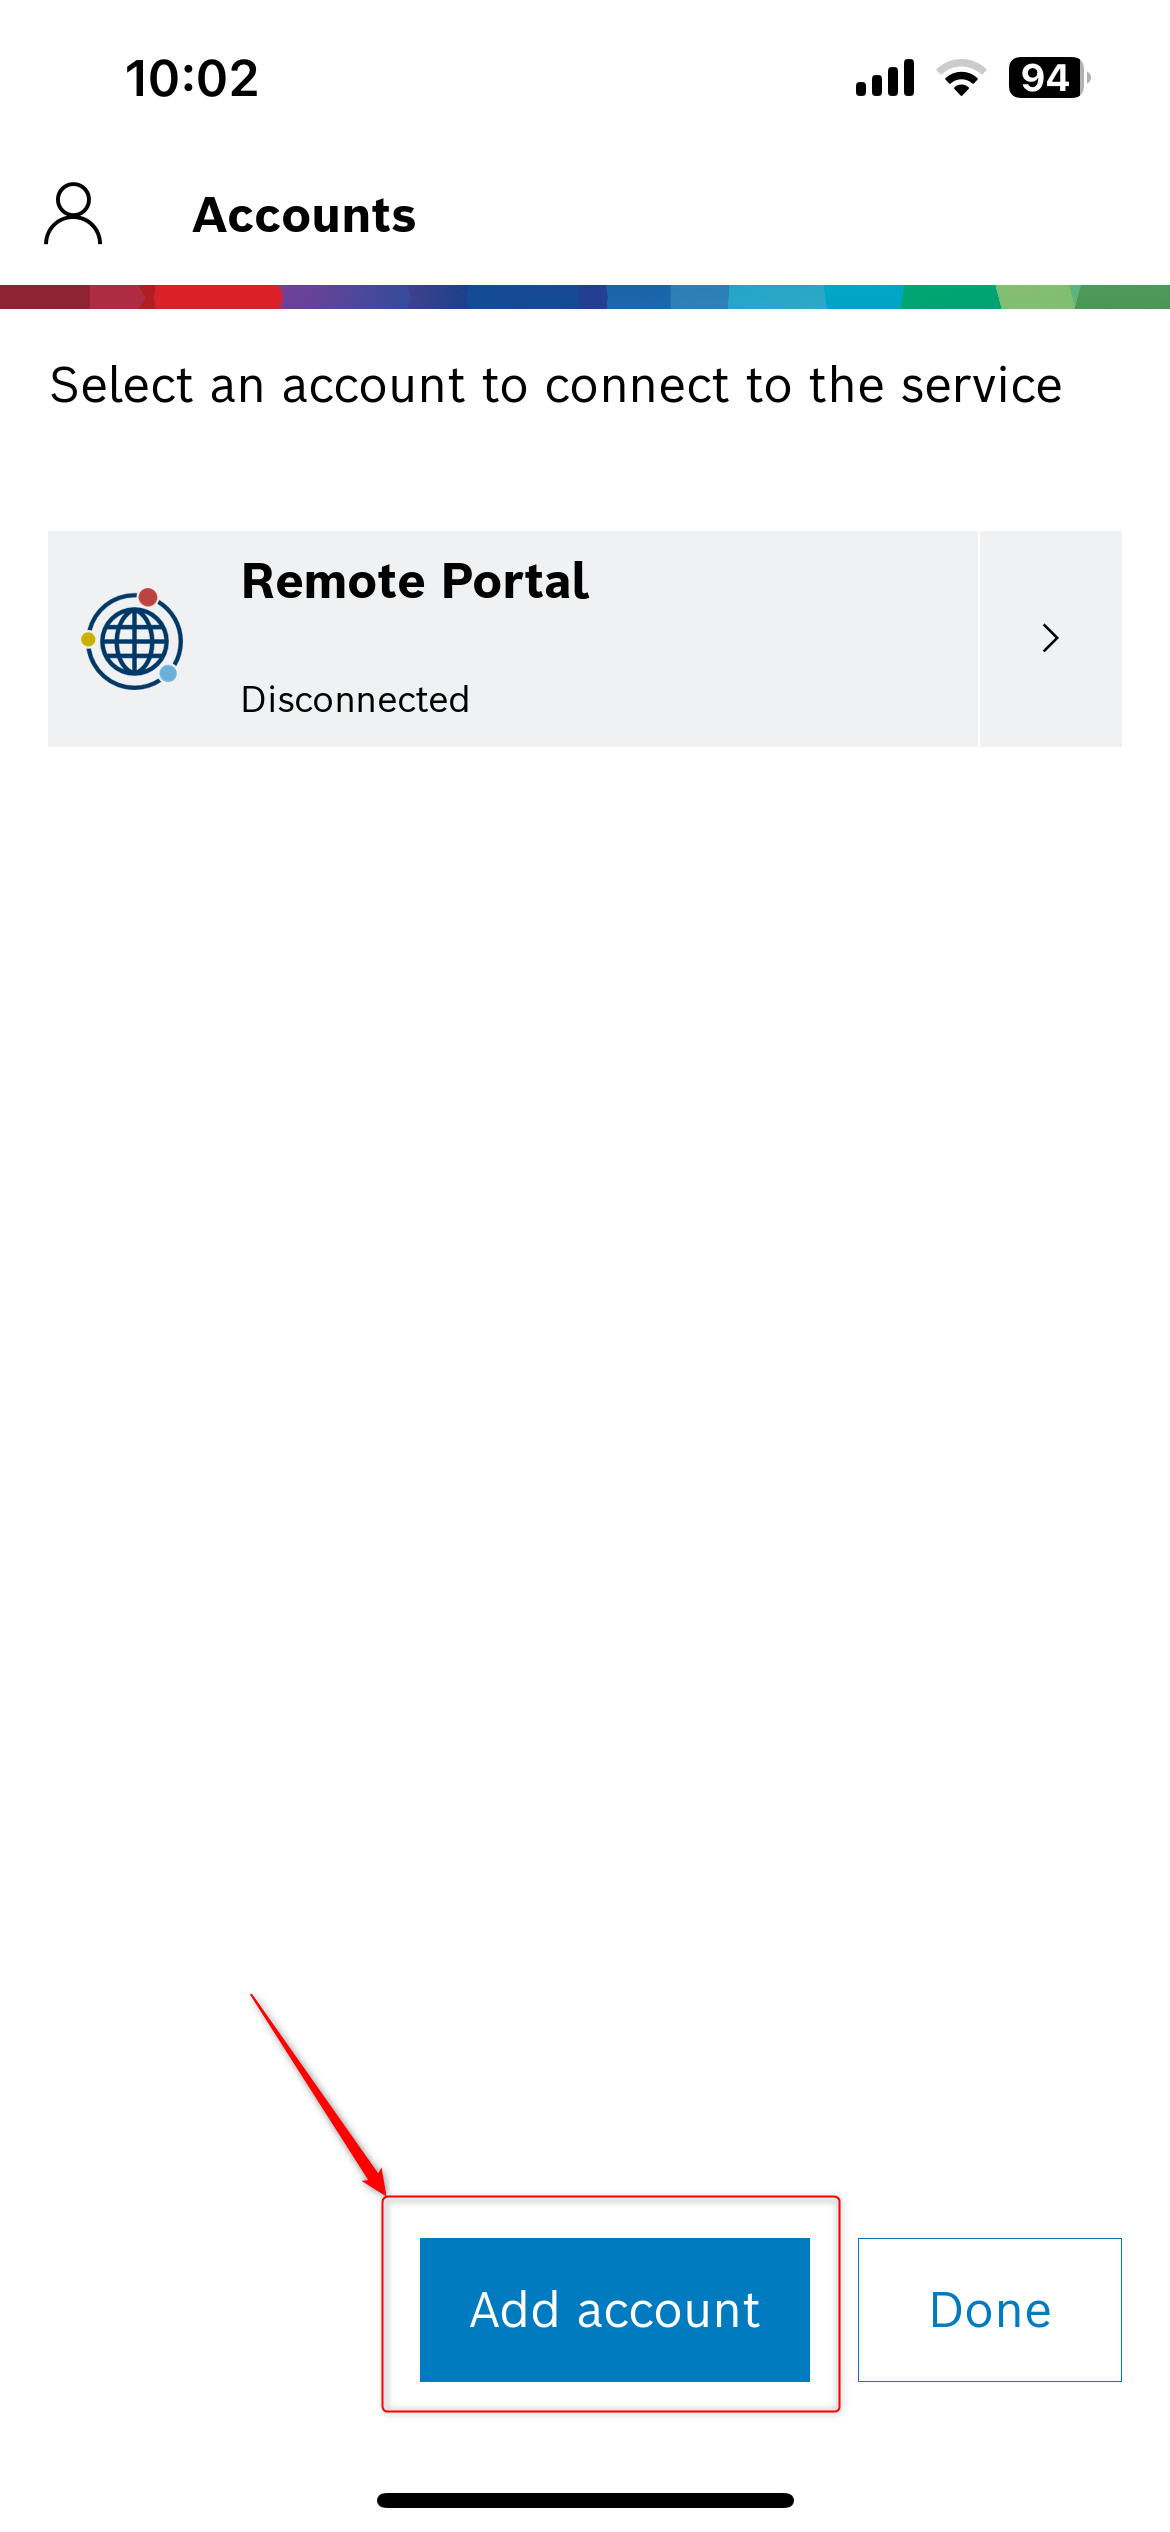
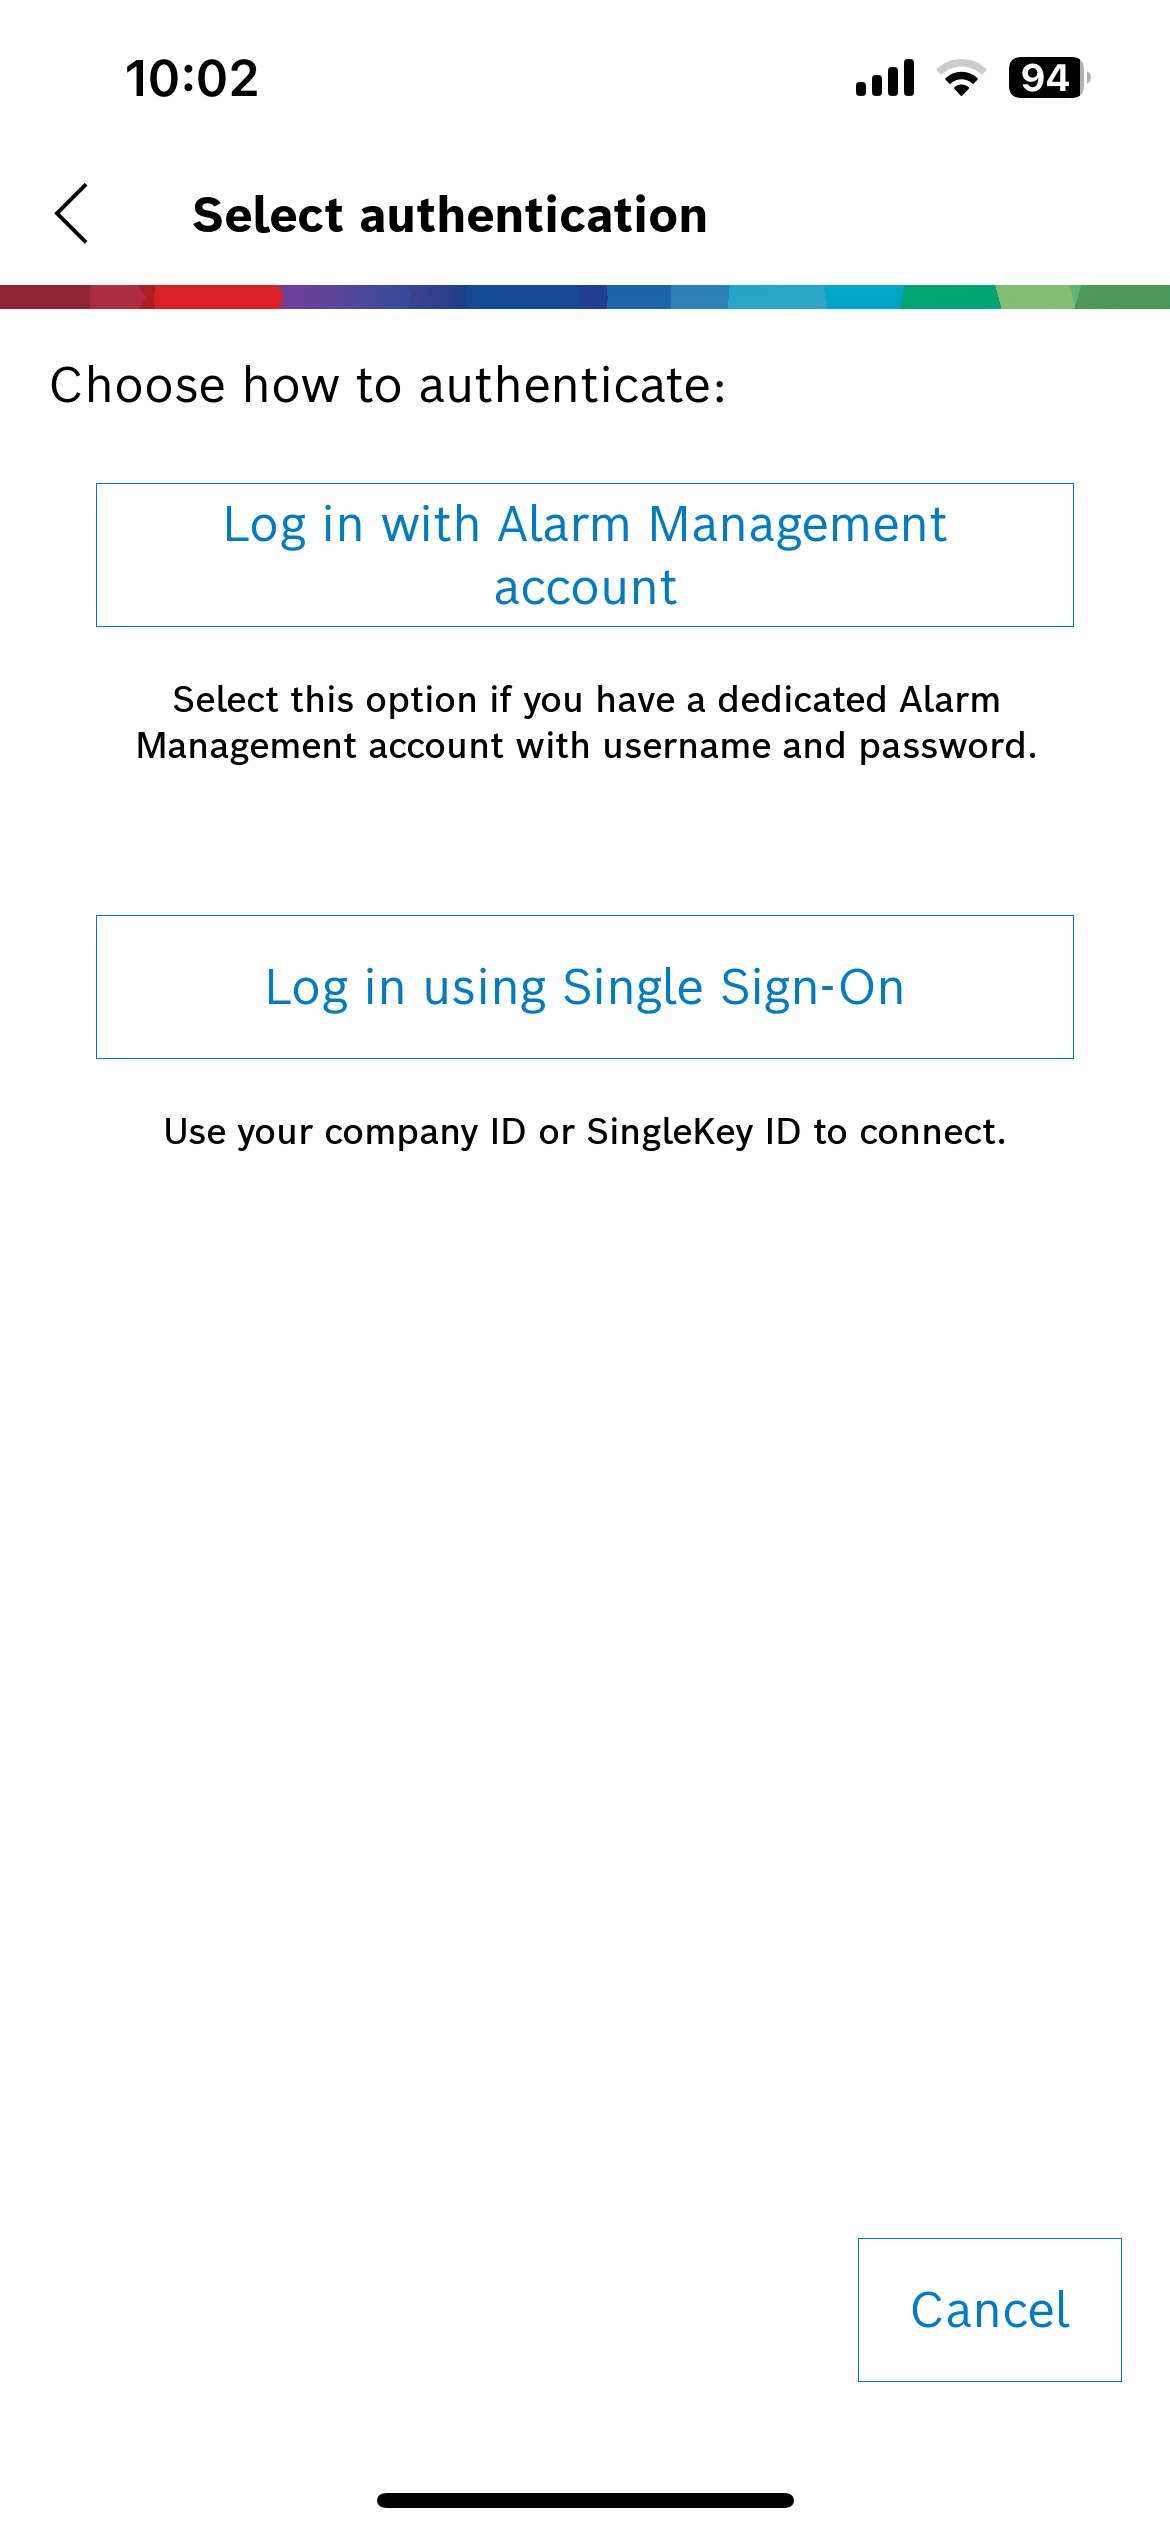
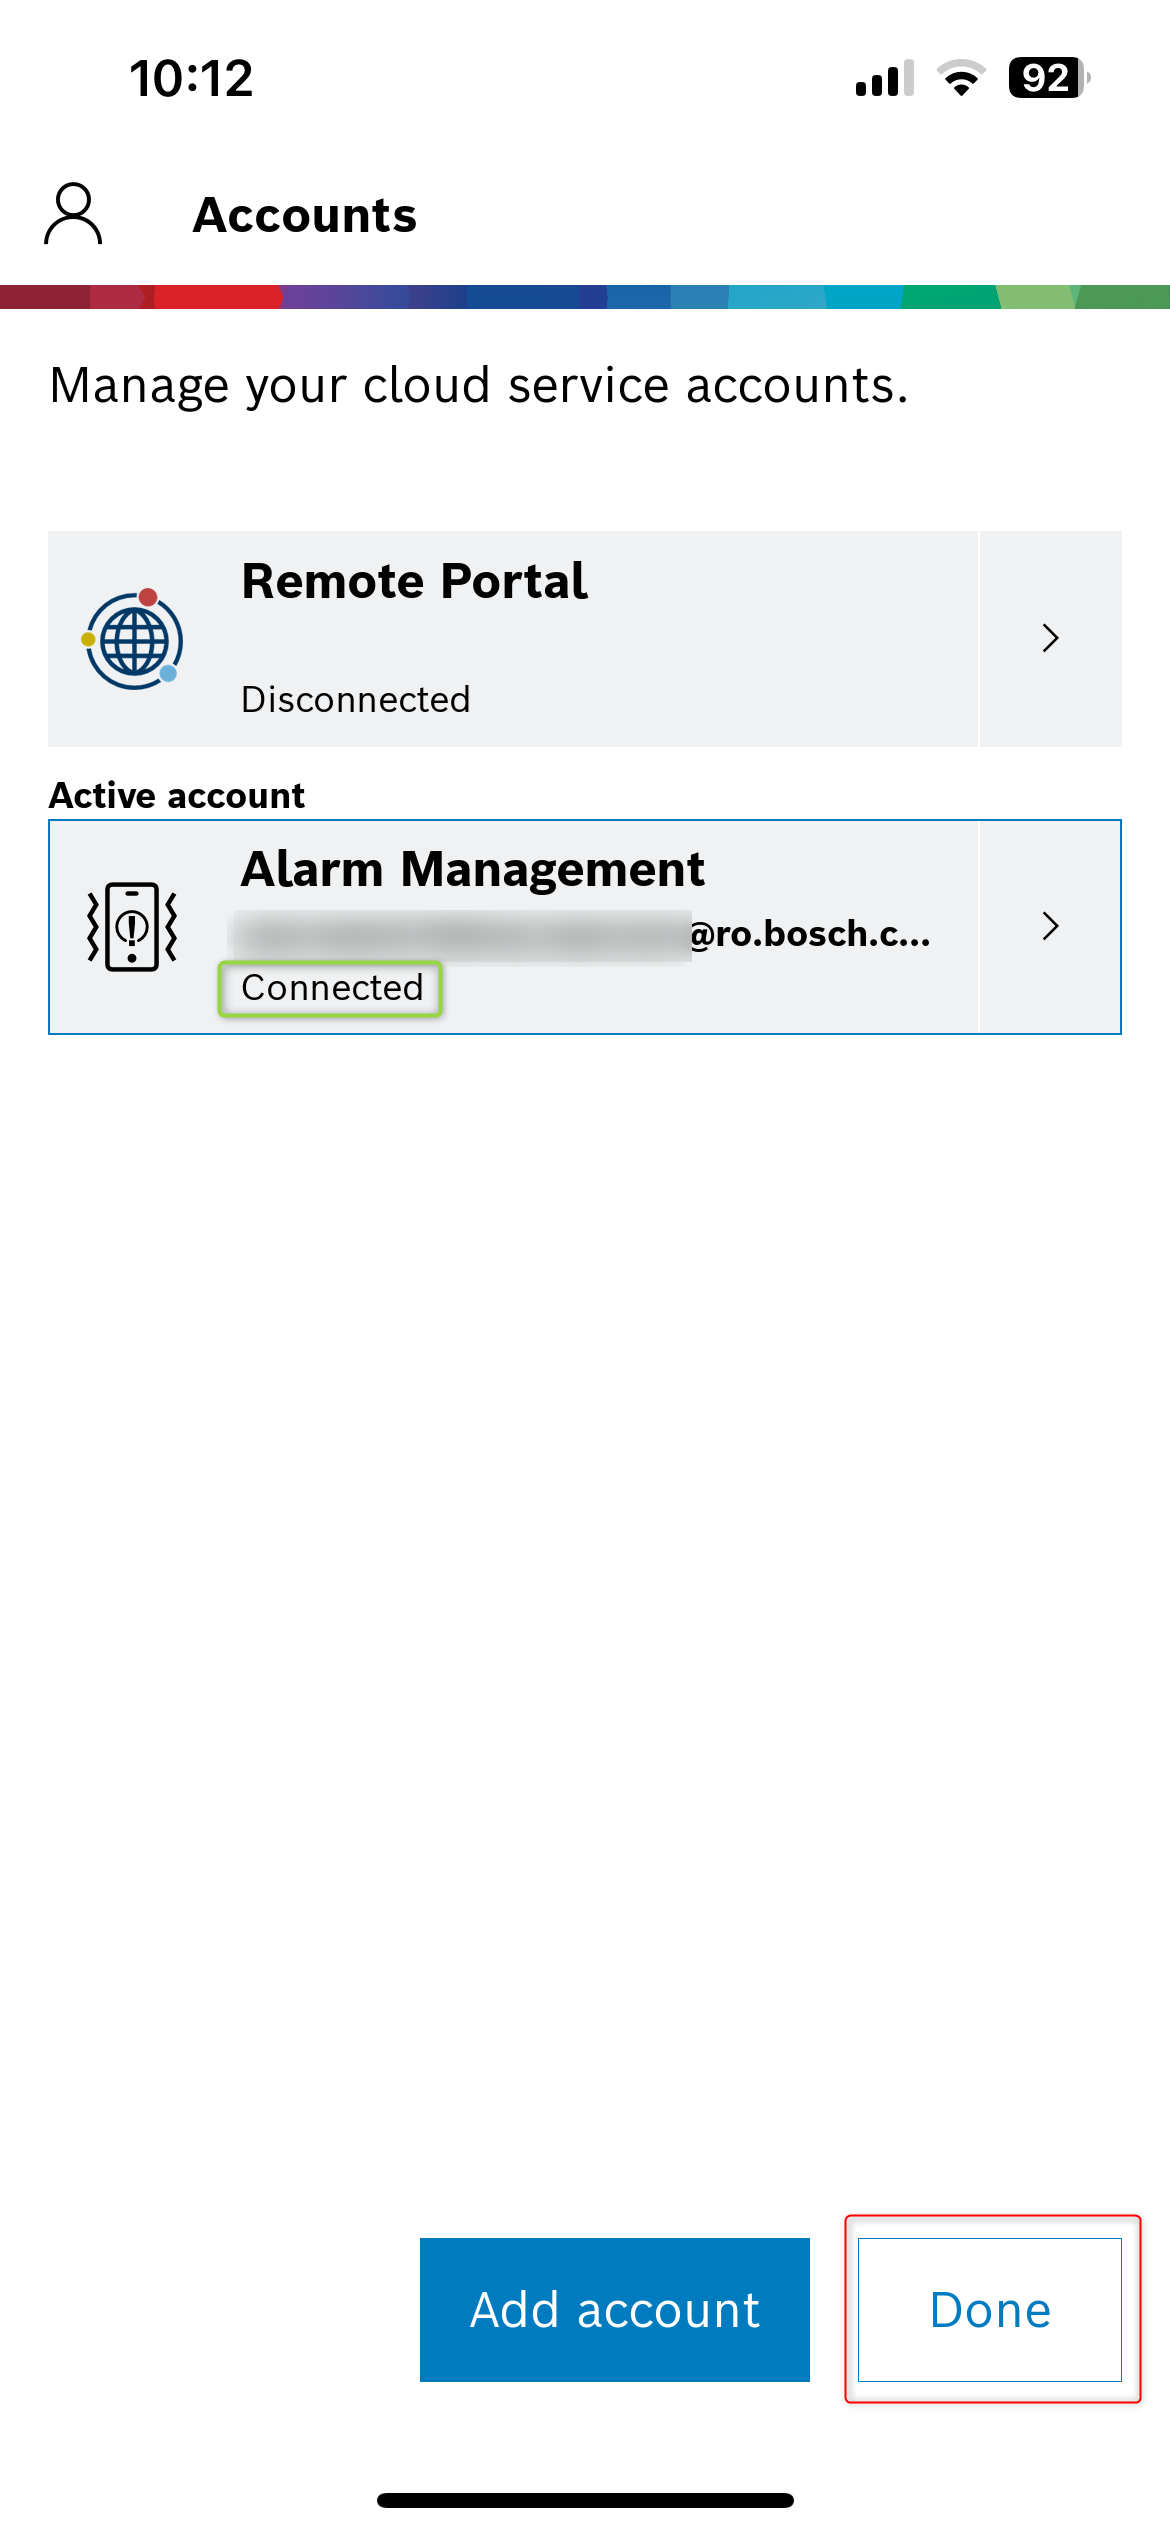
1. Open Video Security App and be sure that you are connected in you Alarm management account and not with your Remote Portal account:
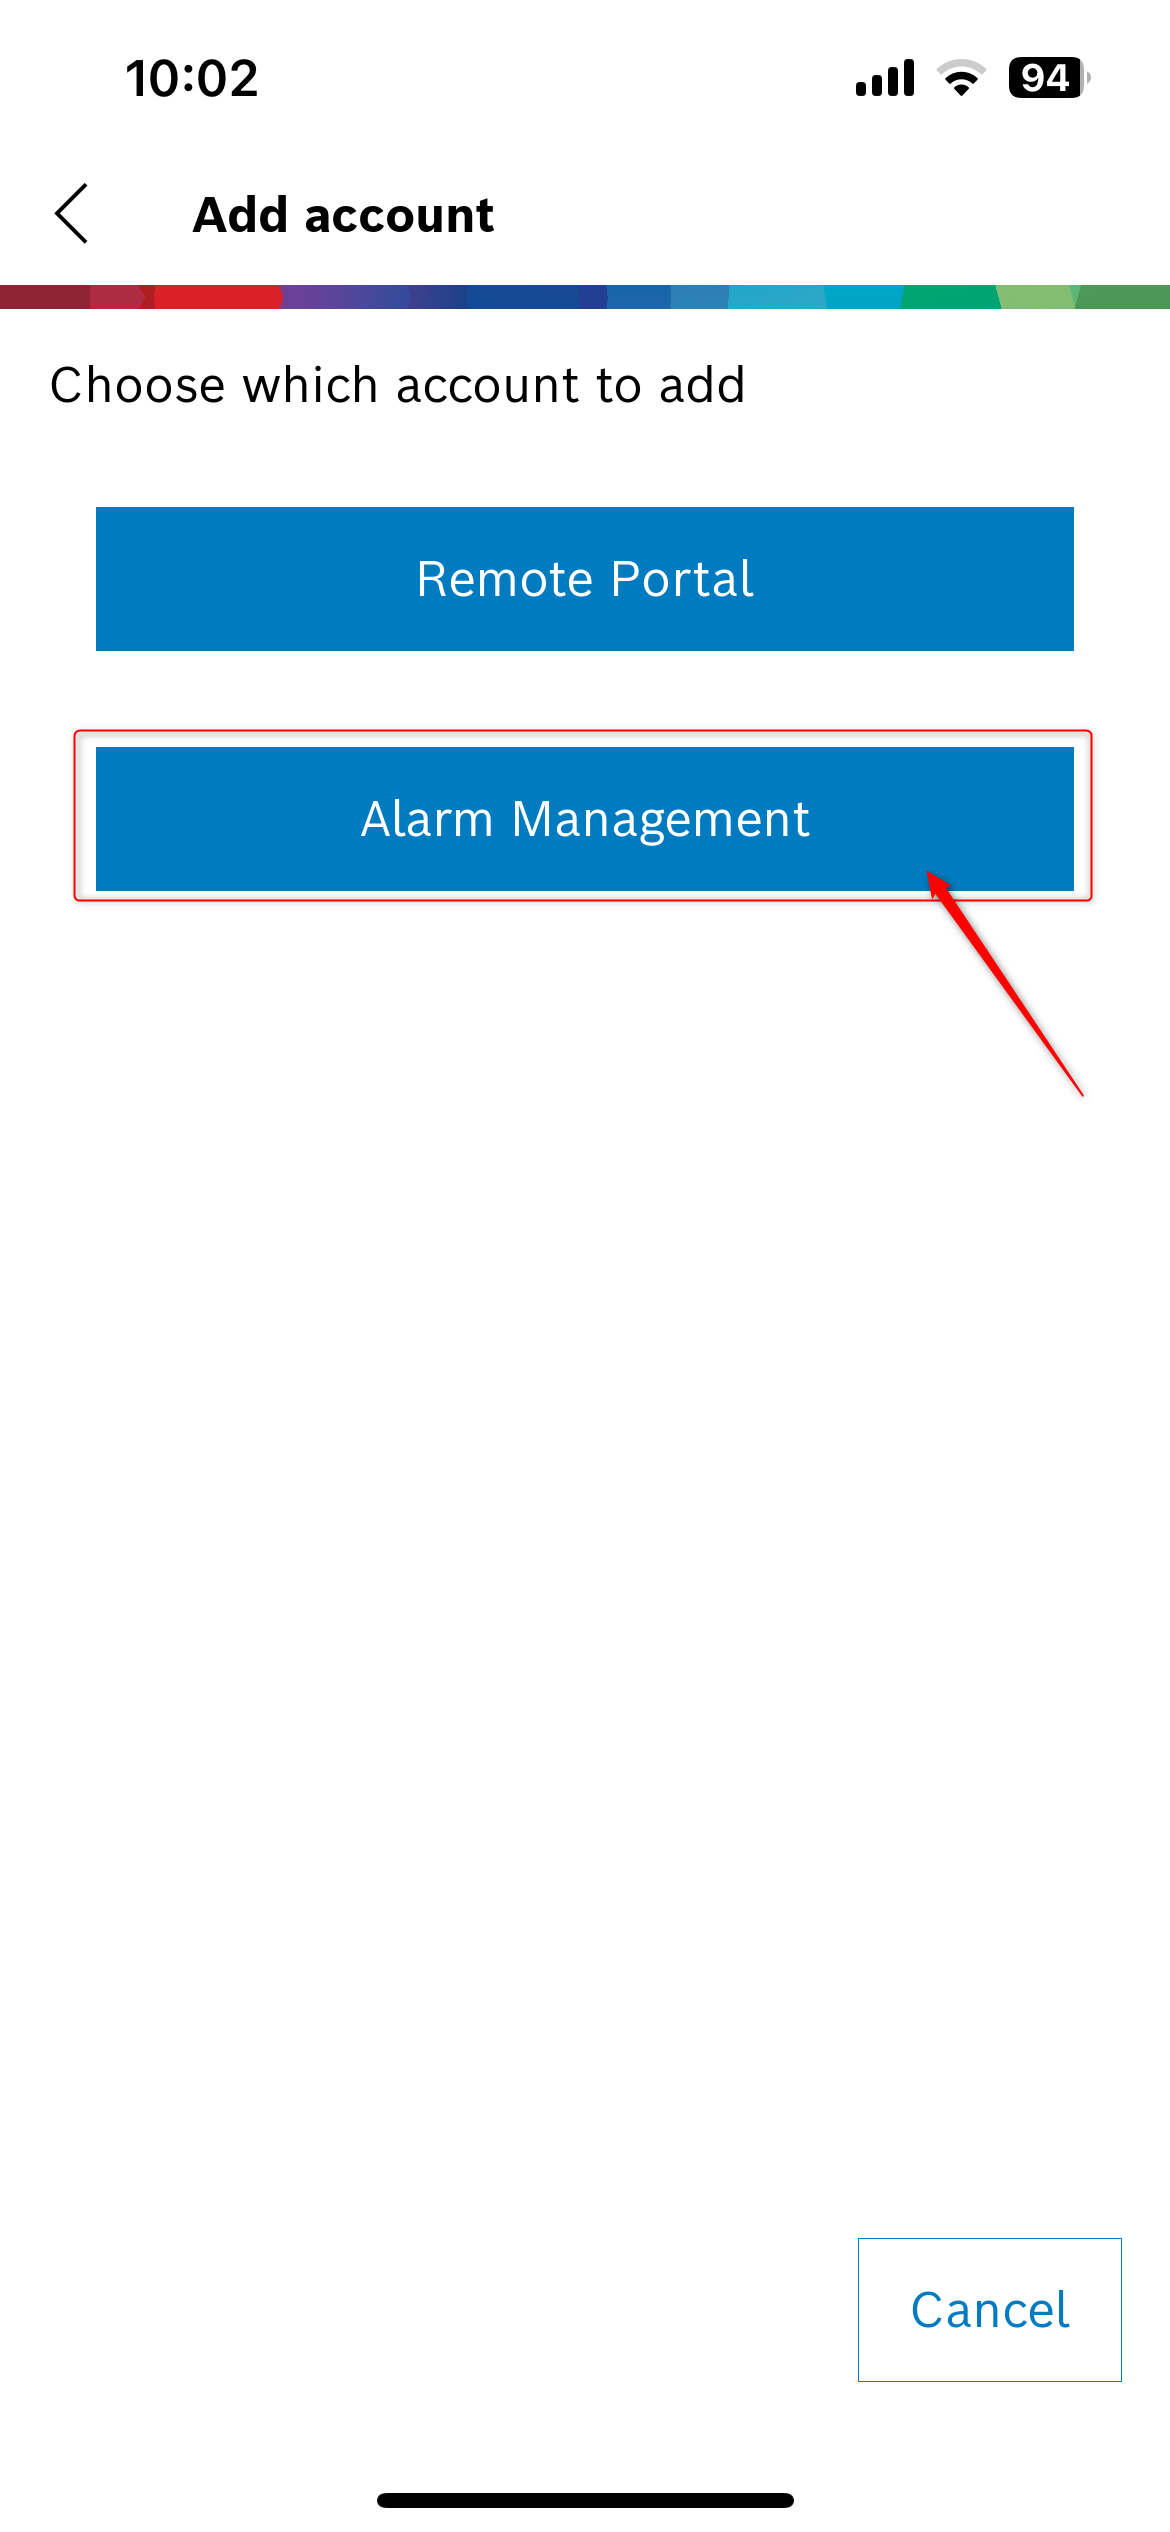
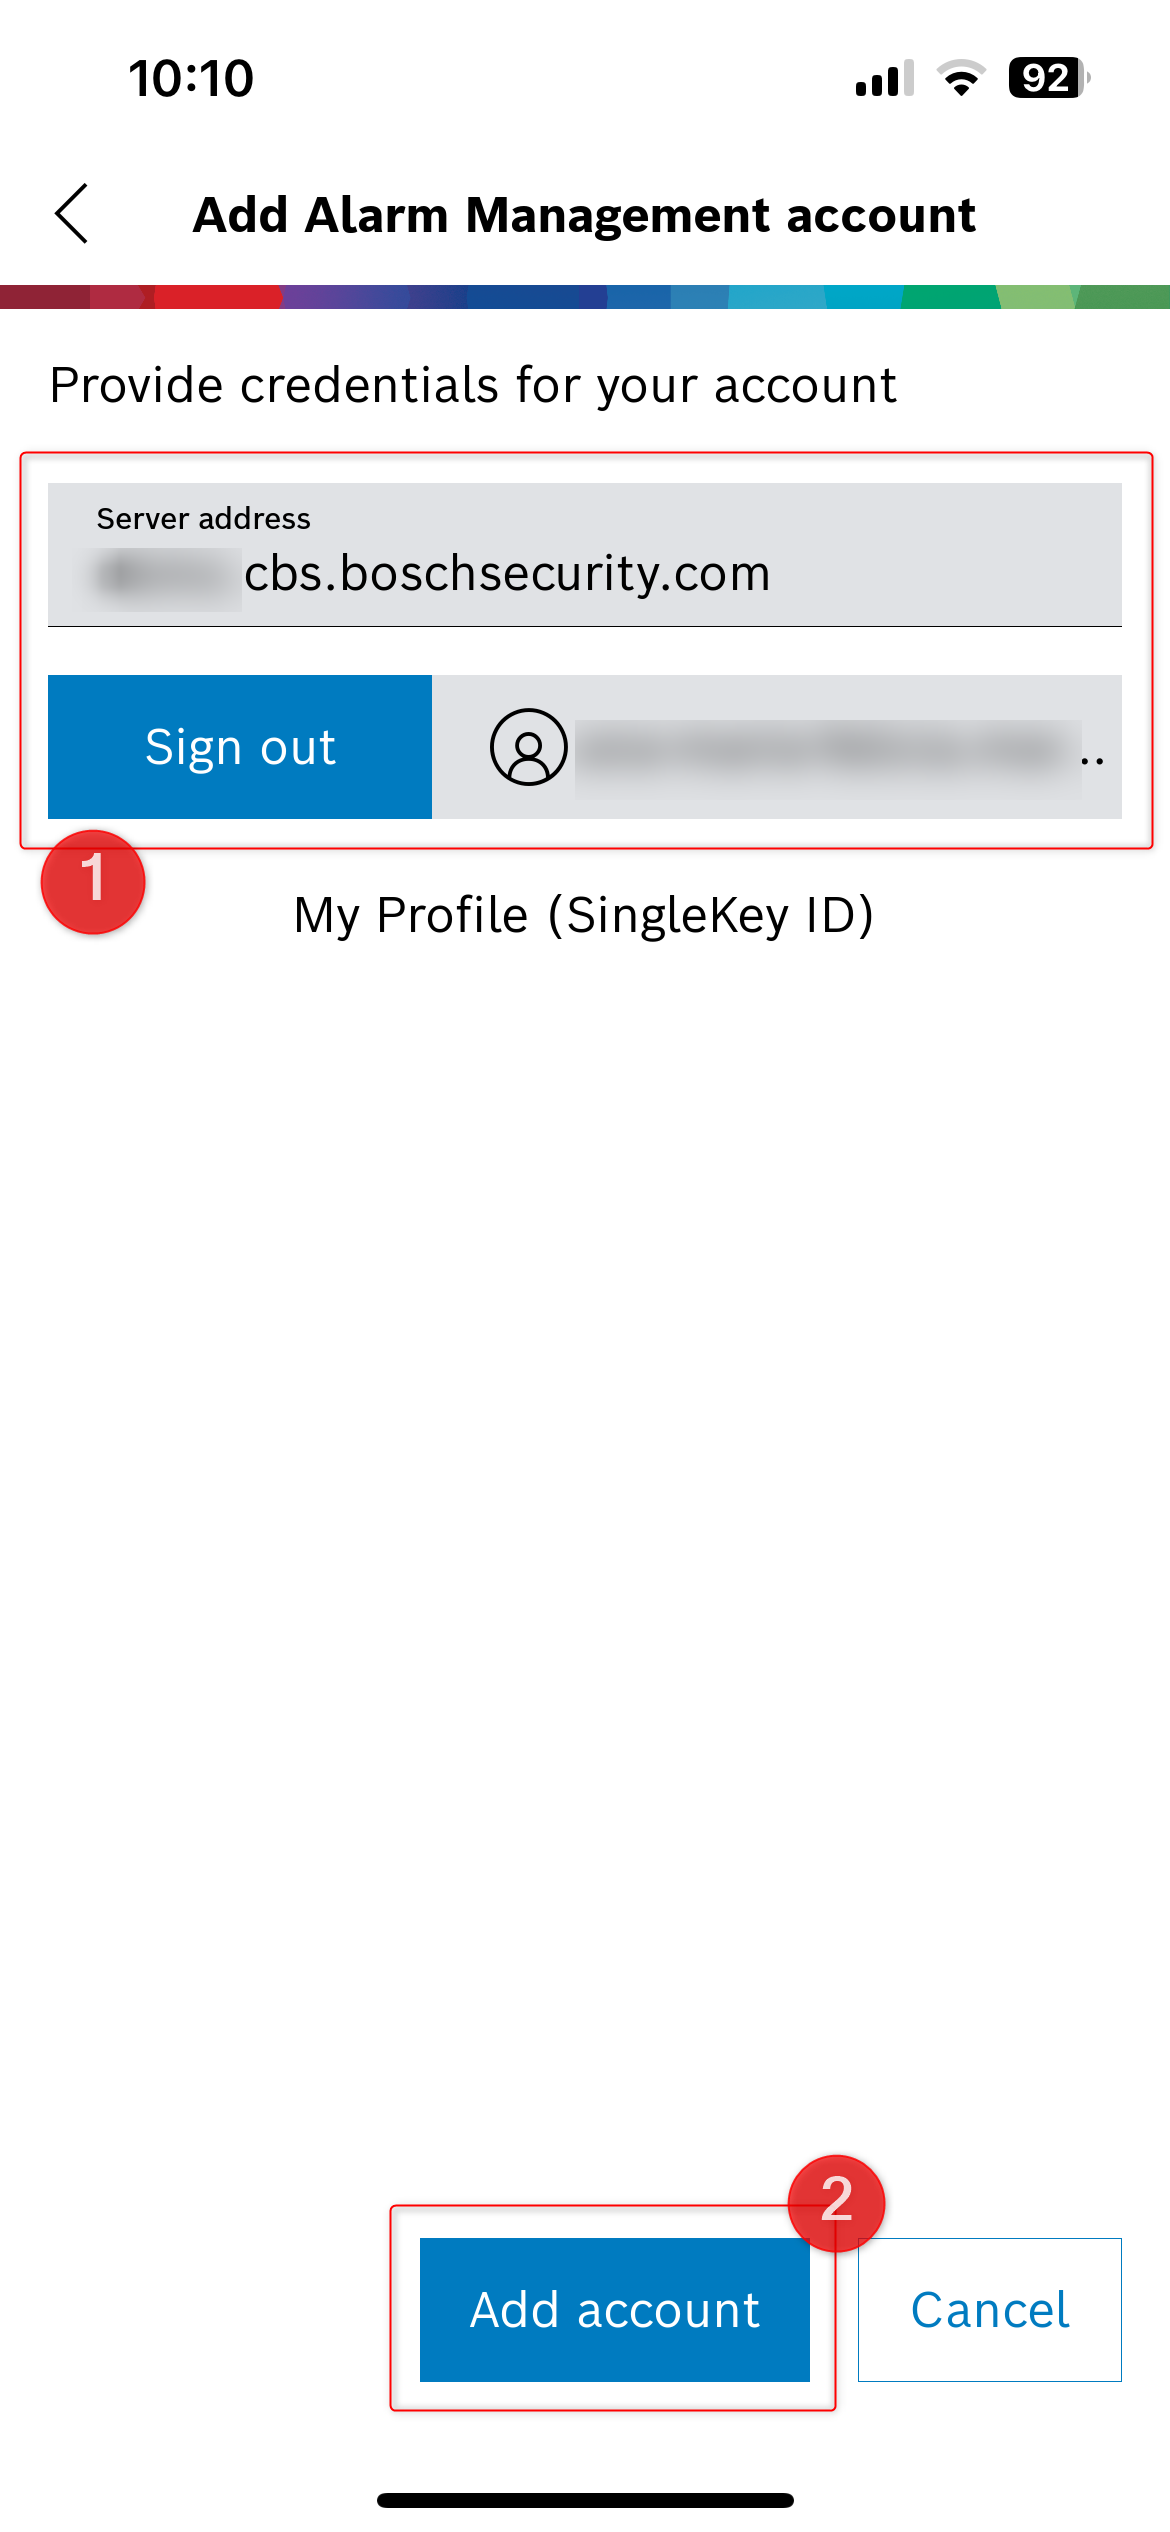
2. Select one of the options that matches your preferred login to your Alarm Management account. In this example, we logged in using Single Sign-On option (in this case, add your instance in the Server address field)
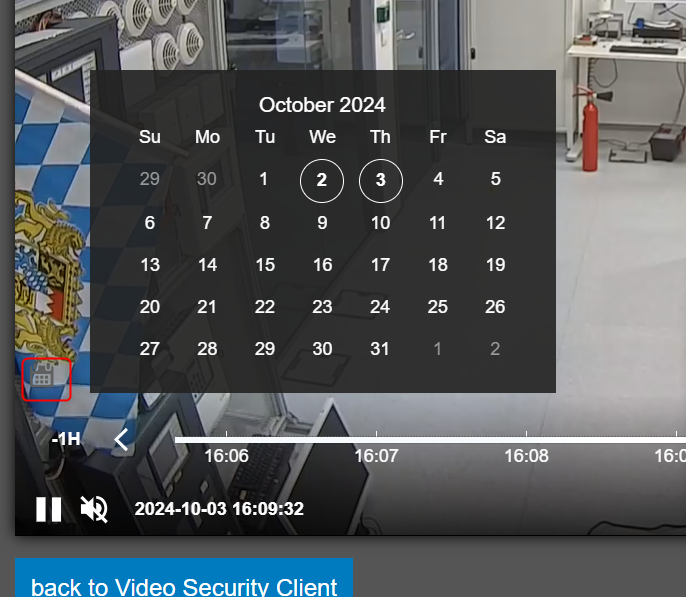
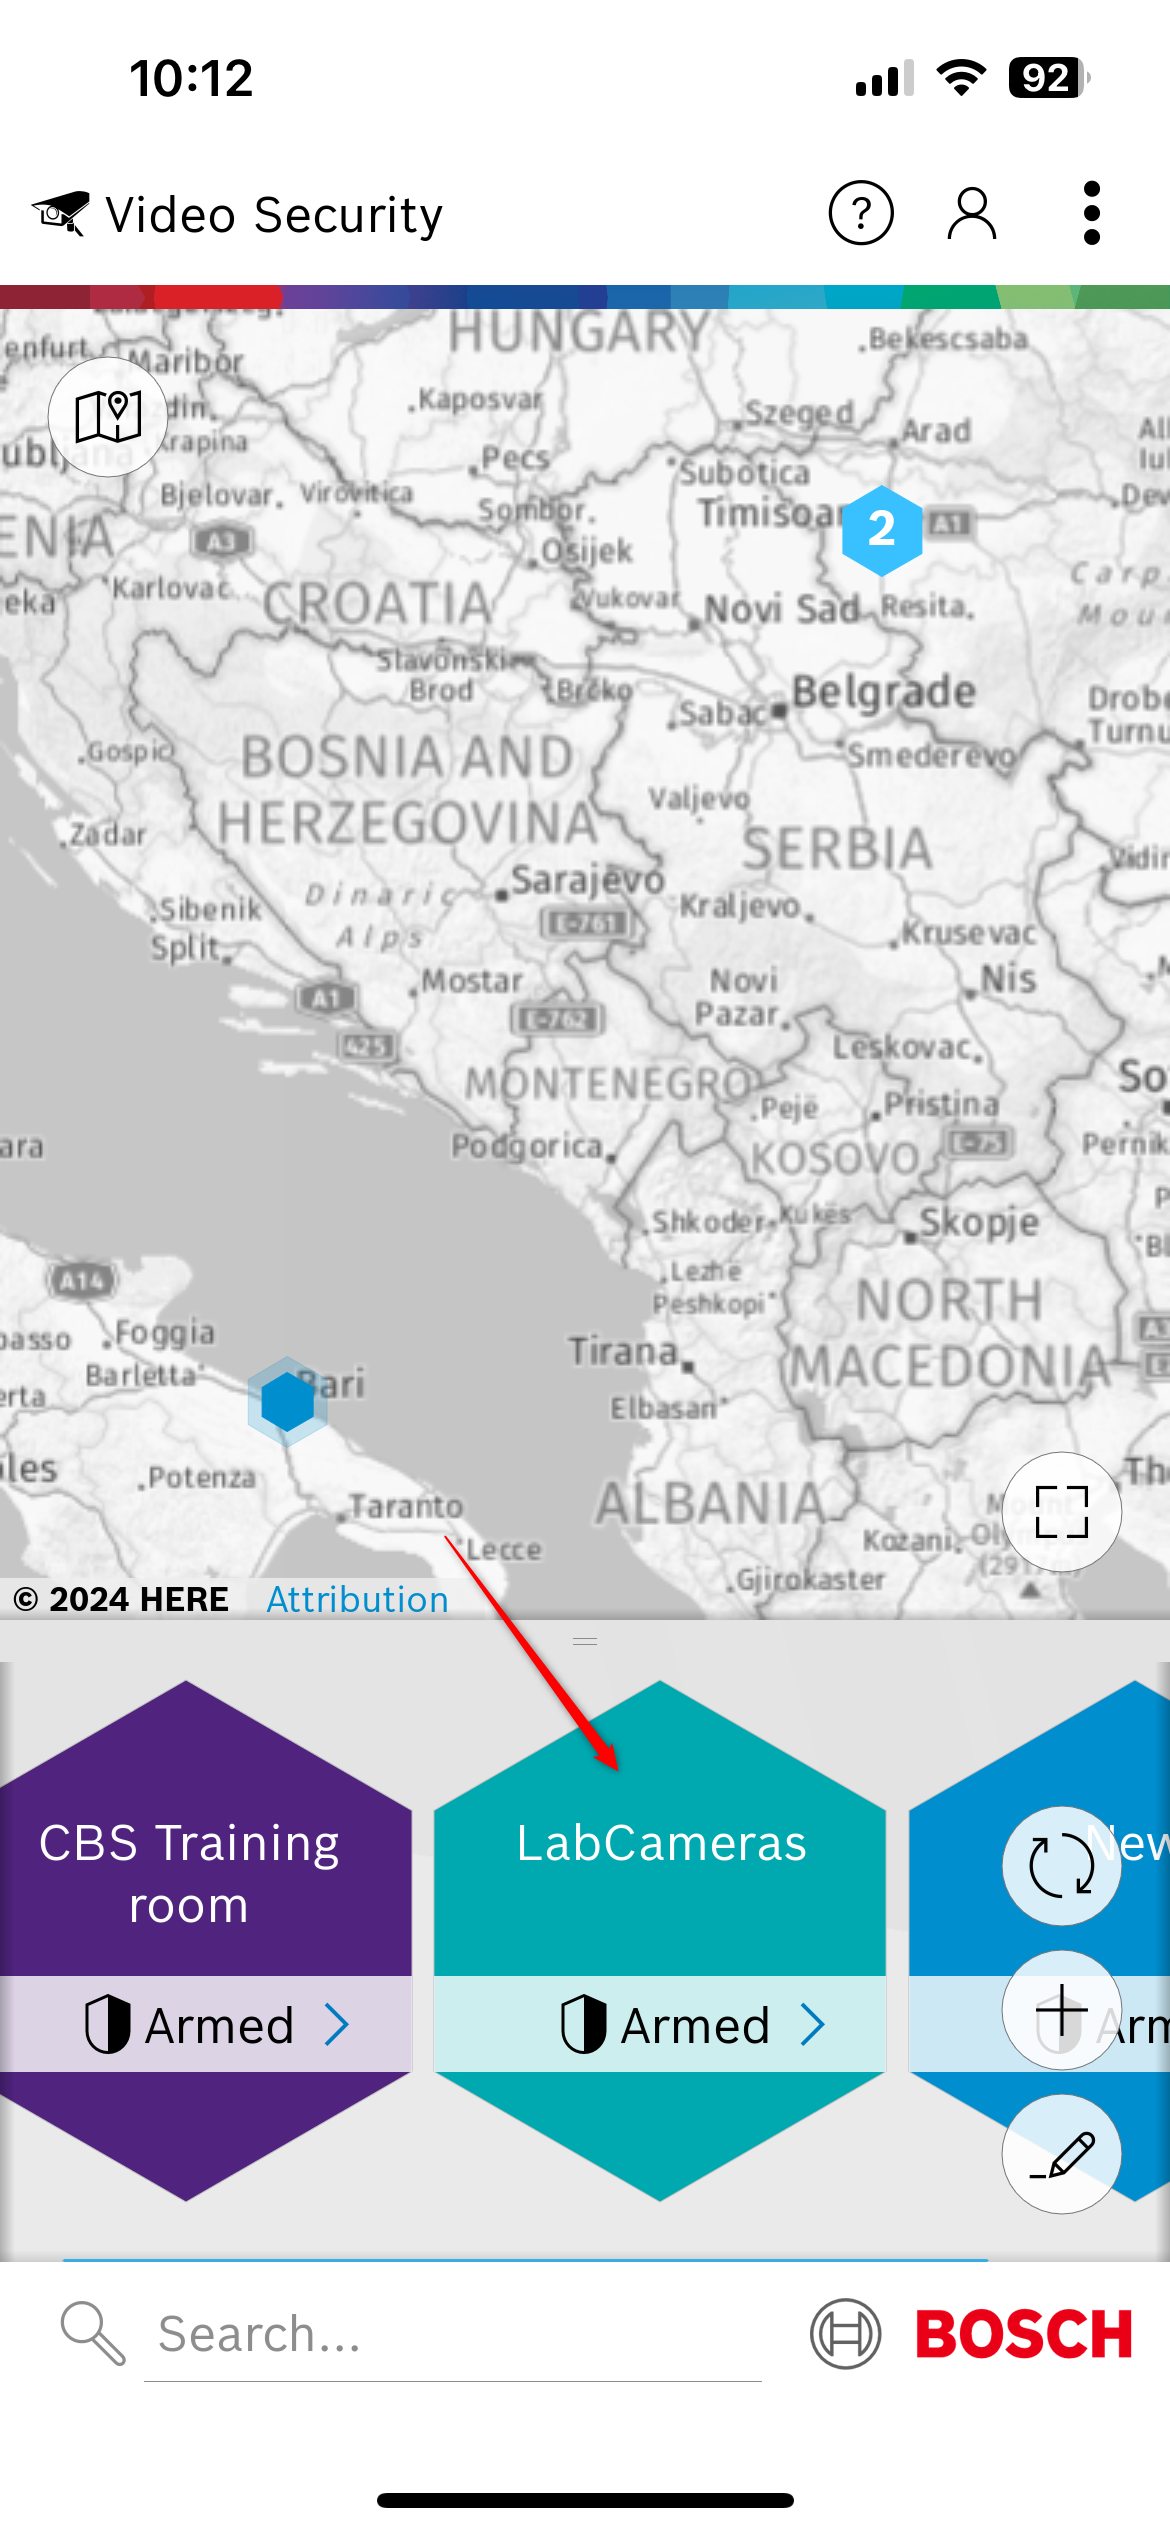
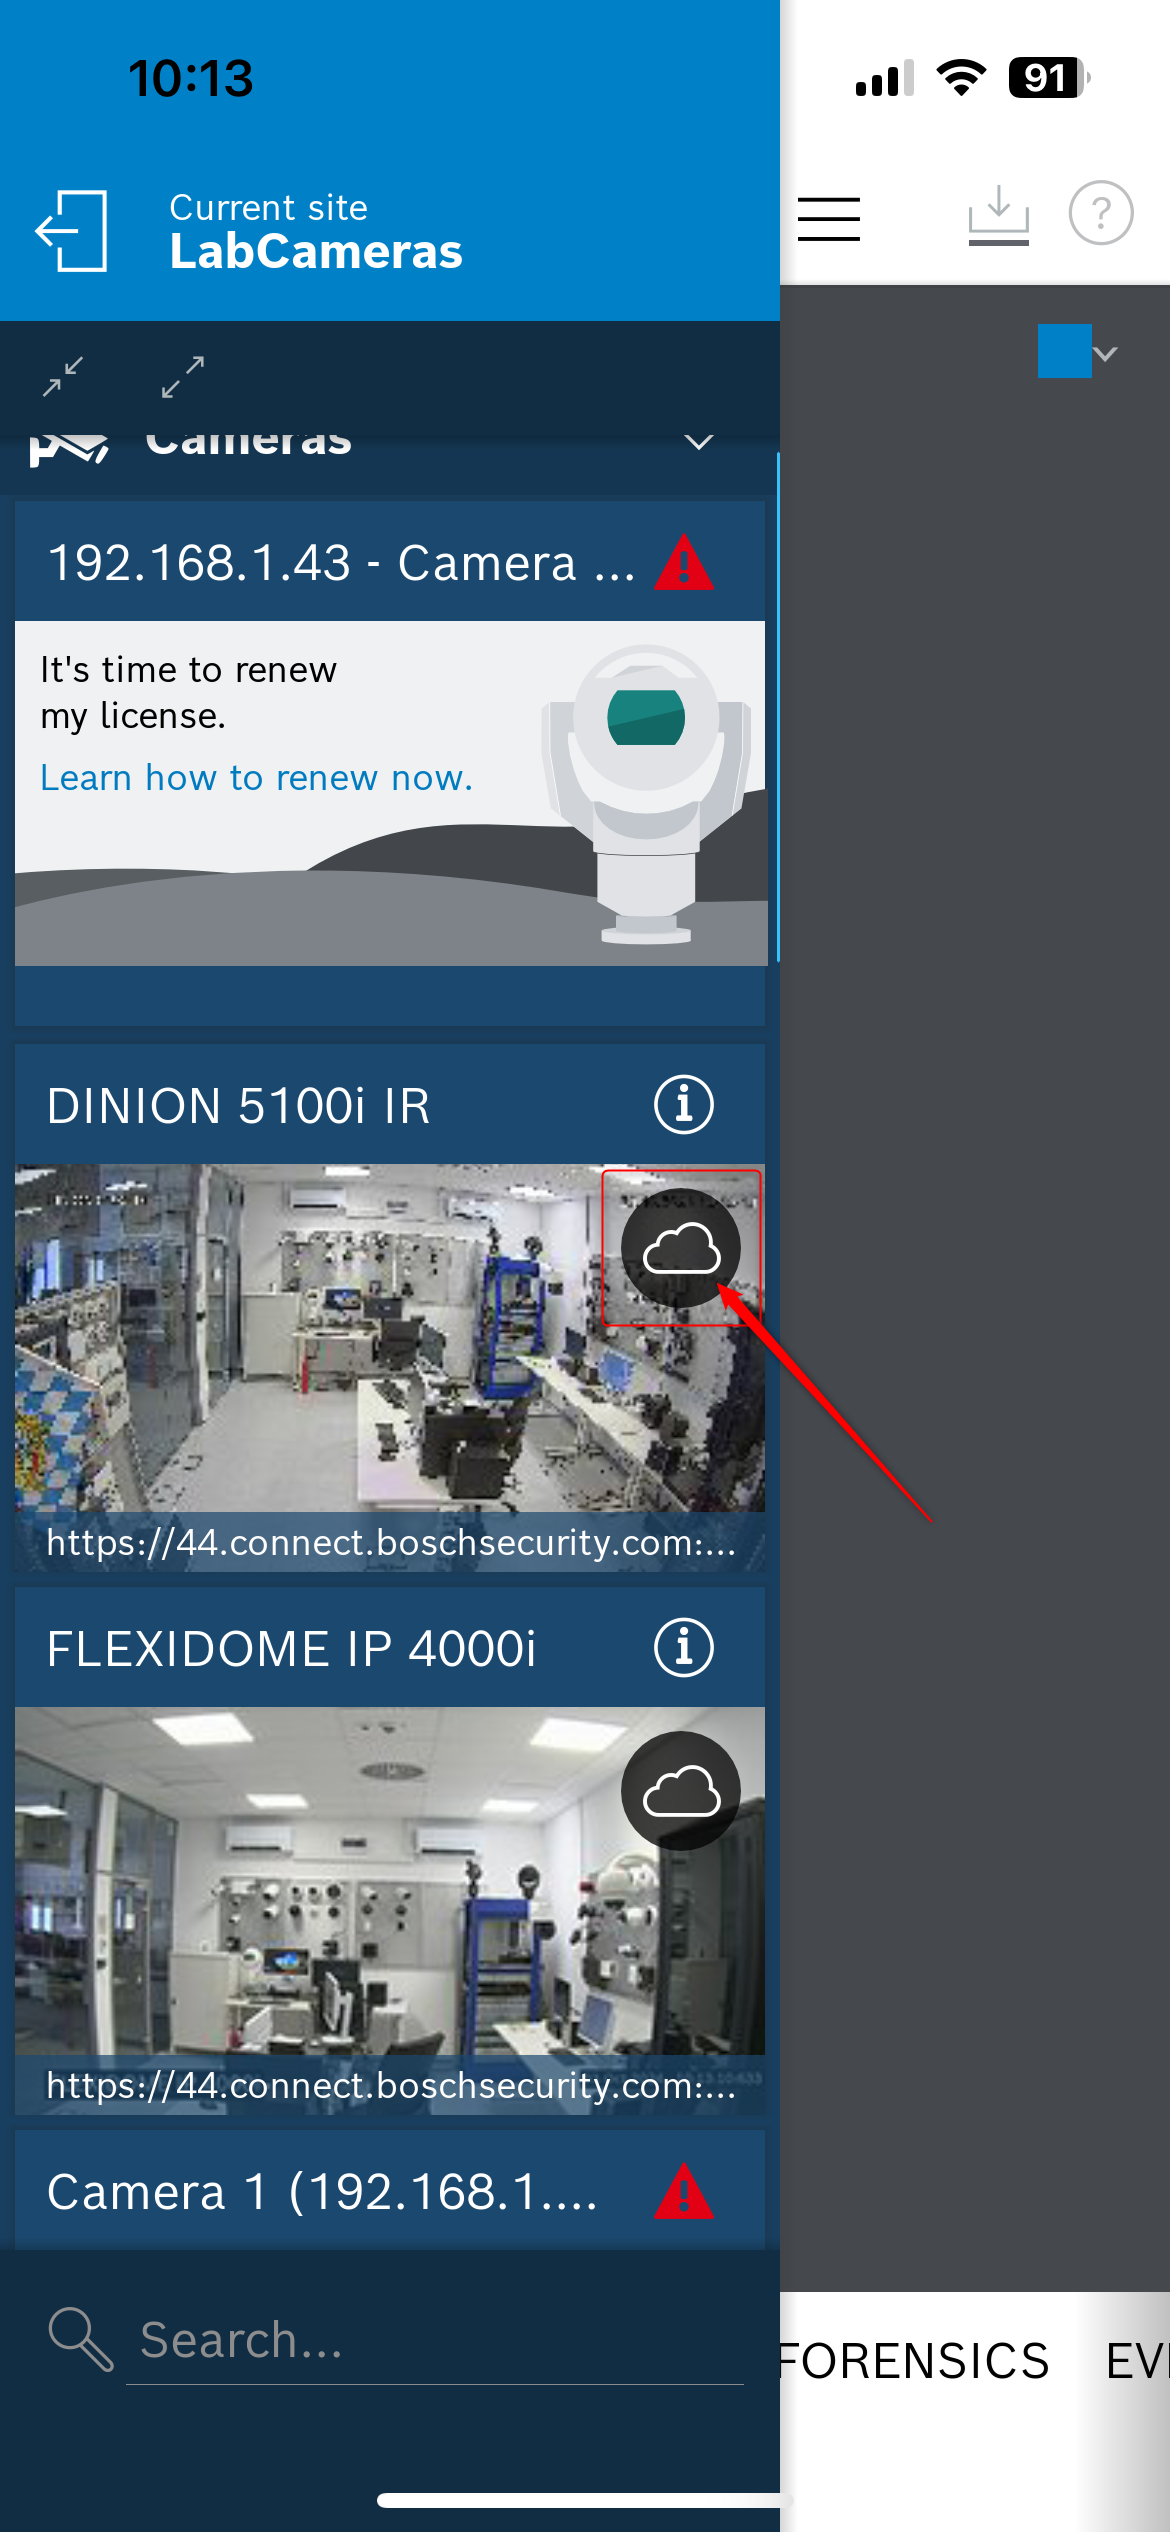
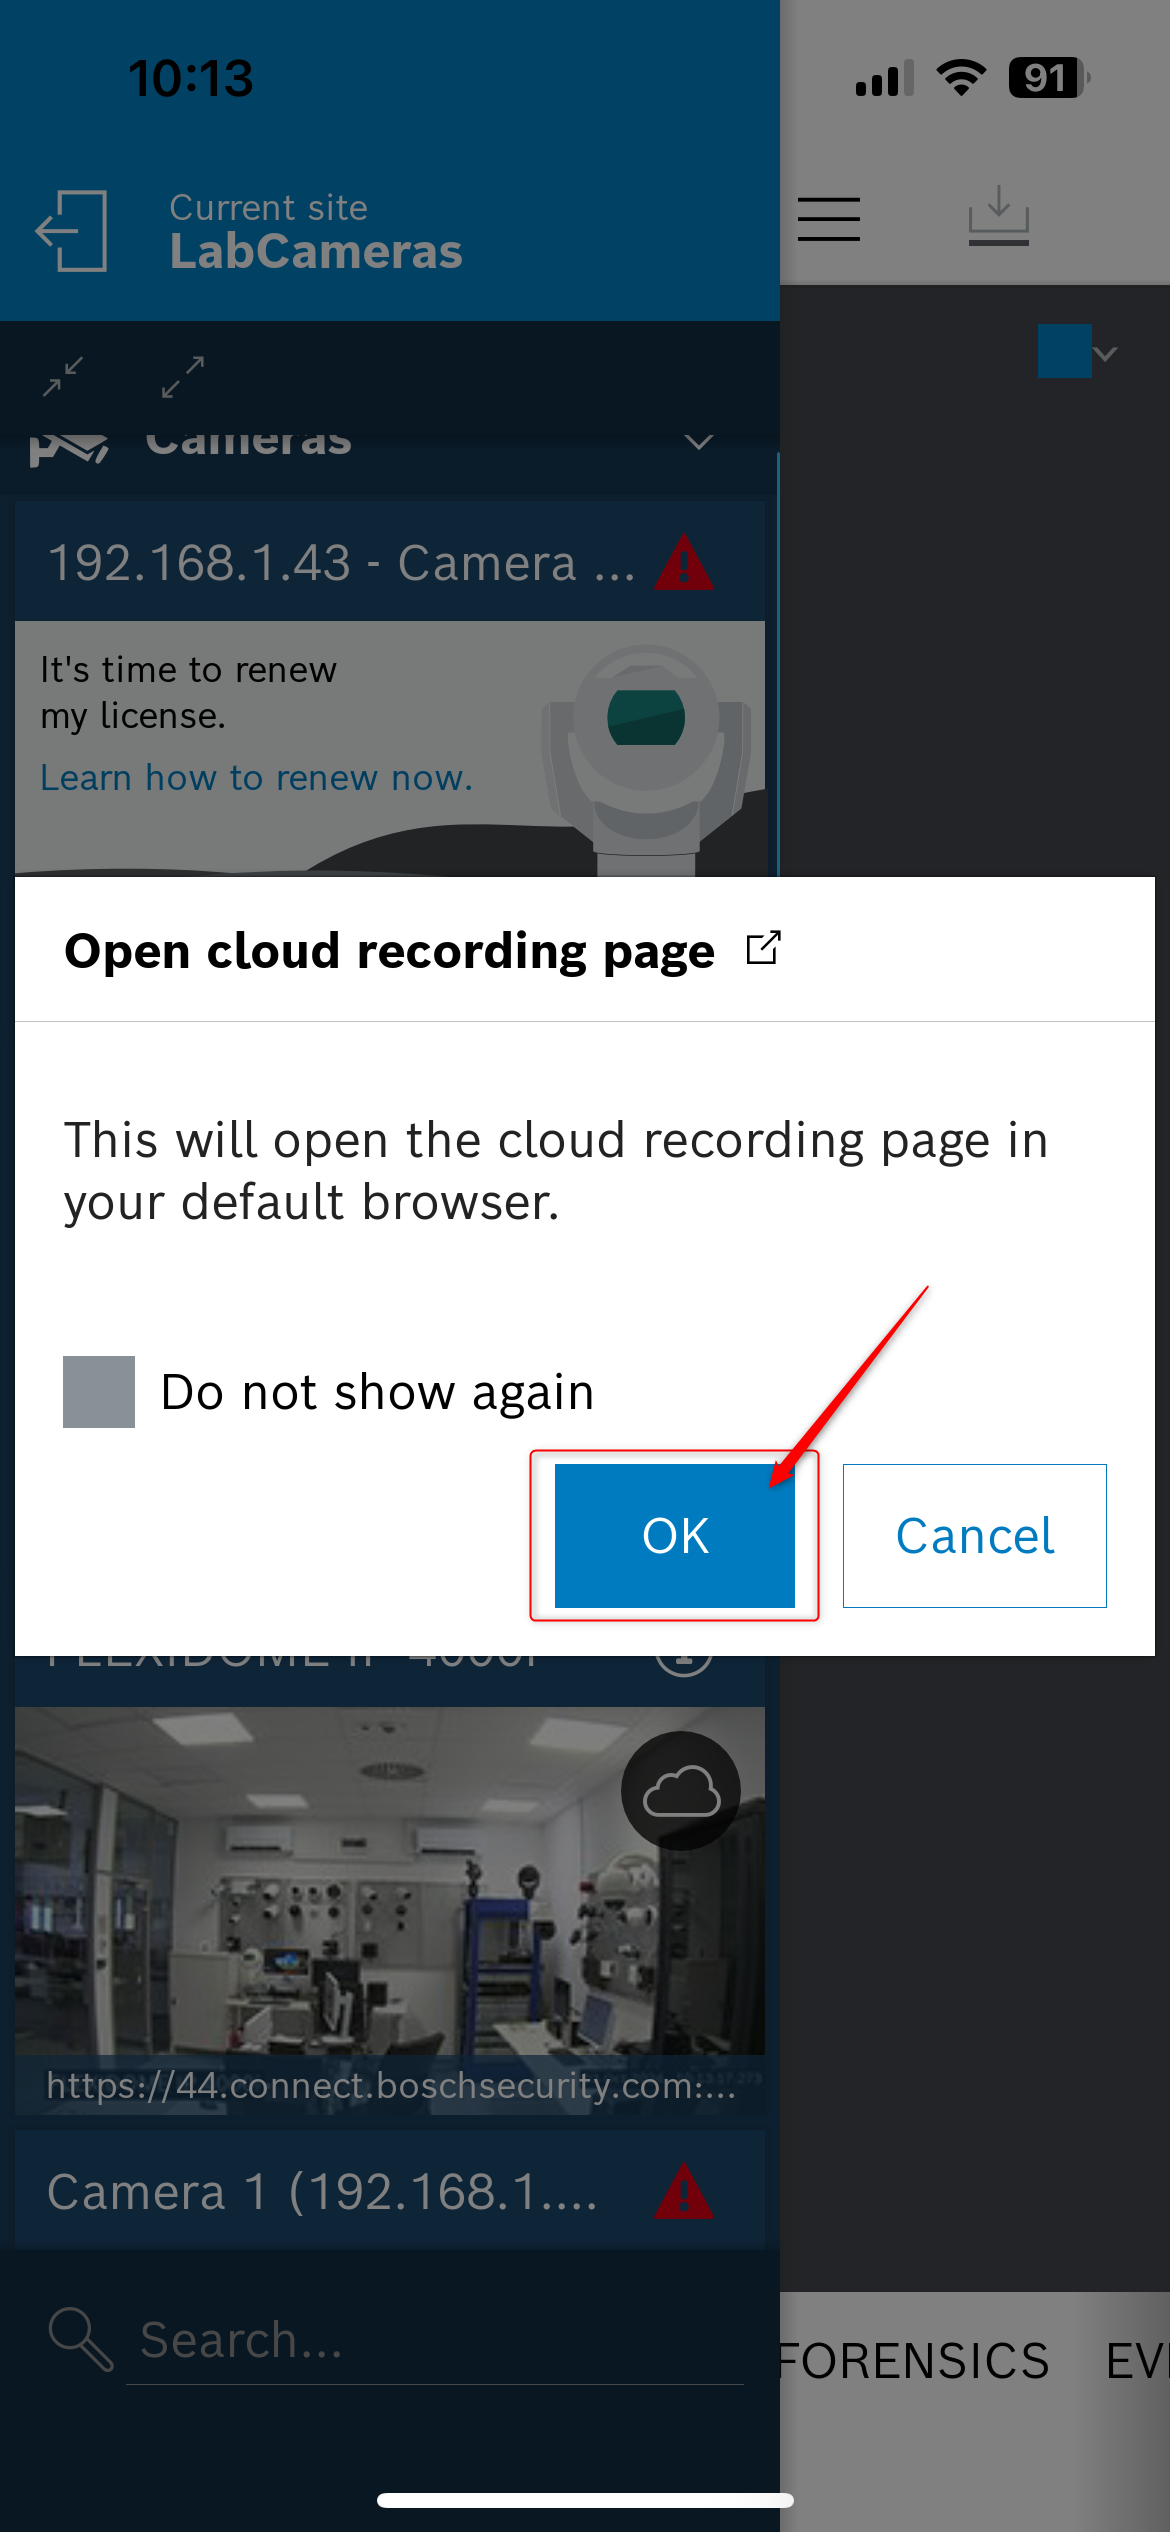
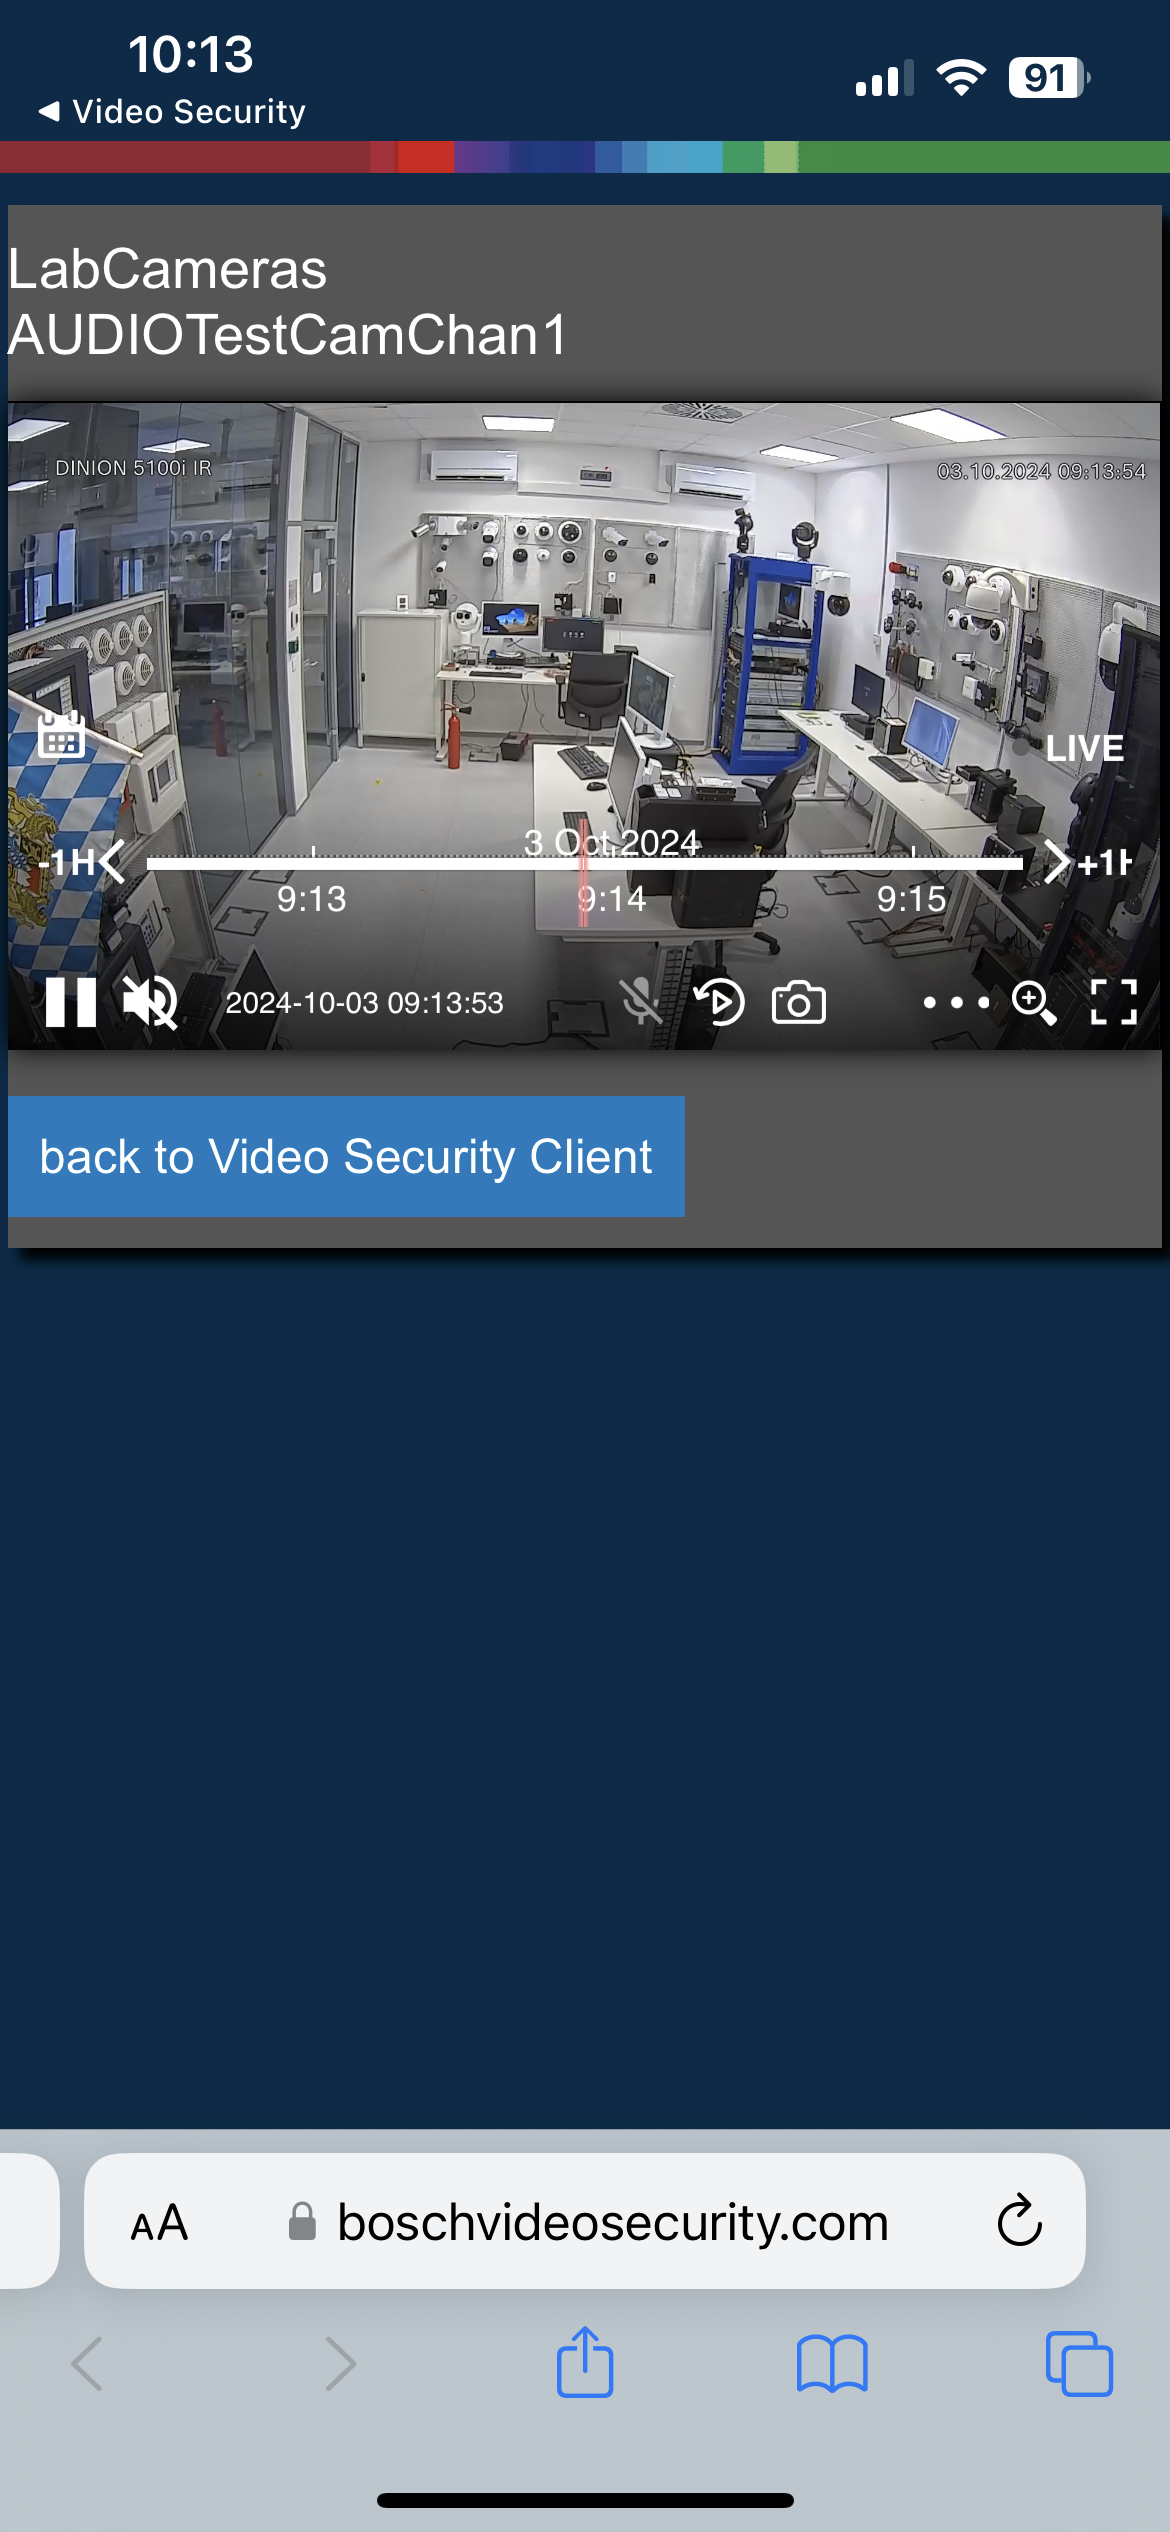
3. Enter in the site where your cameras were added and configured for continuous cloud recording and start using the new cloud recording web interface feature:
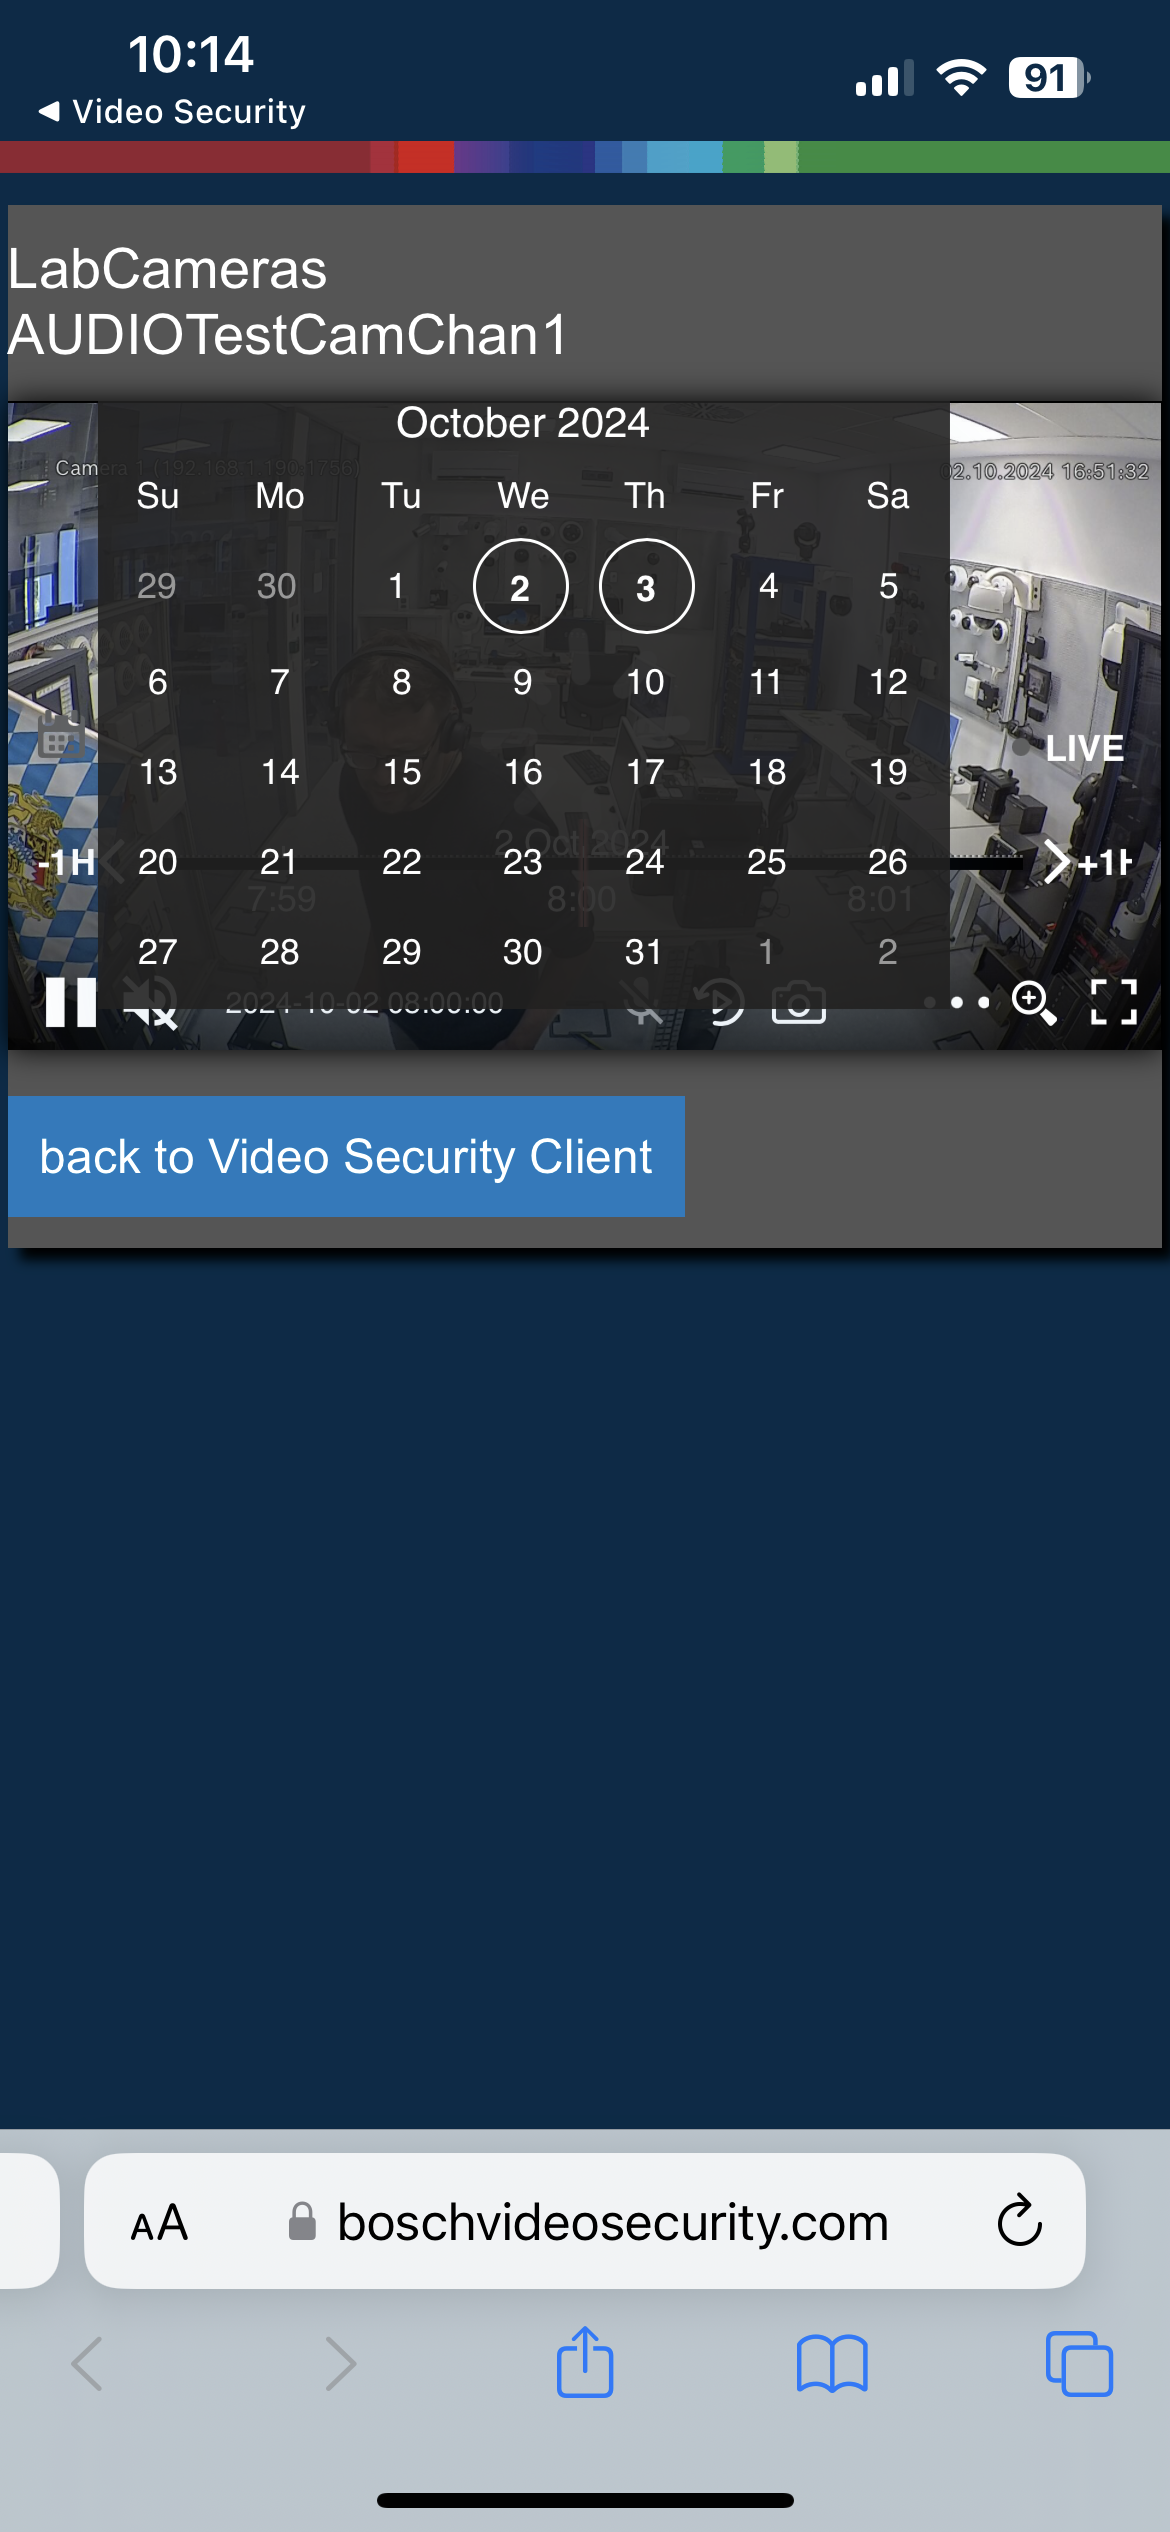
Note: When opening the calendar to select the day for which you want to see the recording, only the days in which there are recordings will be circled (in this example 2nd and 3rd of October):
Video Security Client (Windows version)
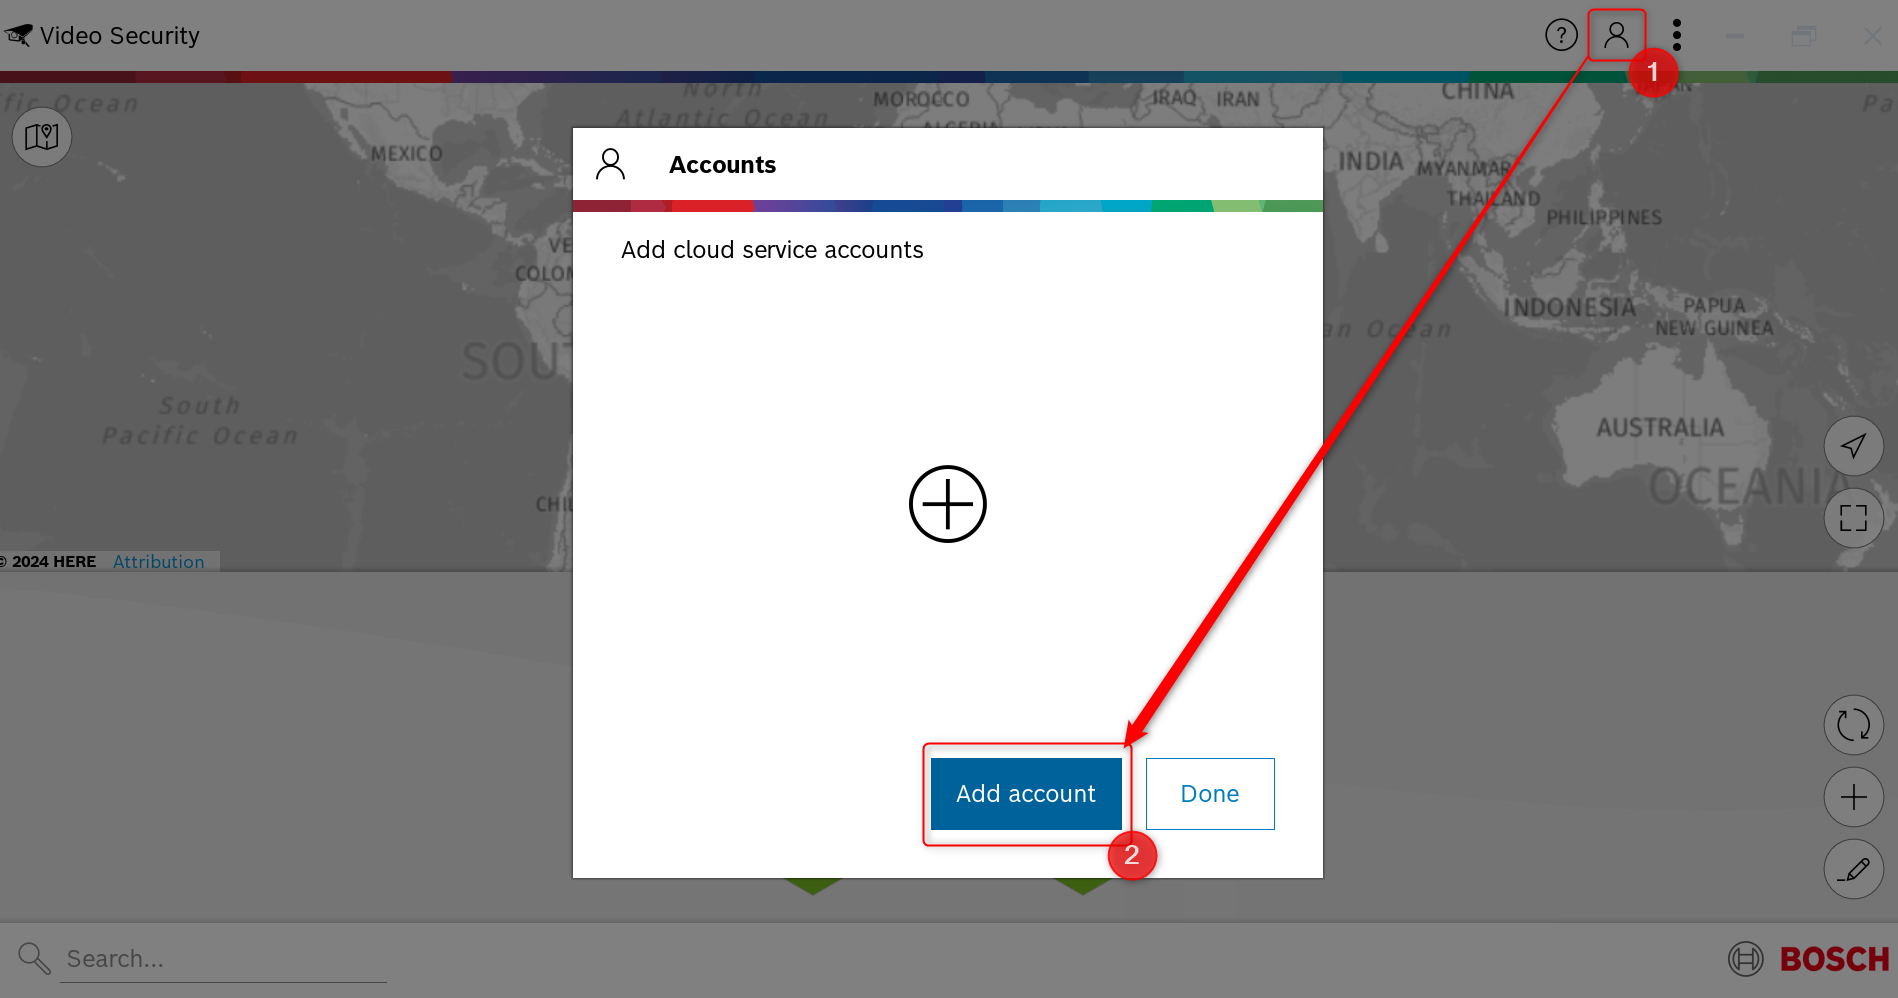
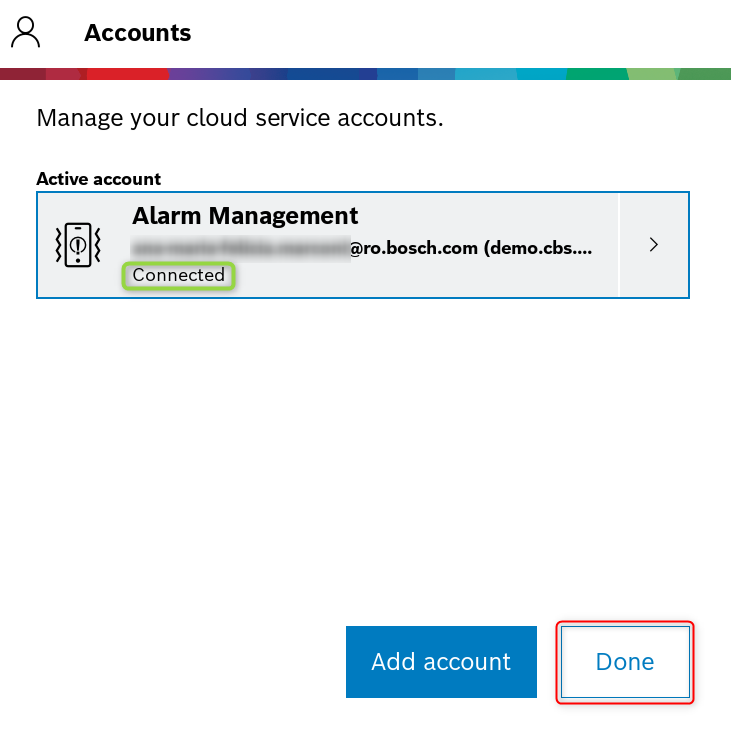
1. Open Video Security Client (Windows version) and be sure that you are connected in you Alarm management account and not with your Remote Portal account:
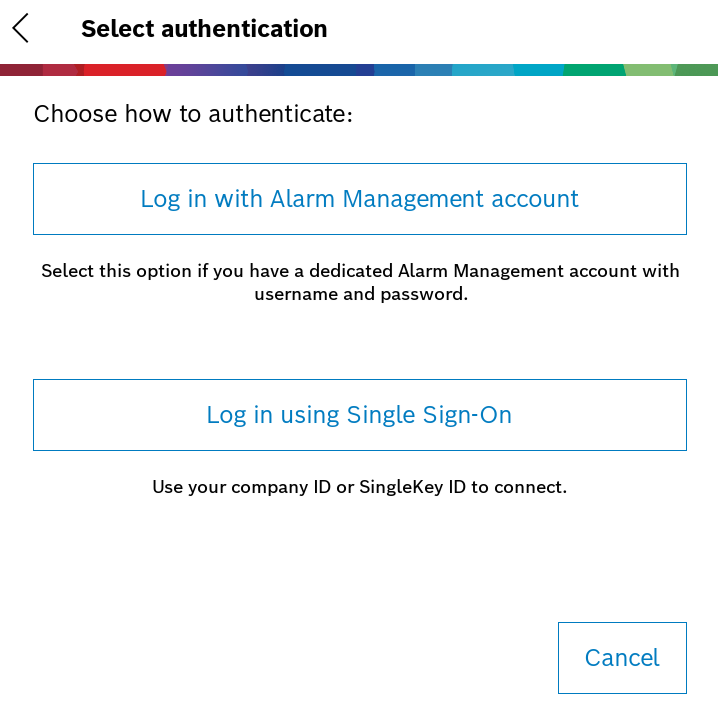
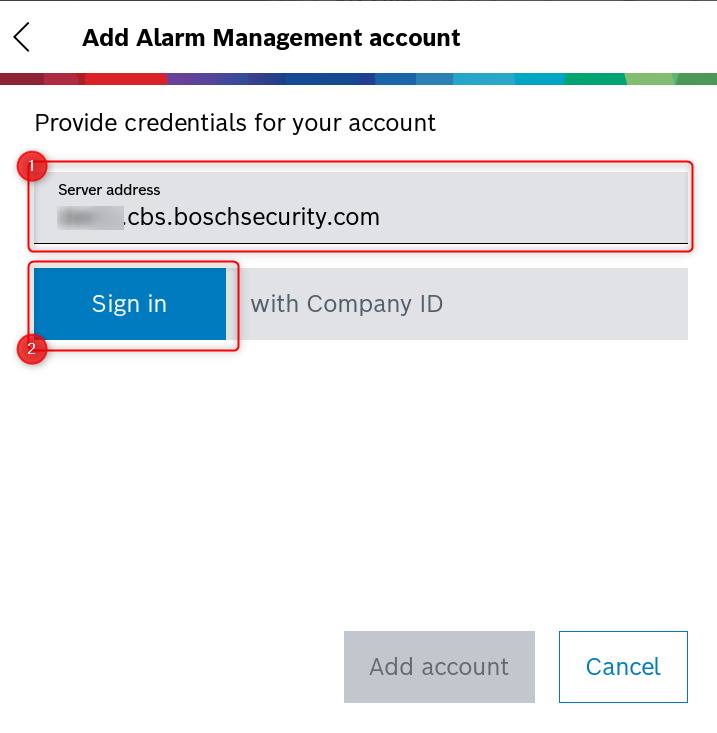
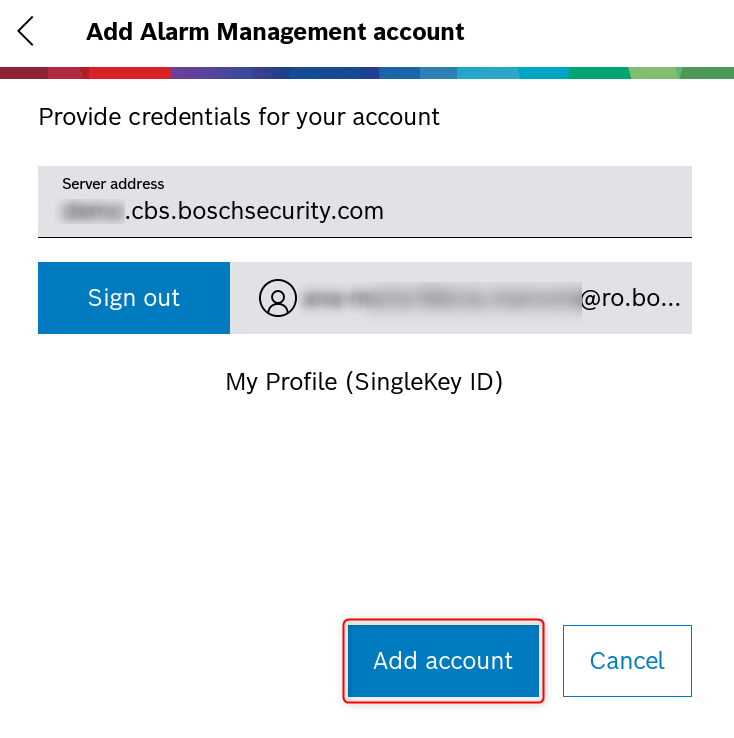
2. Select one of the options that matches your preferred login to your Alarm Management account. In this example, we logged in using Single Sign-On option (in this case, add your instance in the Server address field)

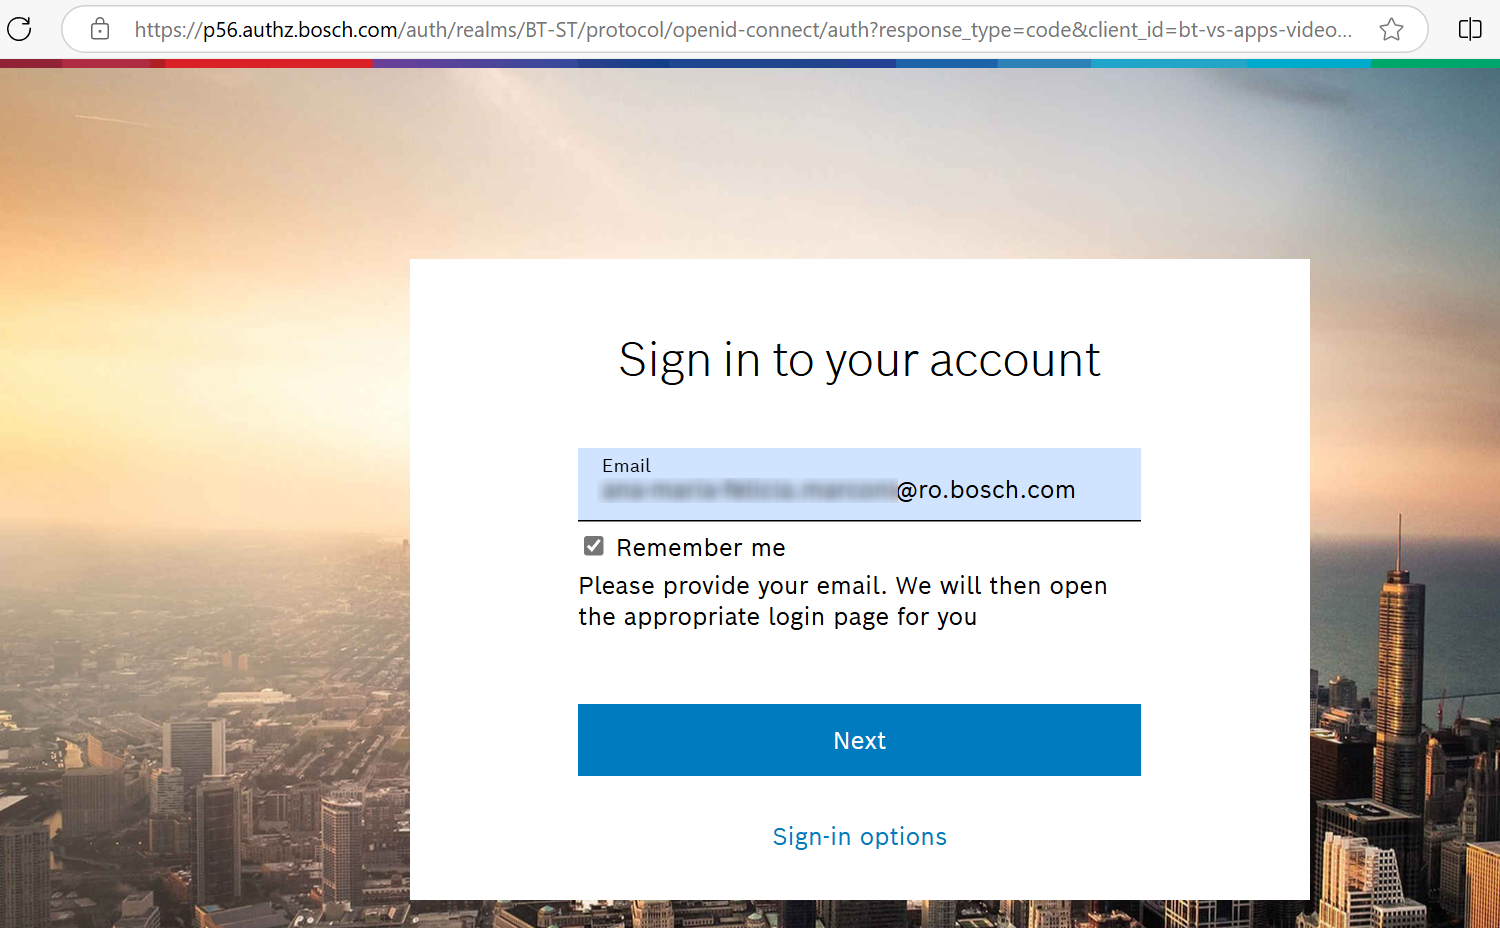
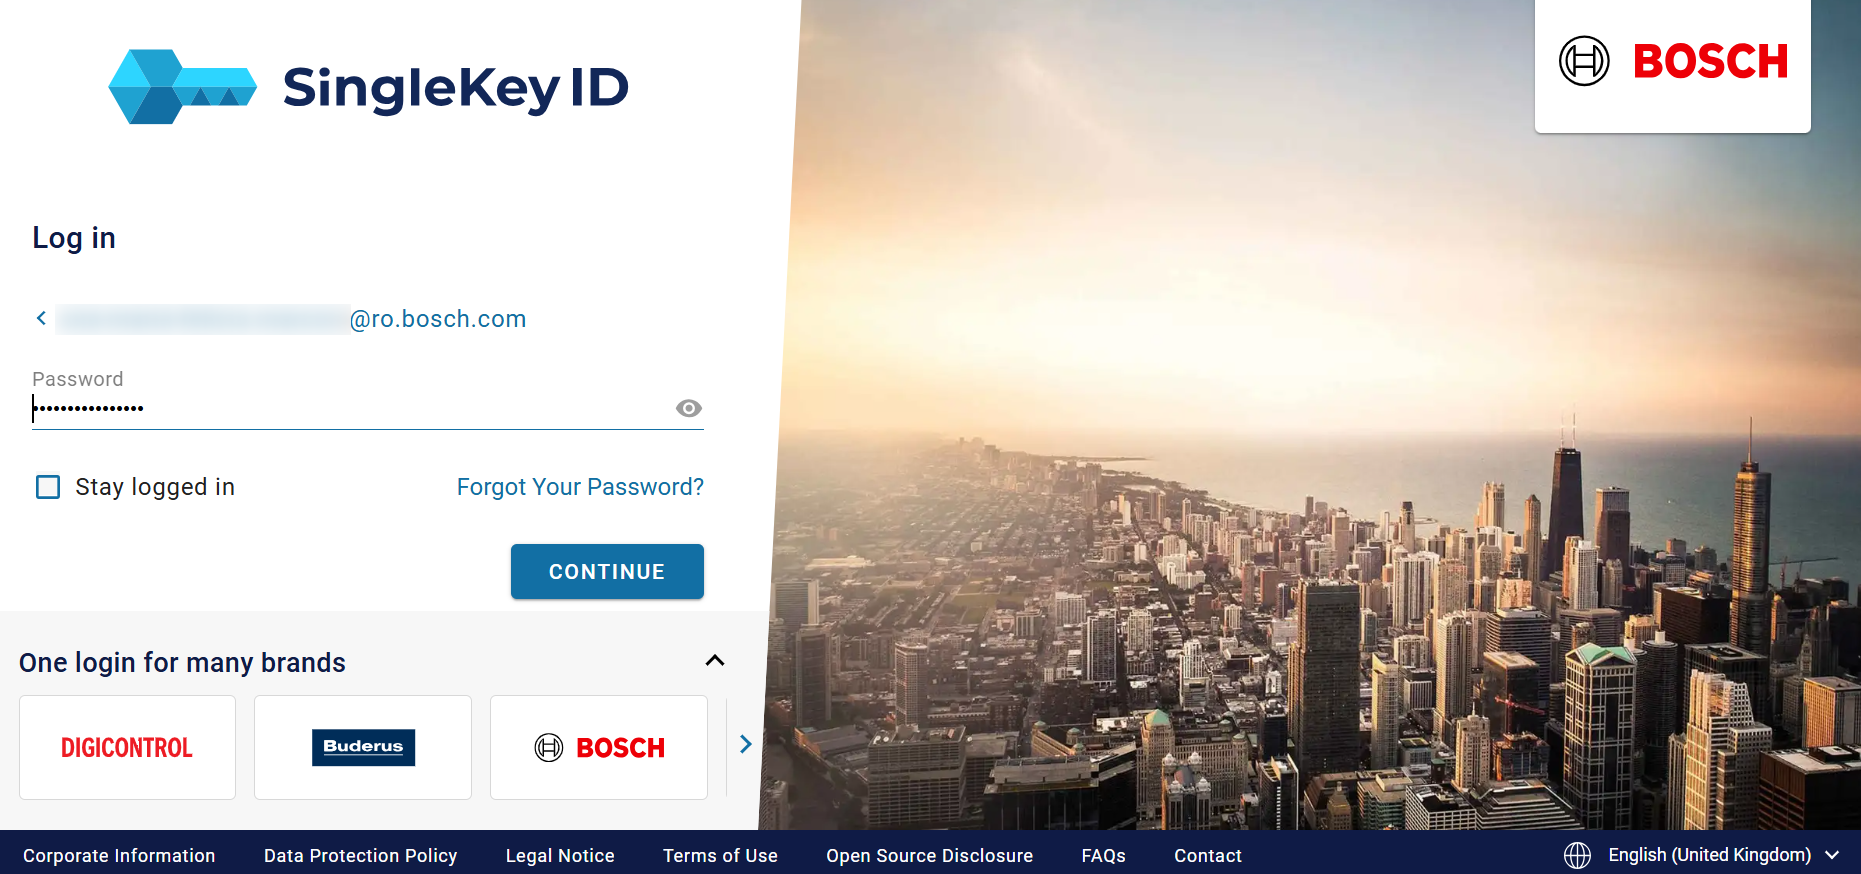
3. By hitting the "Sign in" button, you will be redirected to the web authentication page using SingleKey ID. Add your credentials to Log in. Add your e-mail address → click Next → Add your password → click Continue
4. Click Add account: > Done
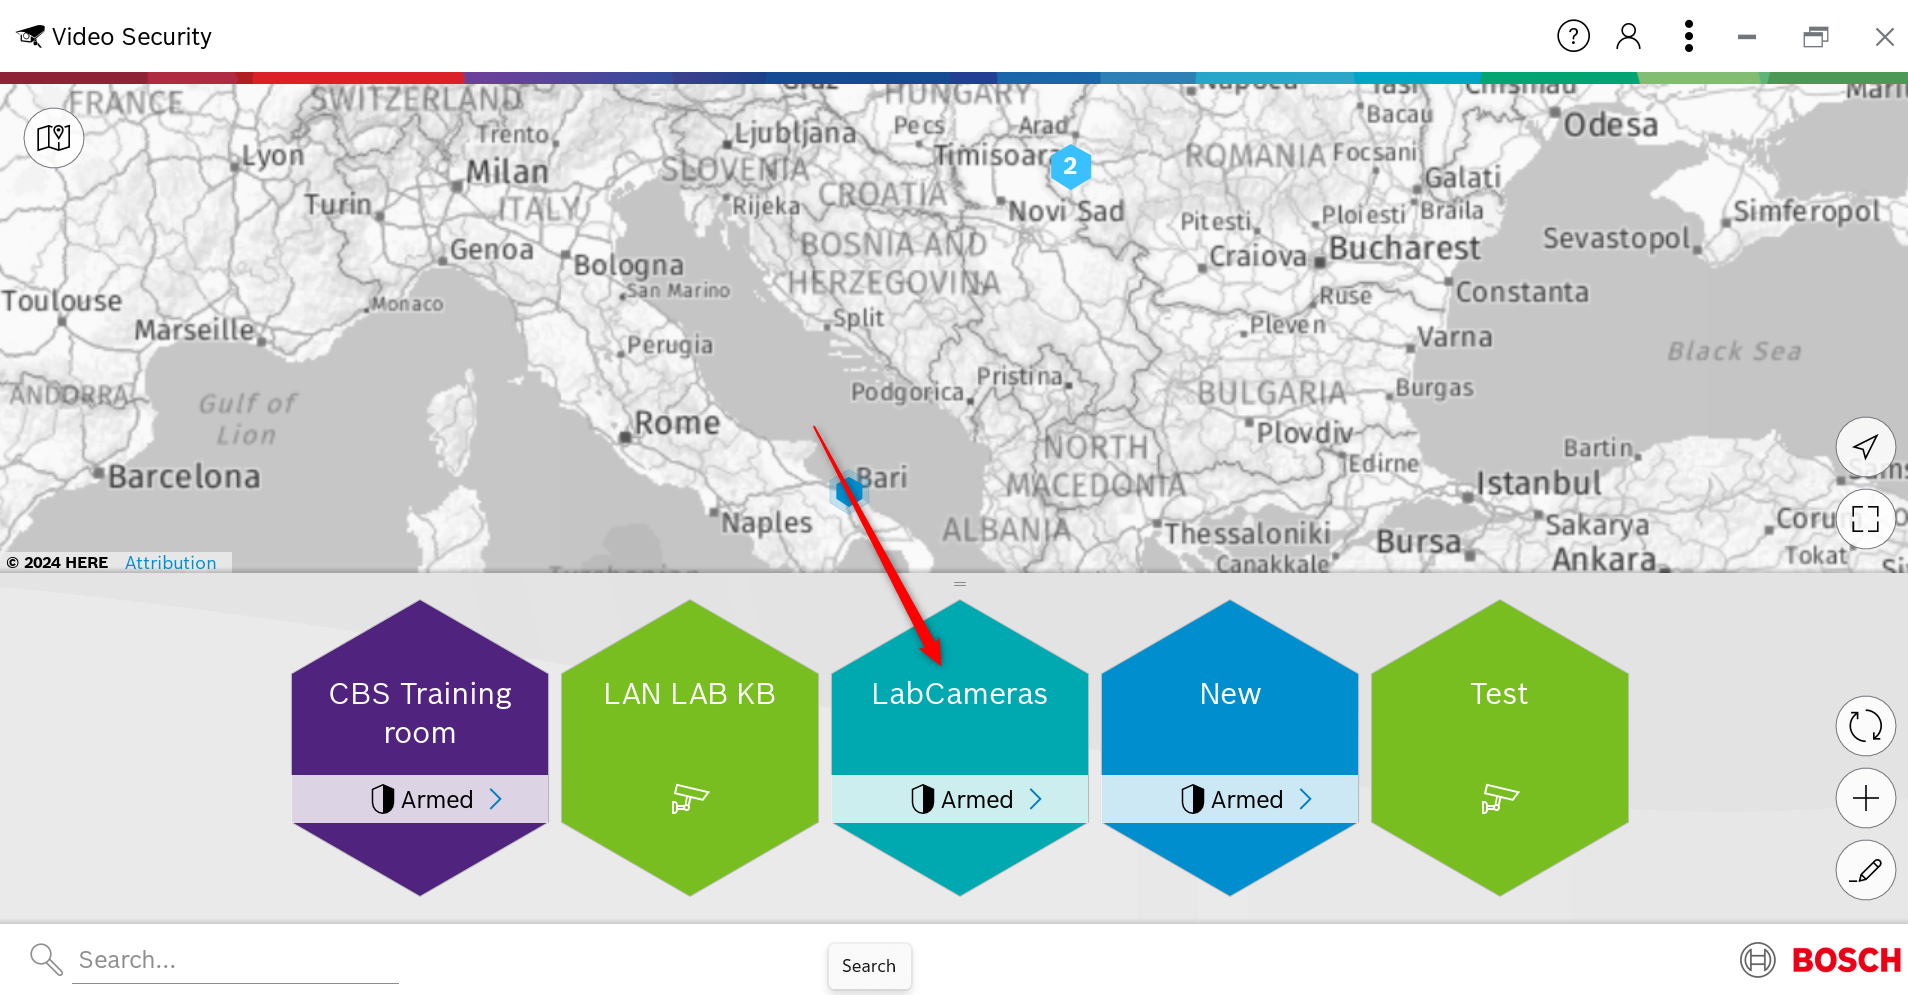
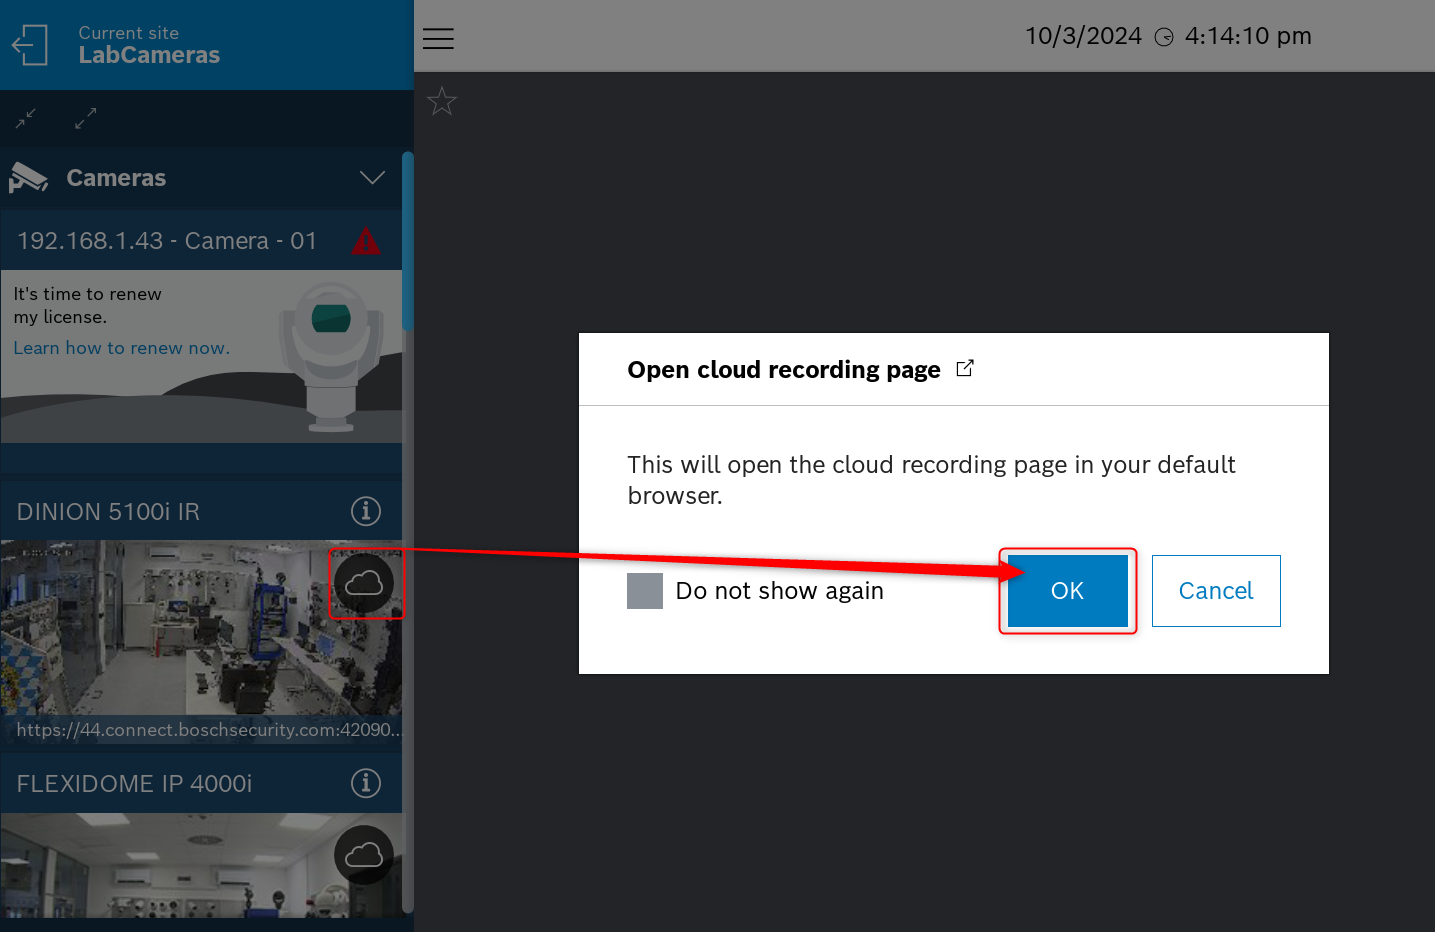
5. Enter in the site where your cameras were added and configured for continuous cloud recording and start using the new cloud recording web interface feature:
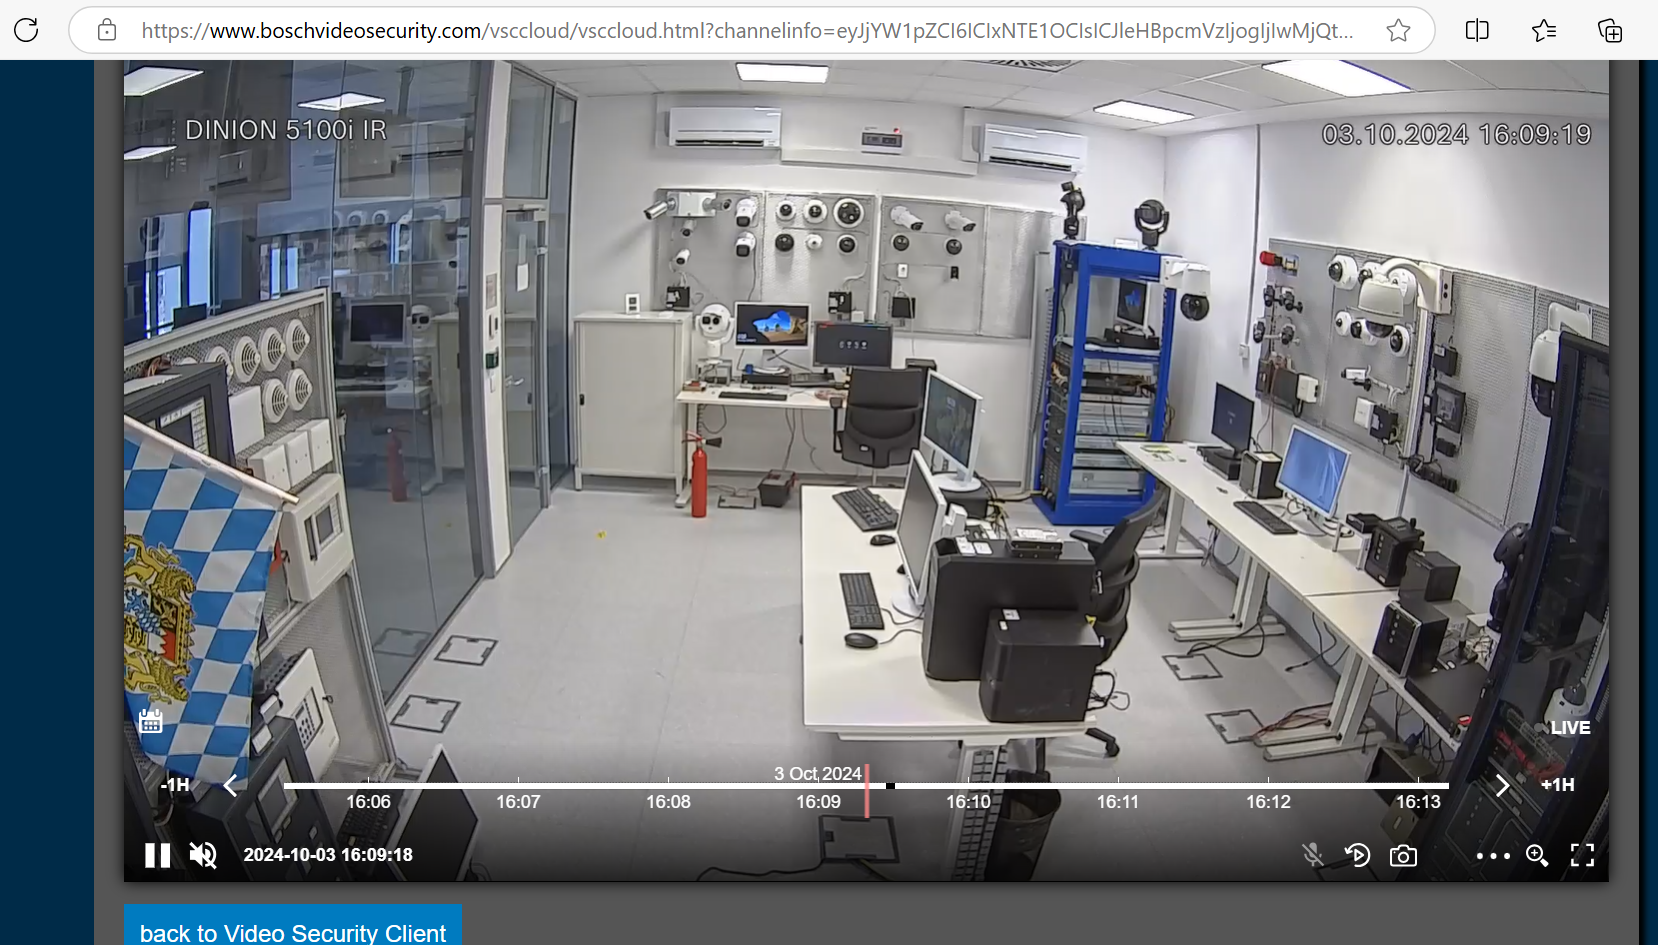
Note: When opening the calendar to select the day for which you want to see the recording, only the days in which there are recordings will be circled (in this example 2nd and 3rd of October):