To set up certificate-based authentication with Bosch, you'll typically need to follow these steps below:
Step-by-step guide
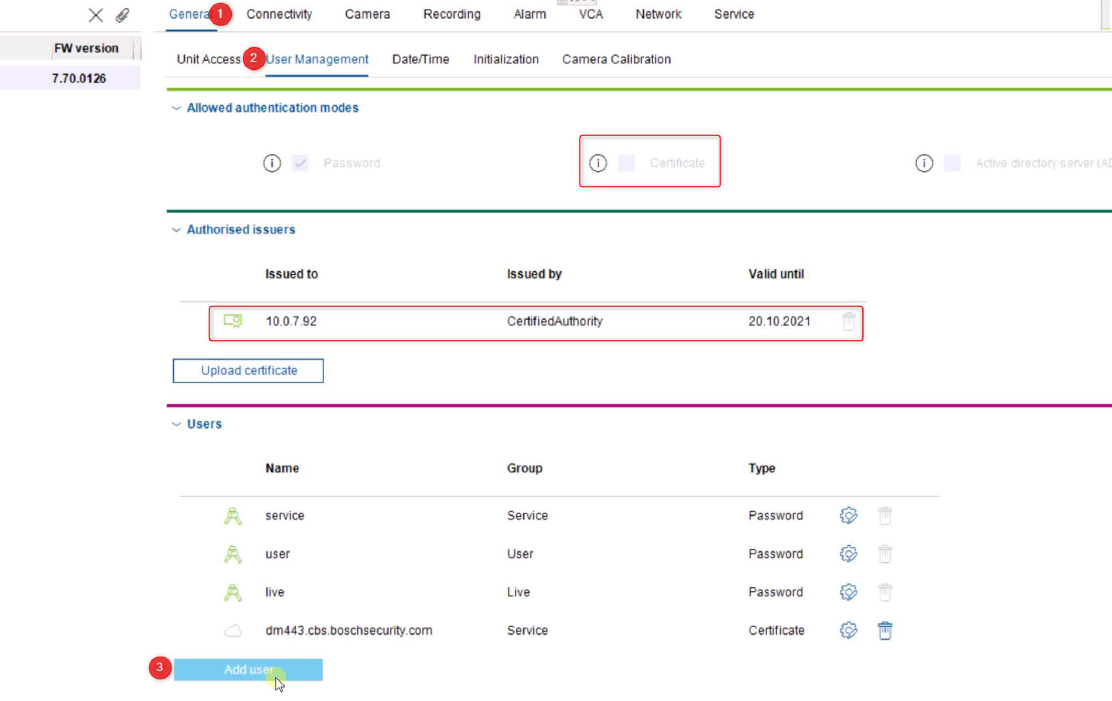
1. In Configuration Manager, go to User Management and press “Add user”
a. Note that the option to select “Certificate” is gray-out
b. Note that the Authorized issuers is the CA you created
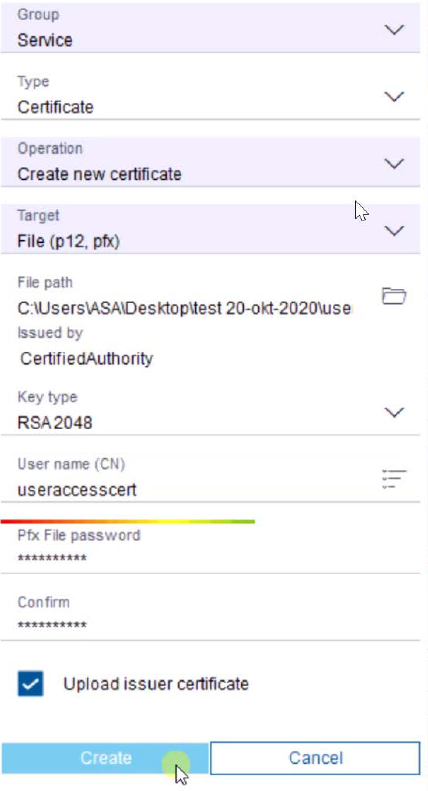
2.Fill out the User Form
a.Select type of user e.g. service
b.Create new
c.Select a path, this .pfx you will later importinto e.g. Chrome
3. Once created, wait a few seconds (it could be needed to toggle between pages) before the “certificate” tick-box becomes active.
Activate and press save
Camera will reboot
4. Now the Certificate based user has been configured, you can disable the Password login option via the camera webpage.
All clients who wants to access the camera would need the certificate. Once de-activated, the access via Config-Manager remains
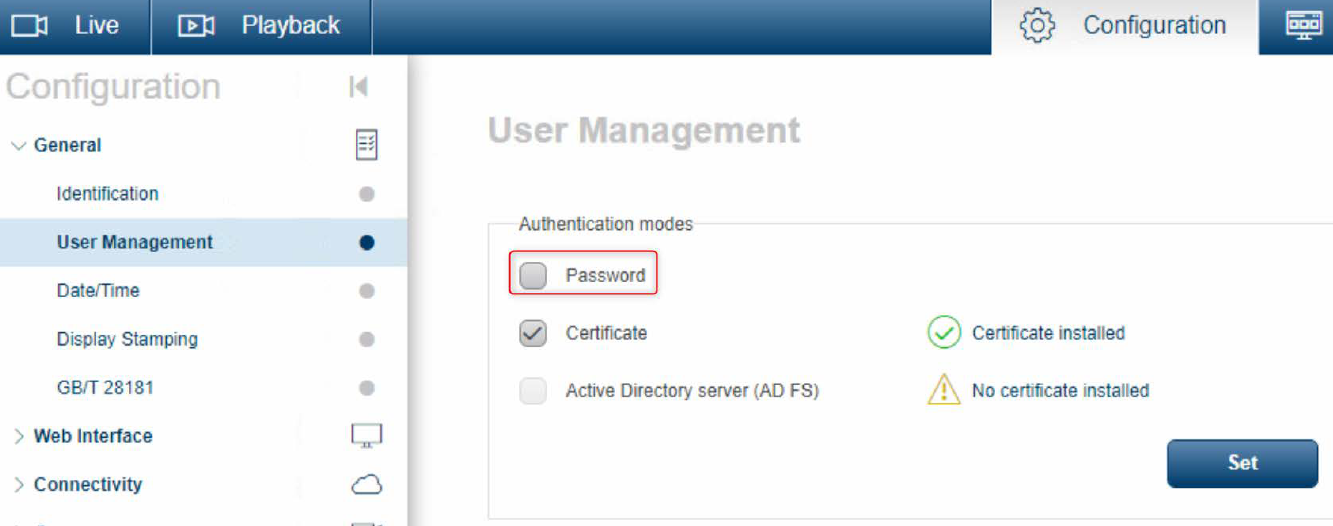
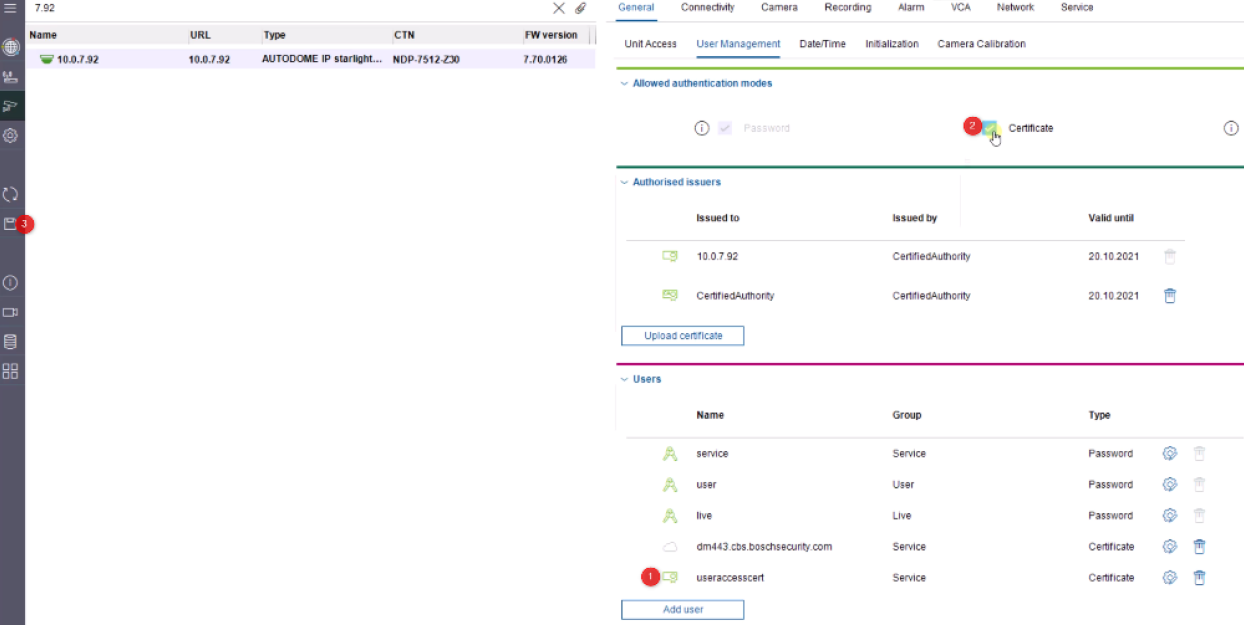
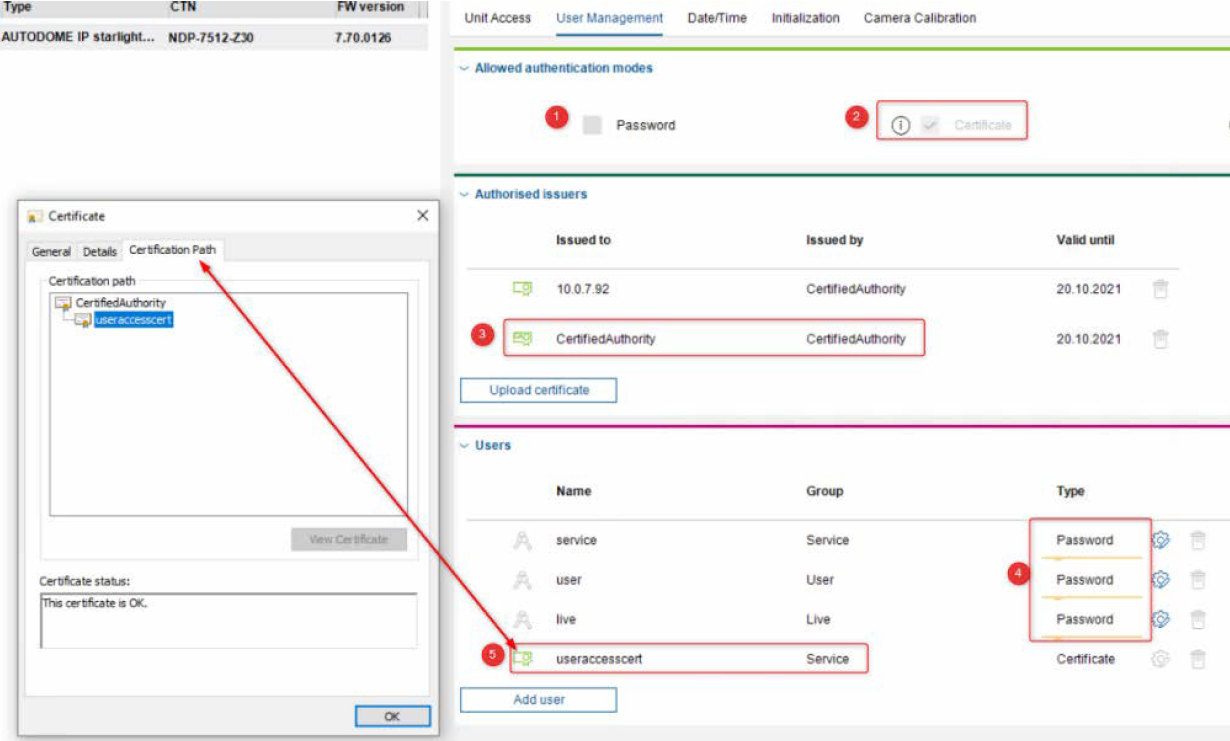
5. Once the passwords are deactivated, it looks like:
1.Password un-selected
2.Certificate selected
3.CA filled
4.All 3 user accounts are Yellow underlined and also gray-out
5.User certificate is green and its Certification Path shows no warnings
Gain certificate based access via Chrome
Option 1 (Option 2 below after this)
6. Open the Camera webpage (in this example we used Chrome. If correct, you can’t access it):
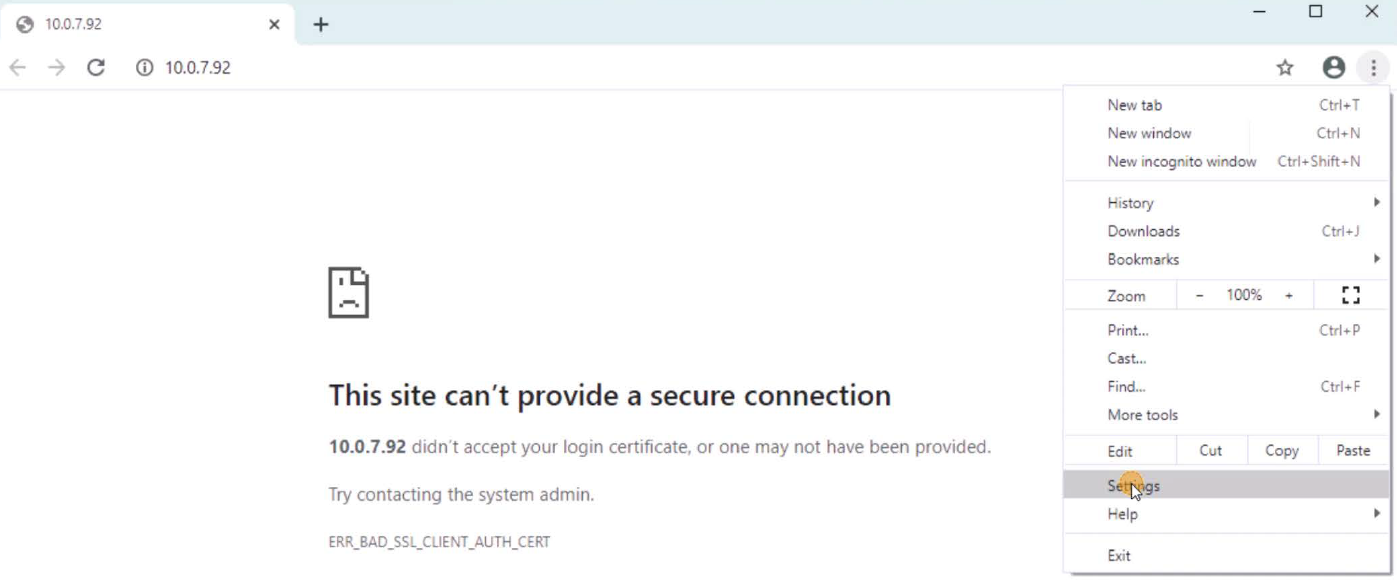
7. Go to Chrome settings > Privacy and Security > Security > Manage Certificates
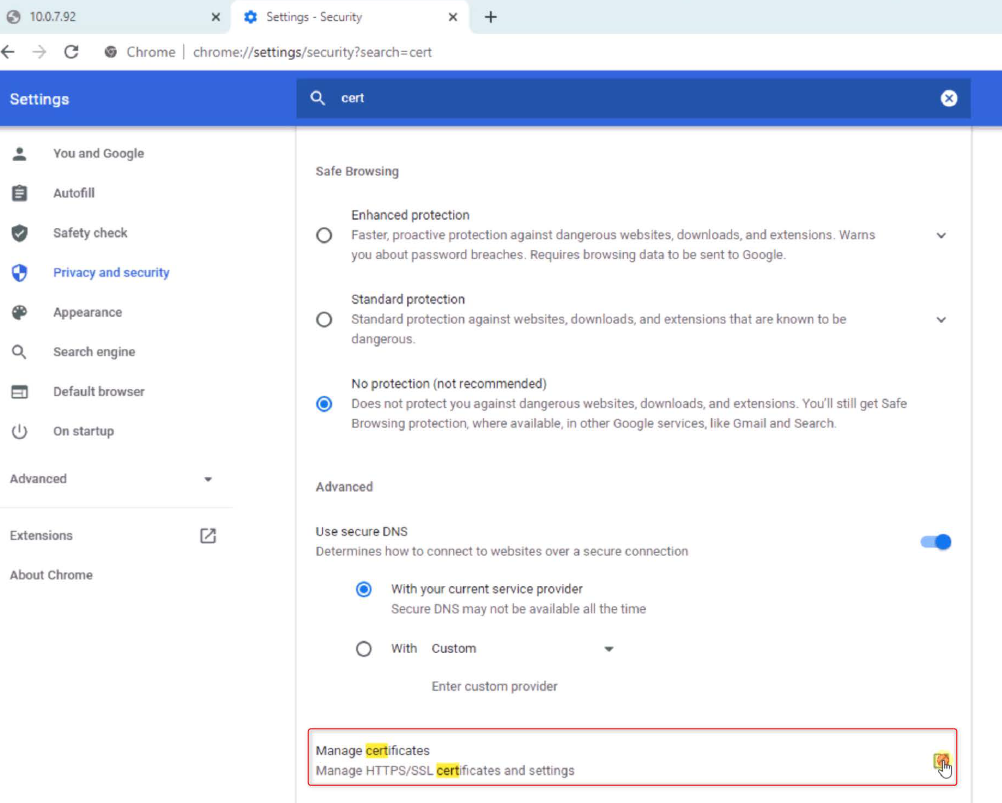
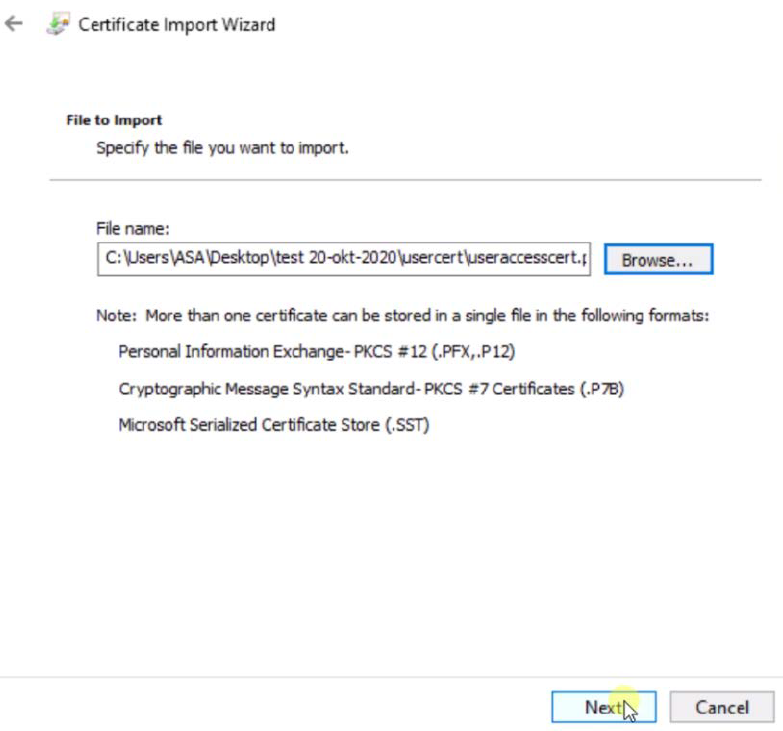
8. Import now the User Certificate (.pfx) you created
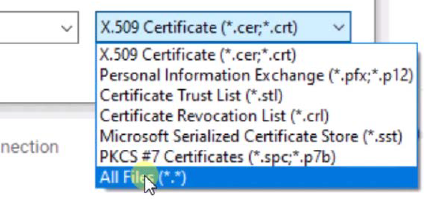
a. Select to see “all” extensions else you wont see the .pfx
b. See in the path if correct file was selected > press next
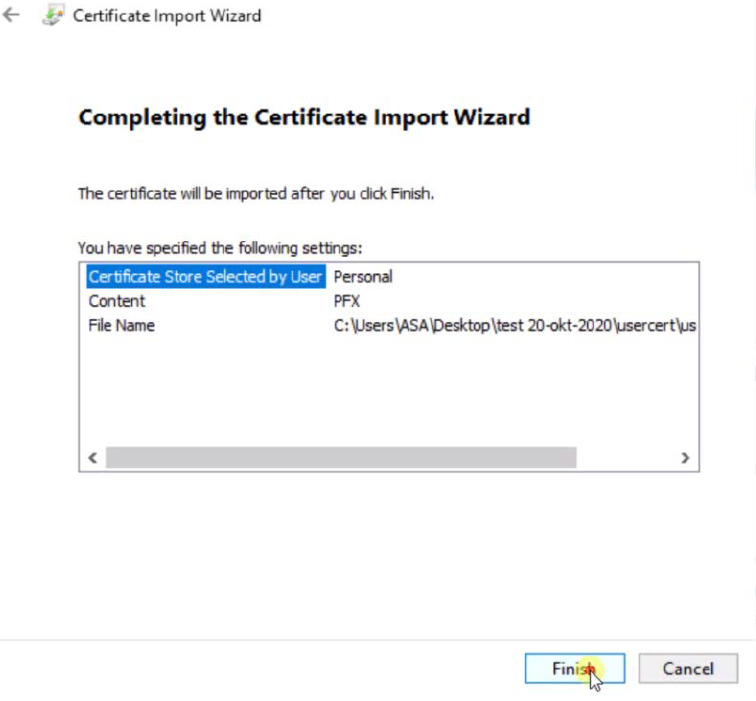
c. See before finish >
i. added to Personal certificates
ii. PFX format
9. Refresh now your Chrome camera tab, and select the certificate
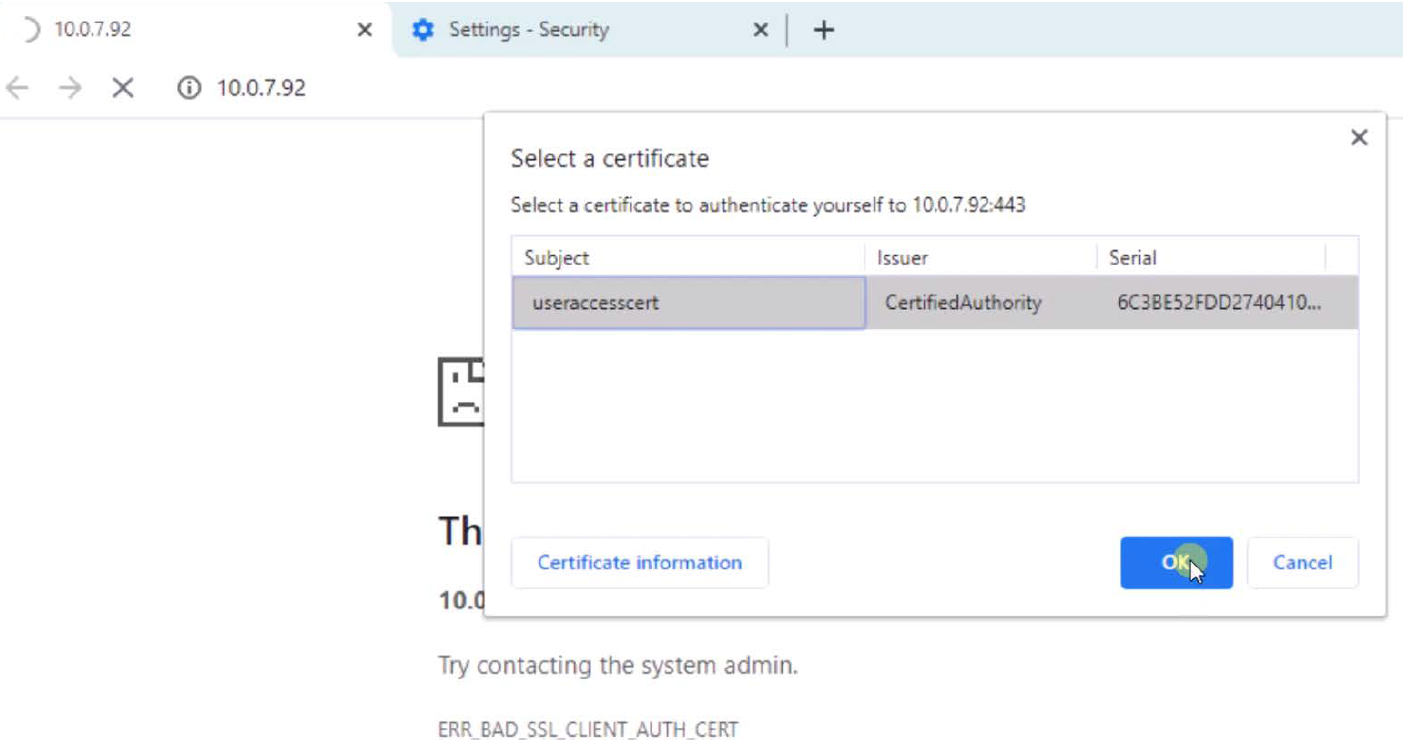
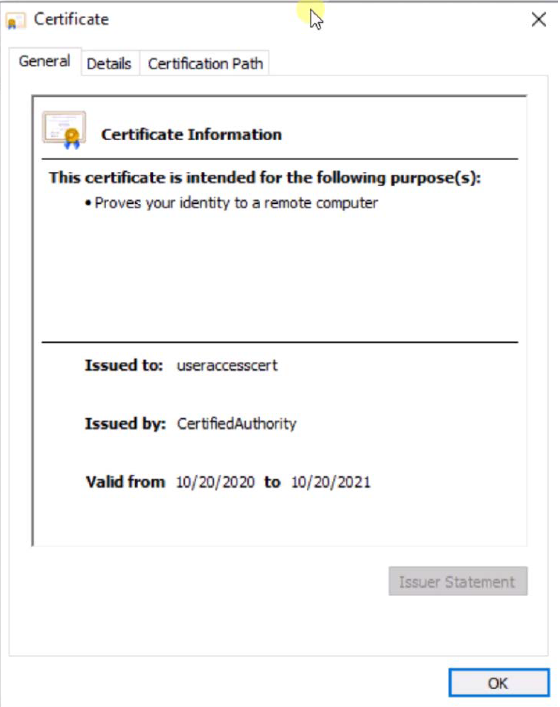
a. Certificate Information
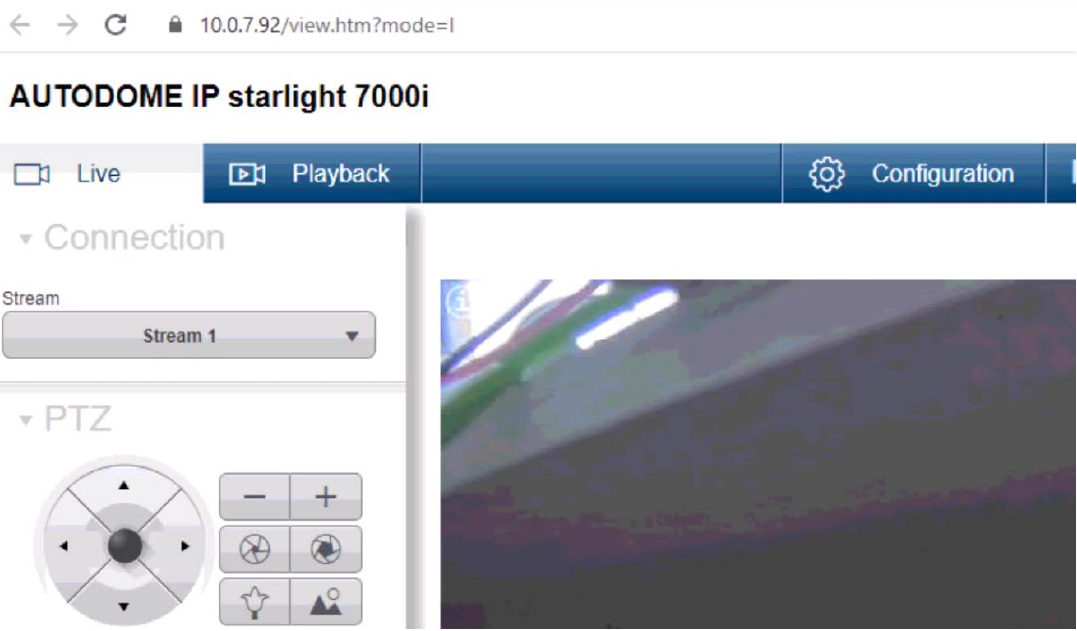
10. Now you will have immediately Certificate based access. No password is required. This option has also been disabled.
Option 2
Is to directly add the certificate to the certificate manager. You can import this on each client PC where you want to access this camera from.
a. Put the useraccess.pfx certificate on an USB or copy to PC (desktop)
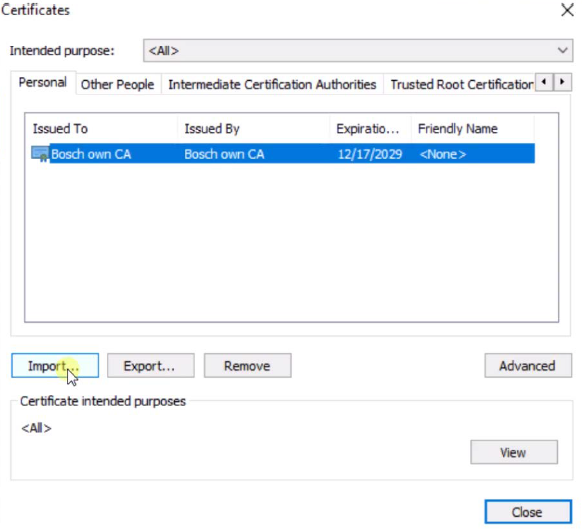
b. Go to run command certmgr.msc (certificate manager)
c. Choose Action > All Tasks > Import
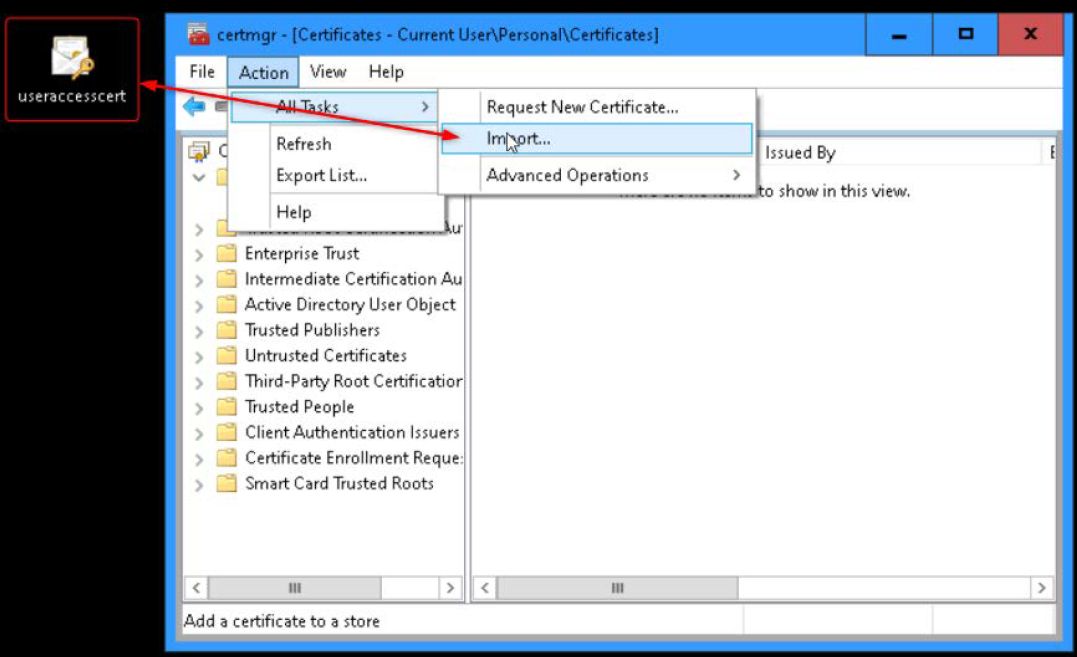
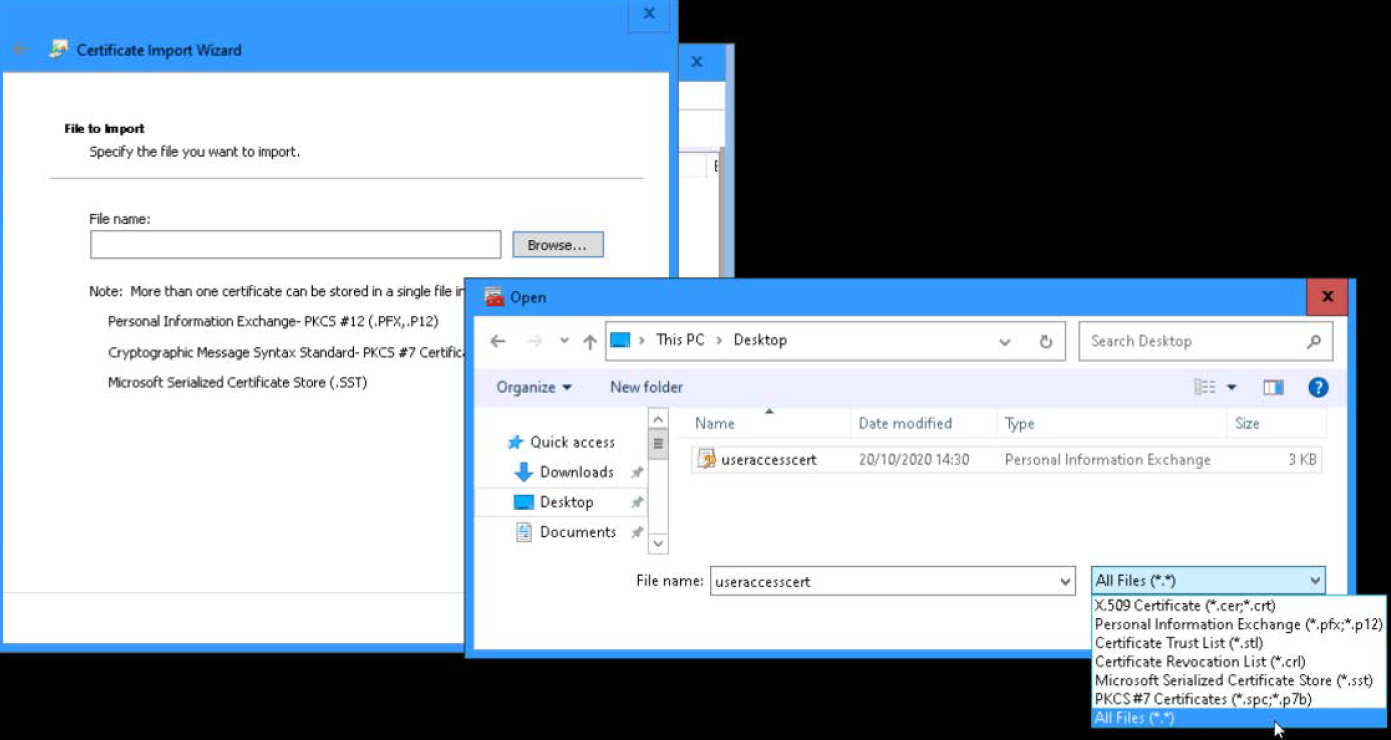
d. Select “All Files” so you be able to view the .pfx extension, and browse to the Certificate
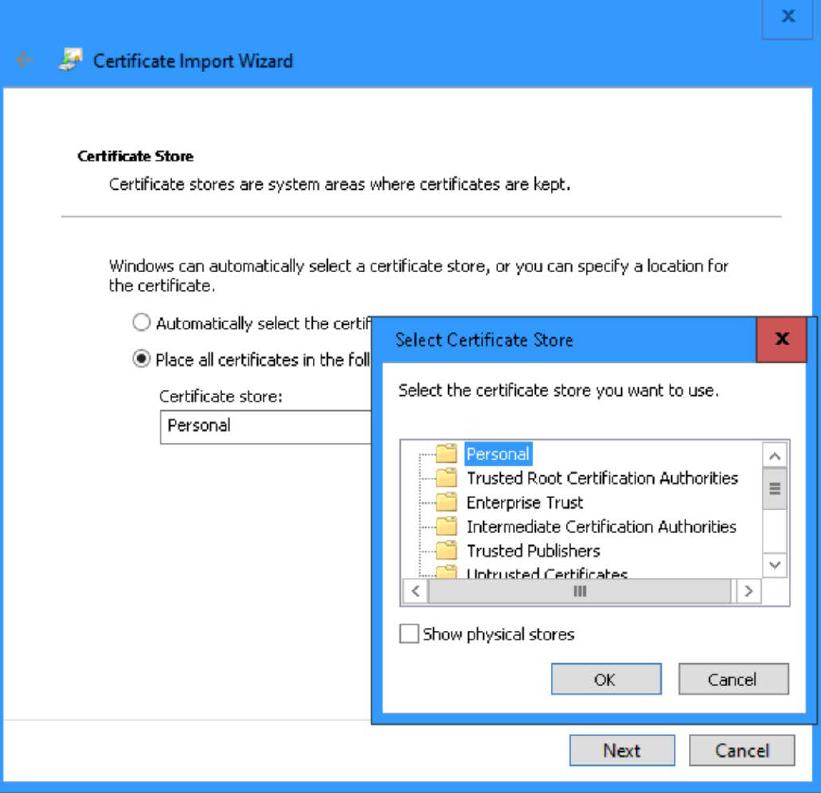
e. Store the certificate in “Personal”
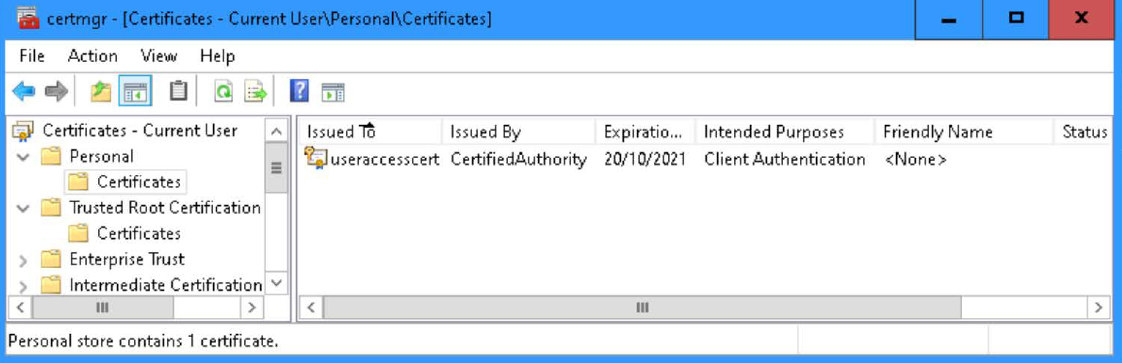
f. Once finished, it looks like:
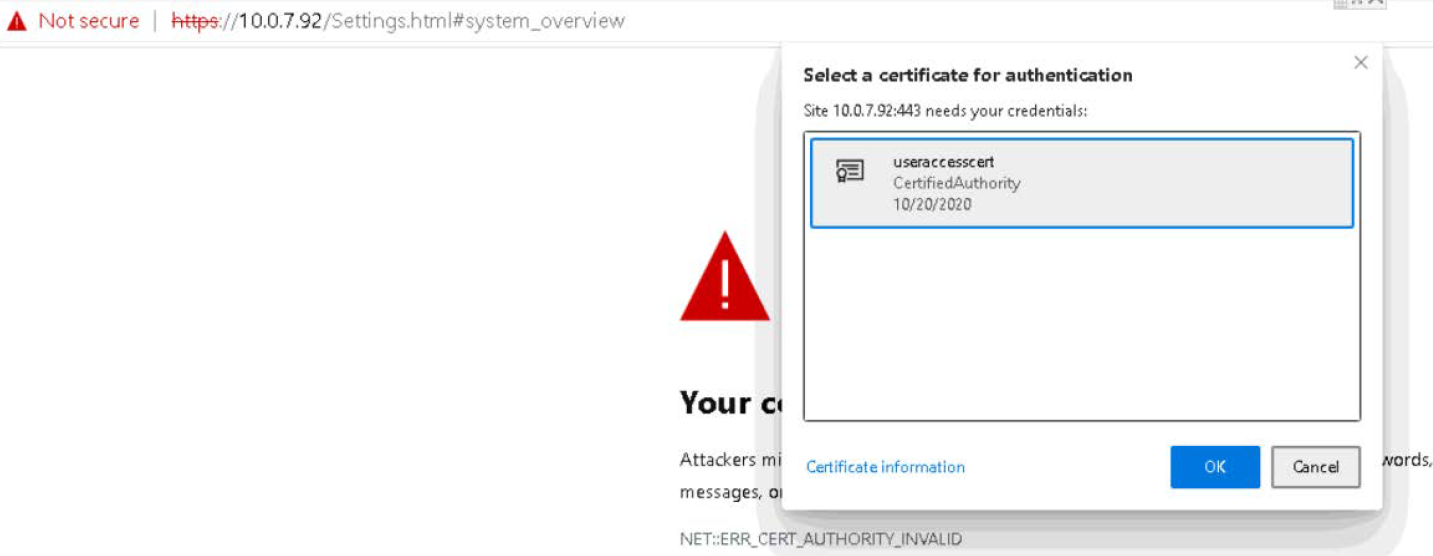
g. When you now open the camera webpage via HTTPS in a browser (Edge or Chrome), it shall prompt you to accept the certificate. After pressing OK, you can access the camera
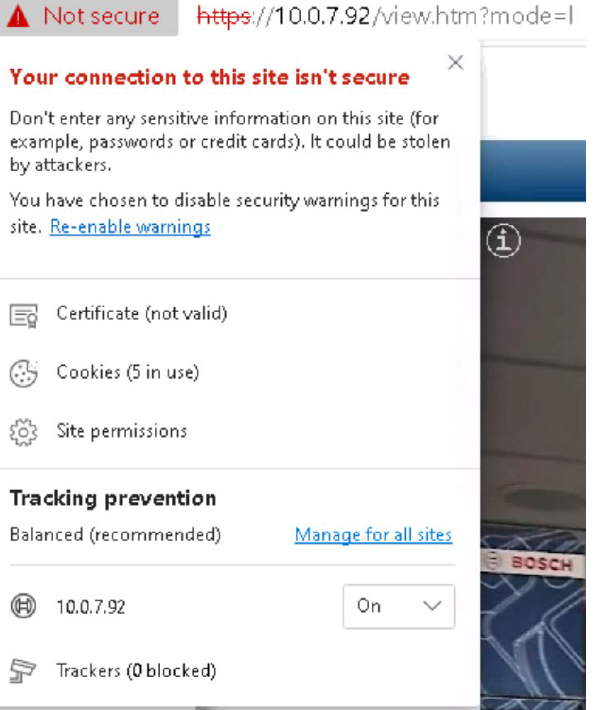
Once access it from a different machine as where you initially started from it could be that your connection is not secure.
To solve, import your “CA certificate > CertifiedAuthority.crt”
Into your “Trusted root certificates”