
MegaRAID Storage Manager software automatically rebuilds the RAID 5 on a DIVAR IP unit without data loss. The rebuild is a fully automatic process, so it is not necessary to issue a Rebuild command. You can also monitor the progress of drive rebuilds.
Once the chassis was replaced and the drives were mounted in drive carriers, follow this step-by-step guide in order to rebuild RAID 5 on a DIVAR IP.
Step-by-step guide
1.Open MegaRAID Storage Manager
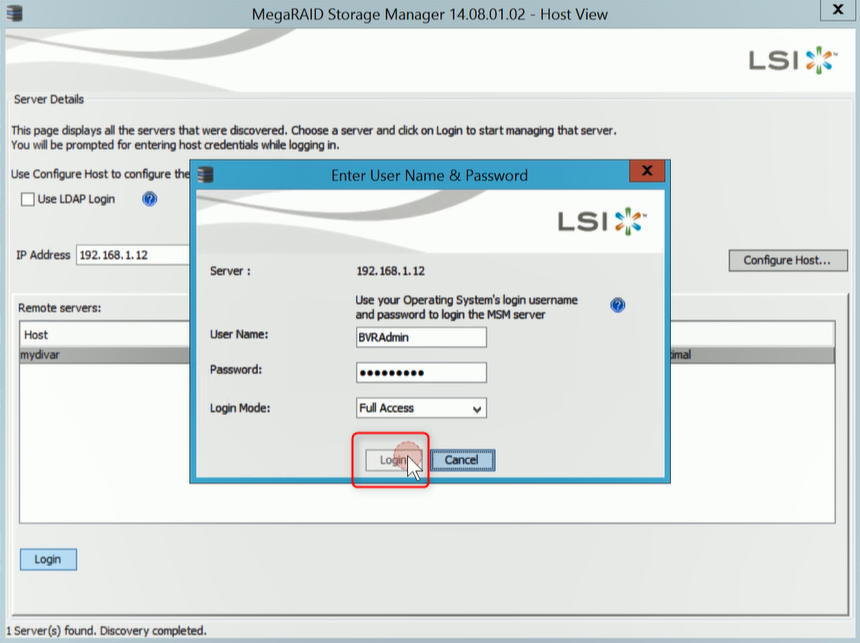
2. Select your device and hit Login button

3. Fill in the credentials of the unit and hit Login button.
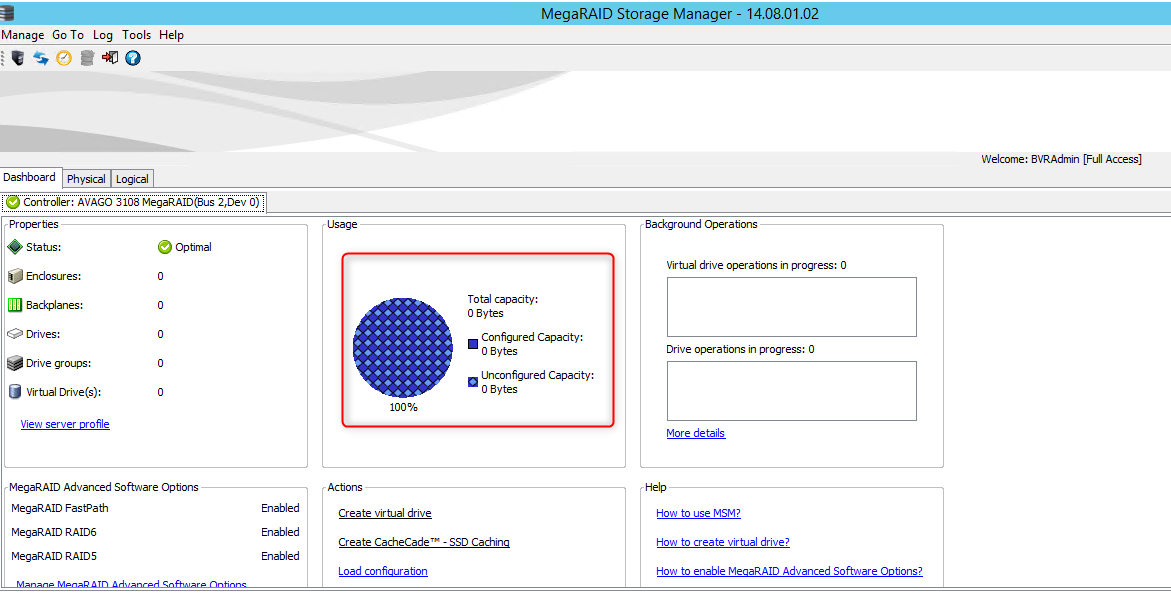
4. In Dashboard tab from MegaRAID Storage Manager, you will see that the capacity of DIVAR IP is not configured yet.
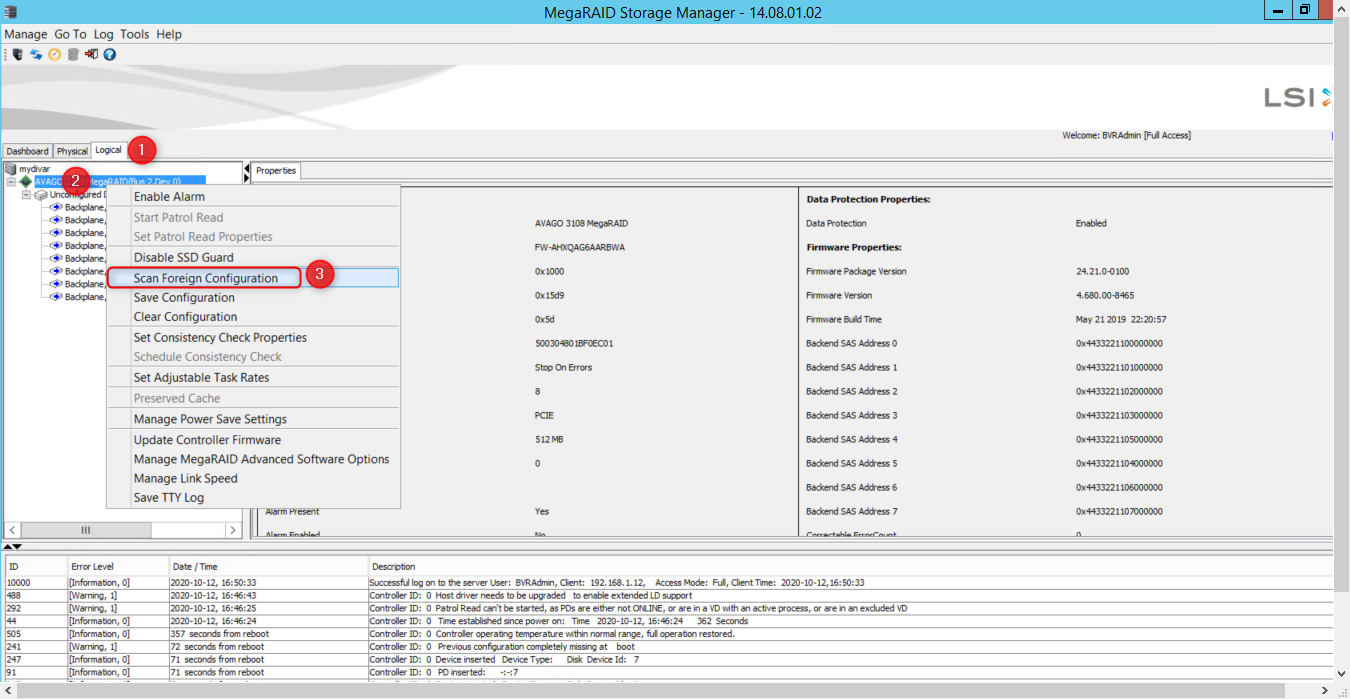
5. Go to Logical tab > right click on AVAGO MegaRAID > select Scan Foreign Configuration
Note: You must have all of the drives in the enclosure in the same order as they have been removed, before you perform the import operation.
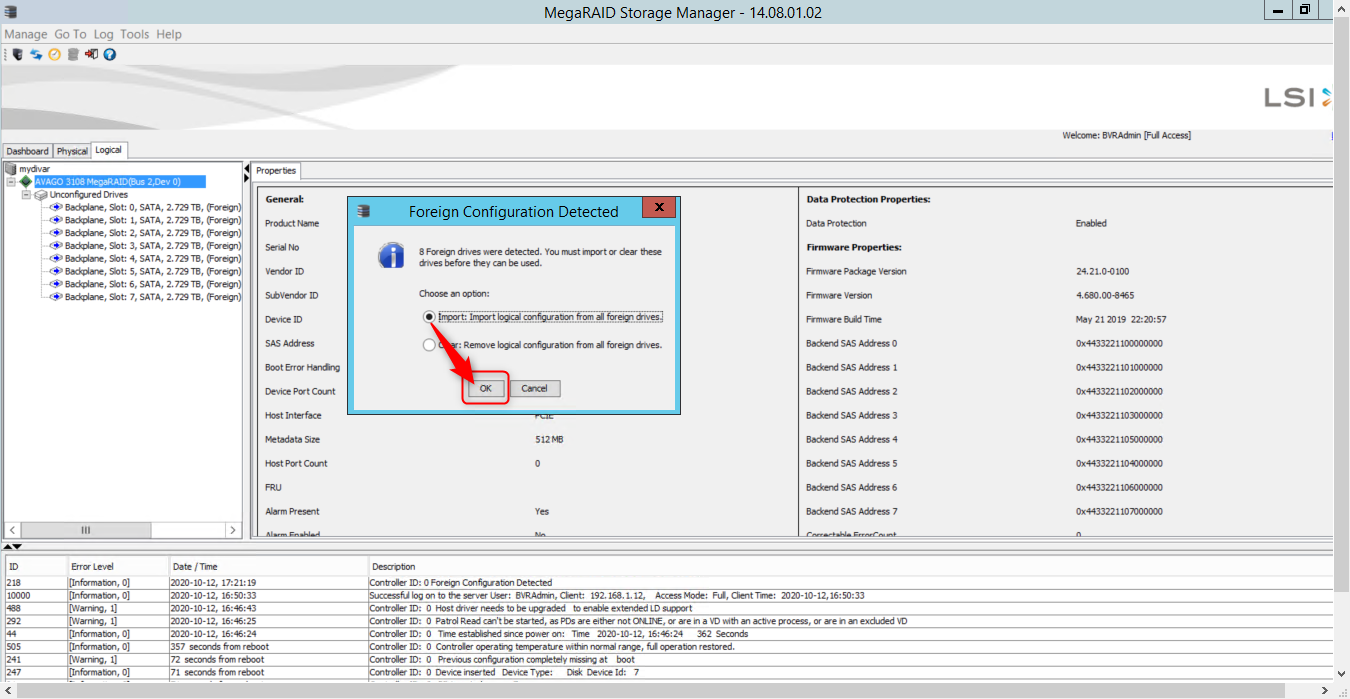
6. MegaRAID Storage Manager will detect how many drives have been installed. In this example 8 Foreign drives were detected.
Choose Import logical configuration from all foreign drives and hit OK button
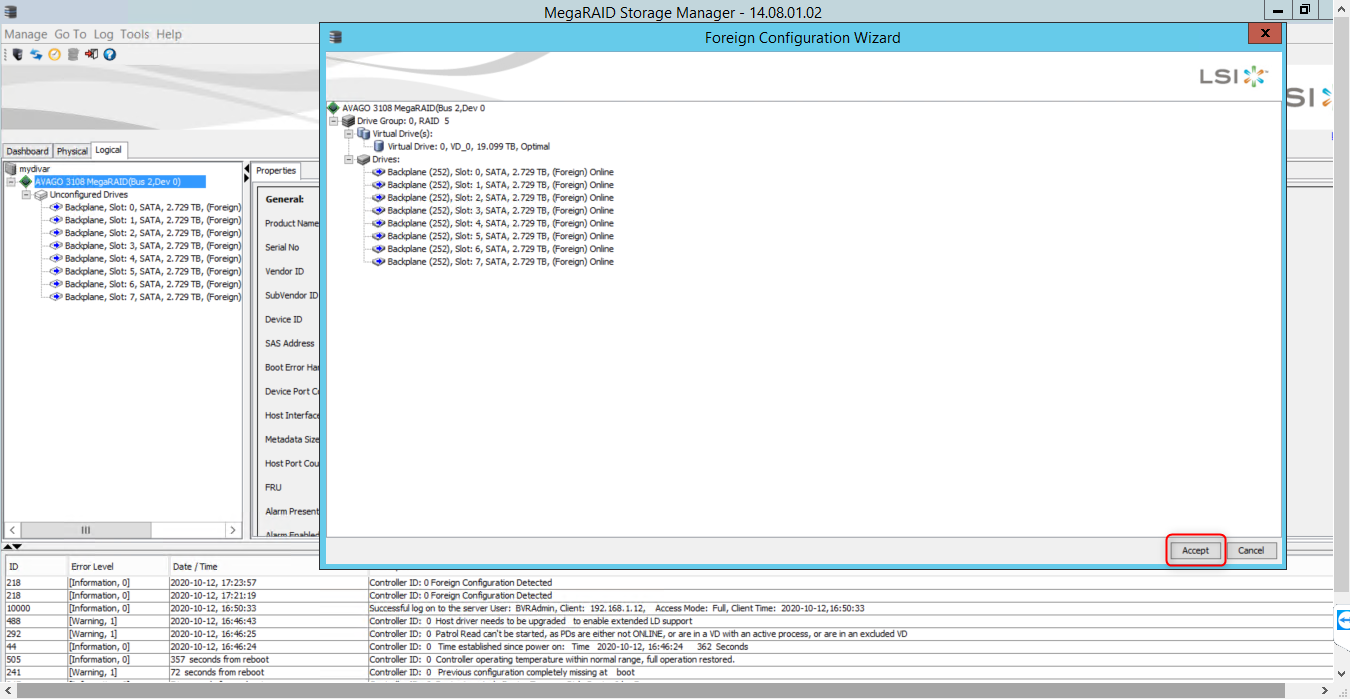
7. When Foreign Configuration Wizard window appears, you can see the details of the virtual drives. Please press on the "Accept" button:
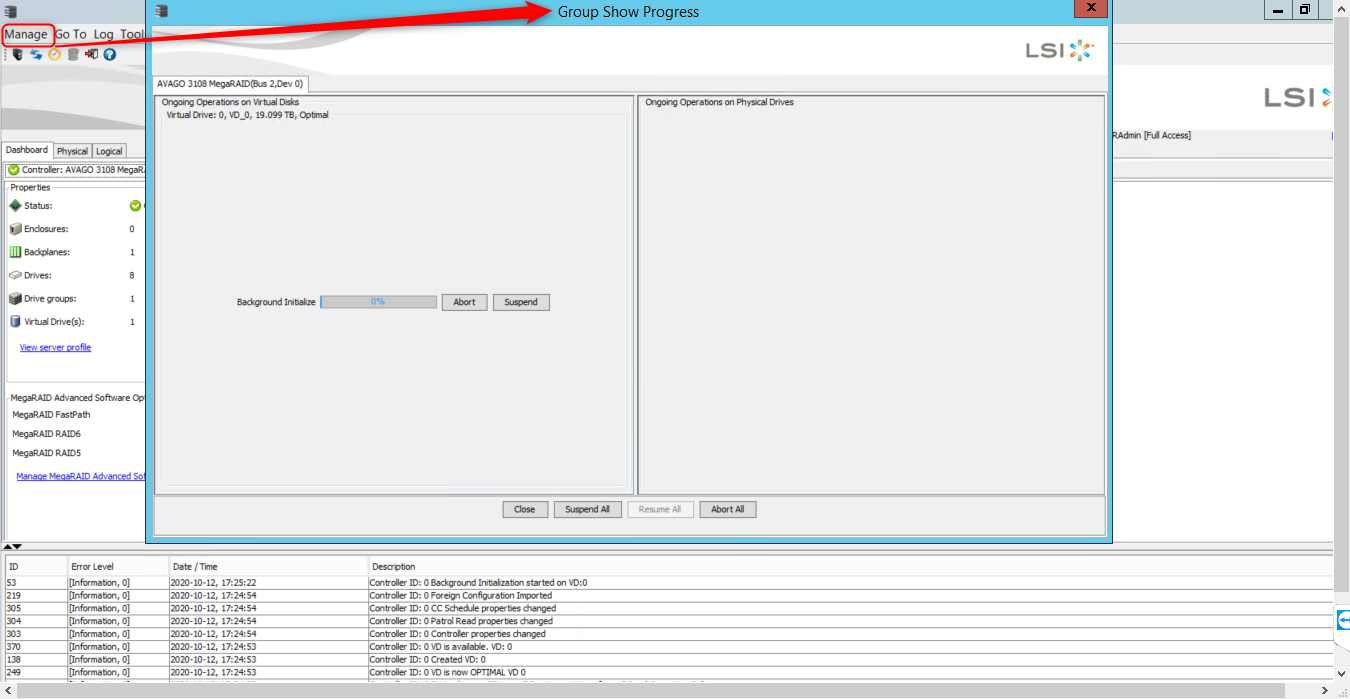
8. To monitor the progress of these operations, open the show progress window by selecting Manage > Show Progress on the menu bar. Operations on virtual drives appear in the left panel of the window,
The Group Show Progress window displays a percent-complete indicator for drive rebuilds. Rebuilds might take a long time to complete. An up-arrow appears above the drive icon while it is being rebuilt.
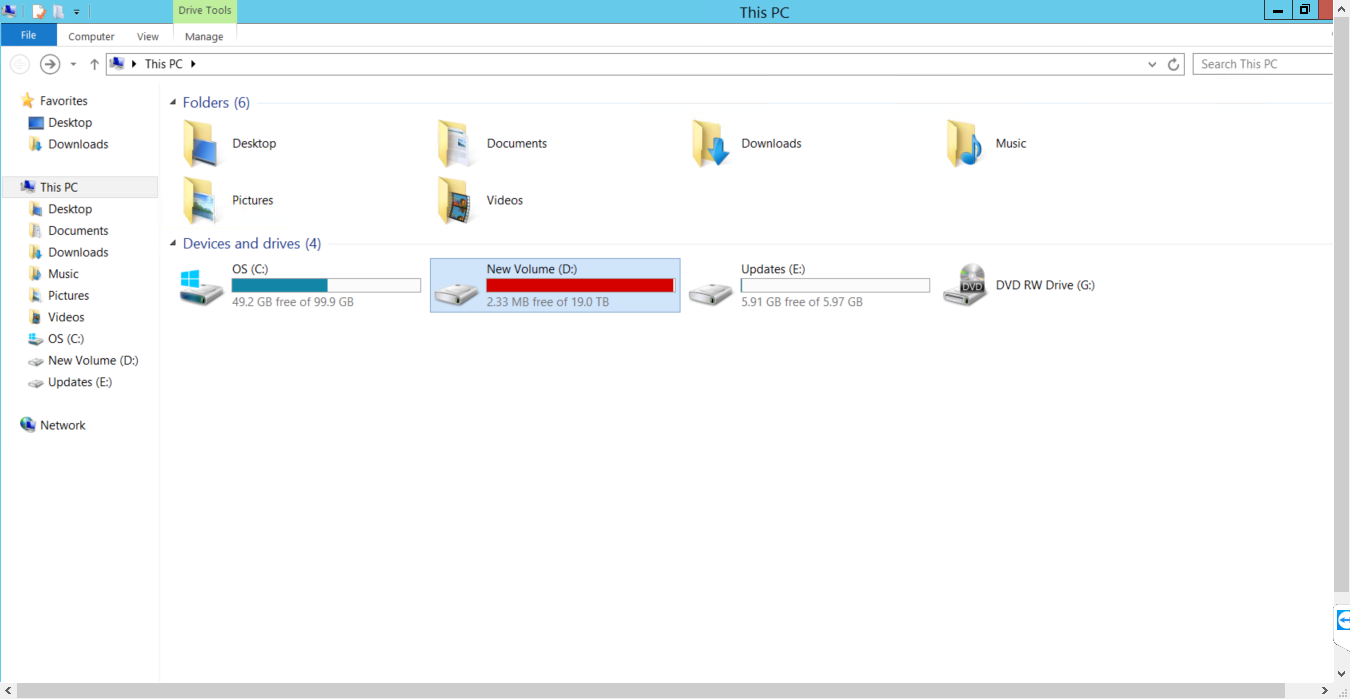
9. Once the intialization is complete, a New Volume (D:) with its data will be displayed in "This PC" folder.
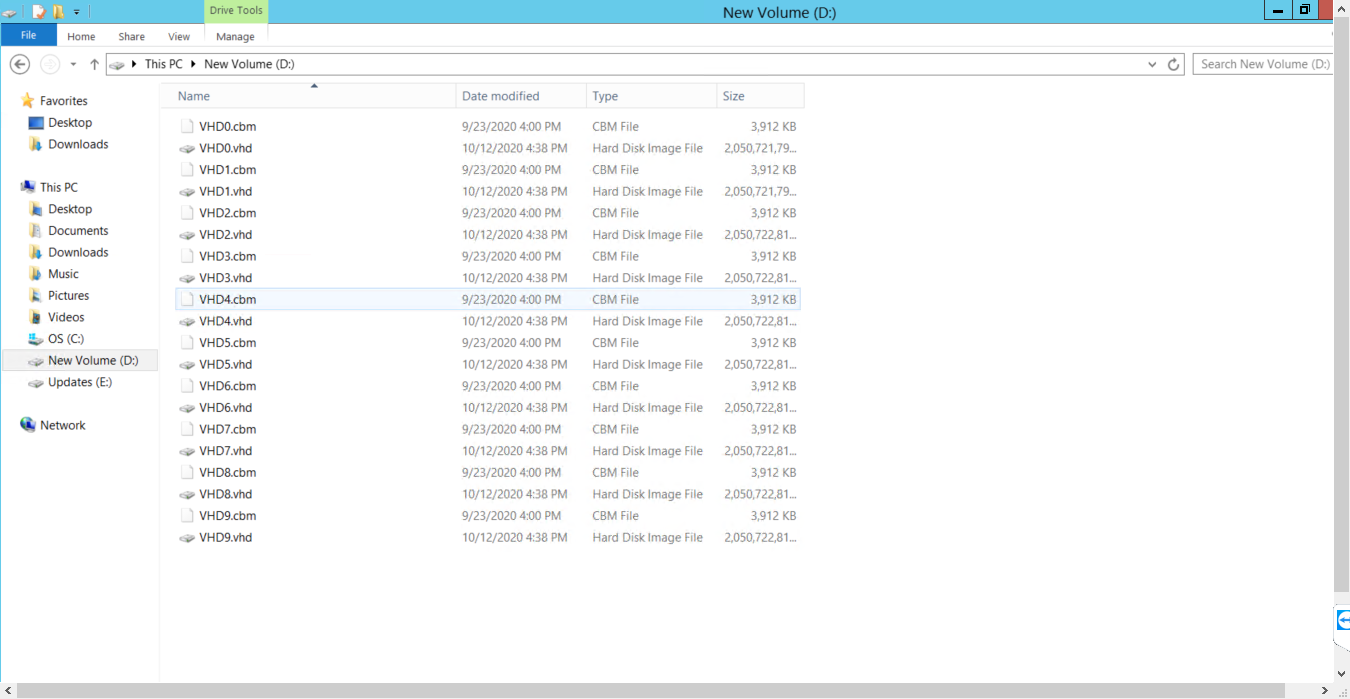
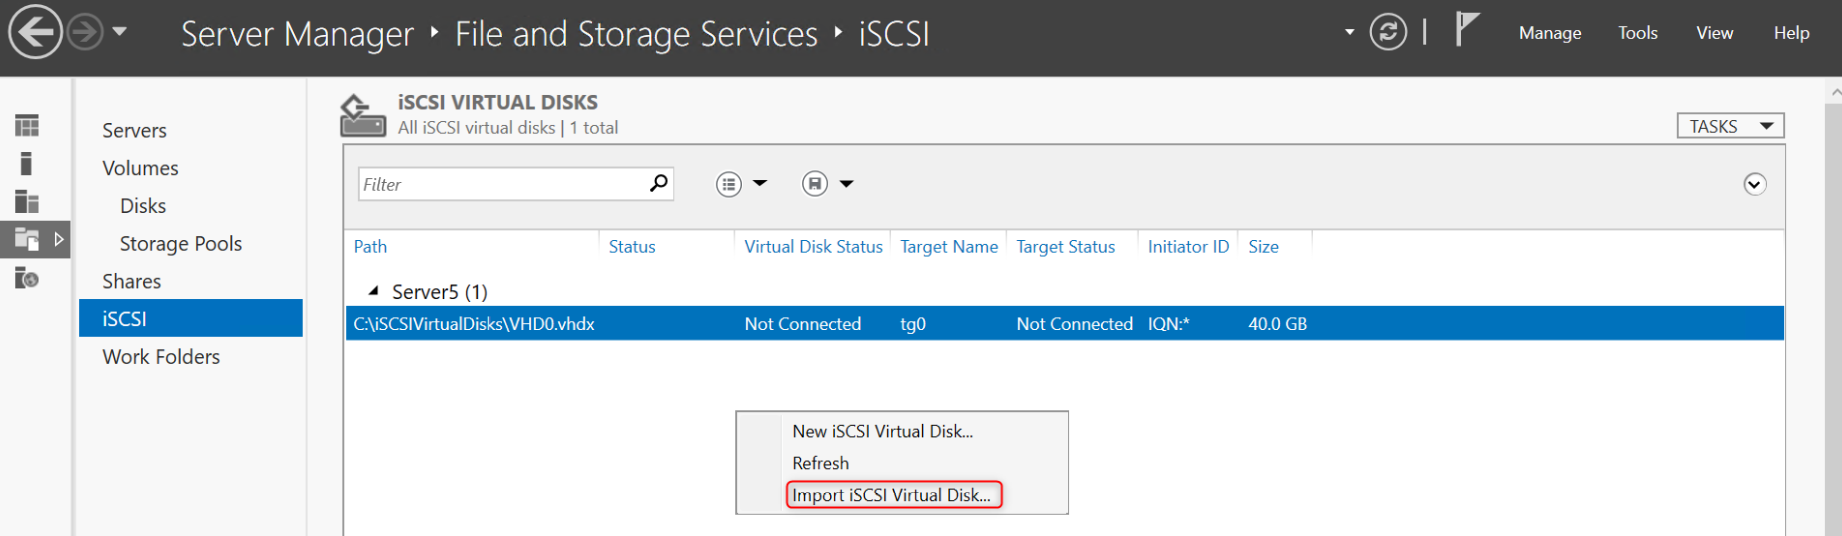
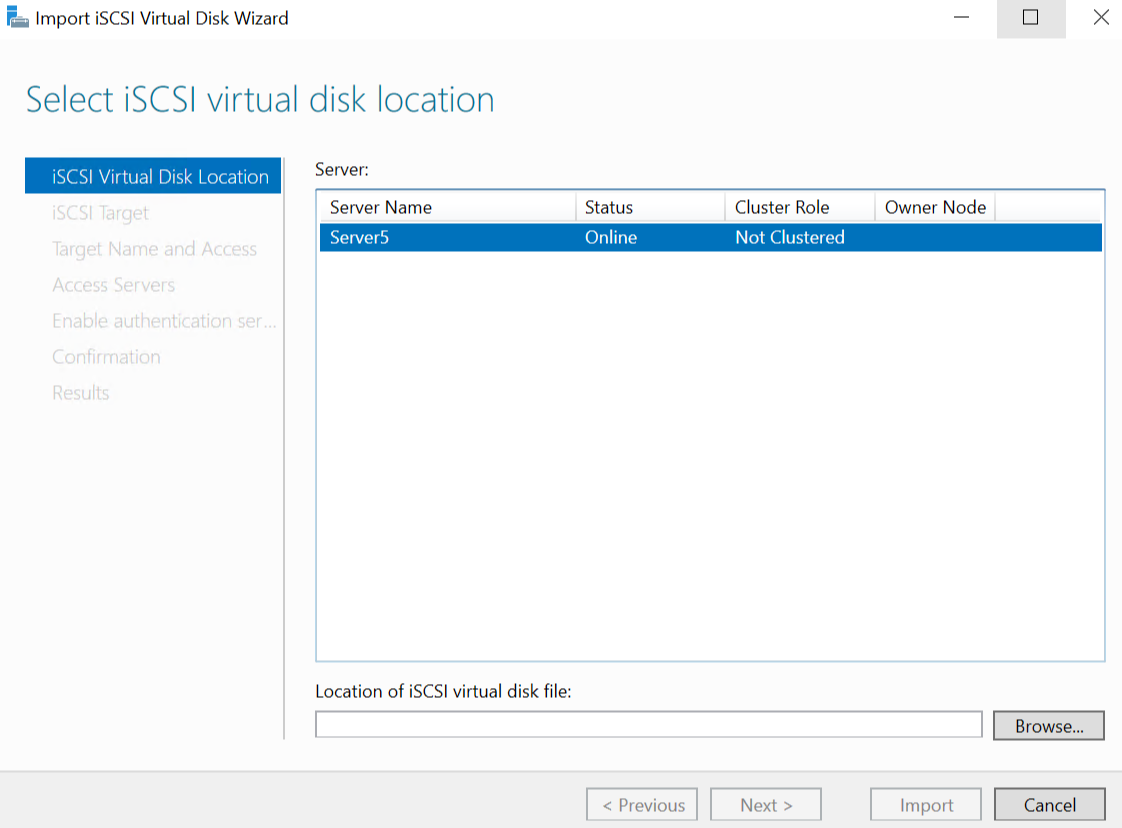
10. Open Service Manager and Import Virtual disks (VHDs):
Go to iSCSI menu > right click in the Server page and select "Import iSCSI Virtual Disk" > follow the importing process from the Virtual Disk Wizard window.
11. Last step is to import the old configuration of the BVMS software after setting the same IP address of the machine.