
A DIP 5000 AIO is configured as a JBOD box and if one drive goes bad then you will have to replace that drive and all the data will be lost on the faulty HDD.
Step-by-step guide
Note: Please make sure that you turned off your unit before following the next steps
Step 1: Replace the faulty drive, insert the additional or new hard drive
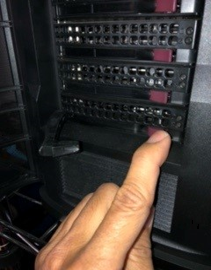
1. Press the red button of the defective or empty slot
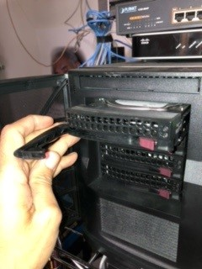
2. Hold the handle and pull the hard drive carrier out of the unit
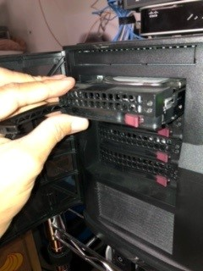
3. After inserting the new drive on the carrier, put the carrier back to the slot
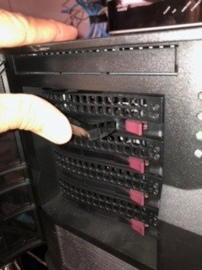
4. Make sure to return the handle to its original position and it is secure
Step 2: Log on Windows with admin rights
Start the system and log in the Windows environment using the sys admin credentials
-
User: BVRAdmin
-
Password : WSS4Bosch

Step 3: Proceed to Server Manager
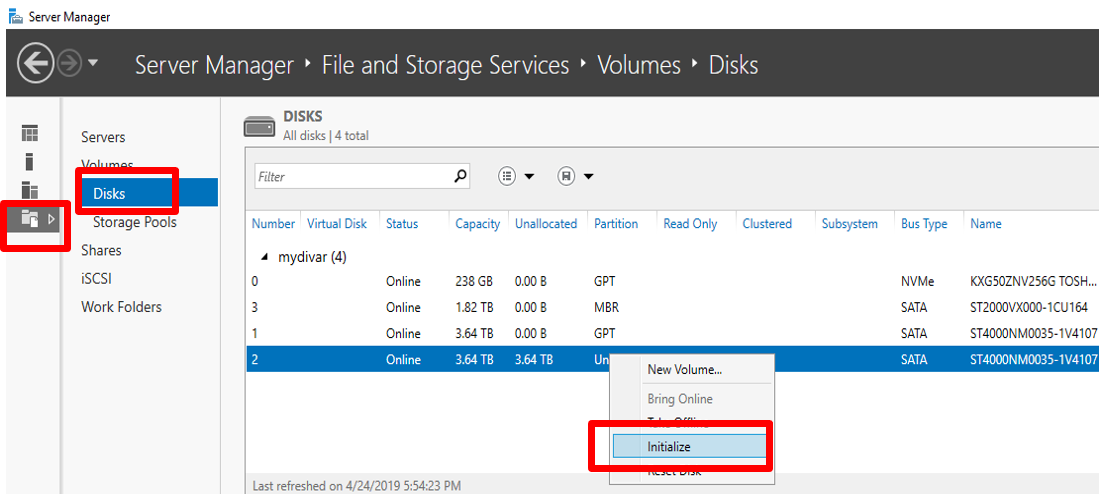
Open Server Manager and navigate to File and Storage Services
-
Select the Disks -> the new HDD will have the Partition status Unknown -> select the HDD, right click and select Initialize
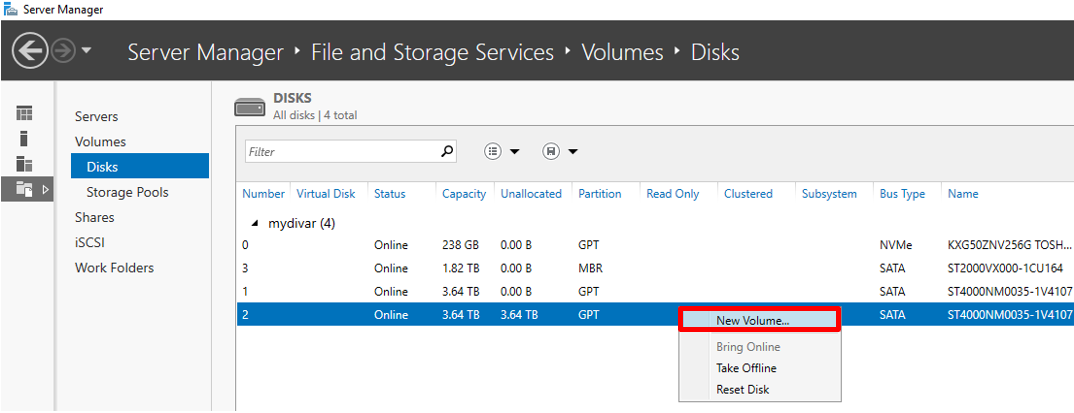
Step 4: Creating the New drive using New Volume Wizard
To create a new volume on the newly added HDD, right click on it again and select New Volume
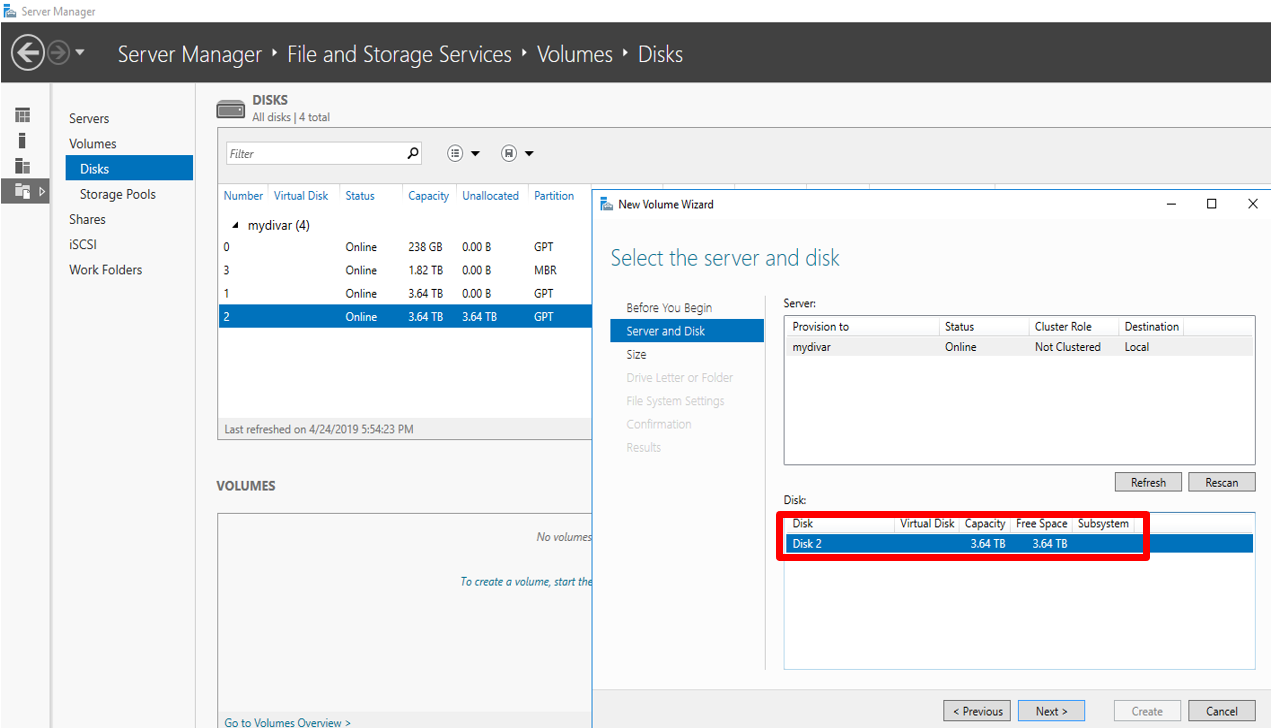
The New Volume Wizard will appear, select the drive you want to configure-> next-> allow all the space -> next
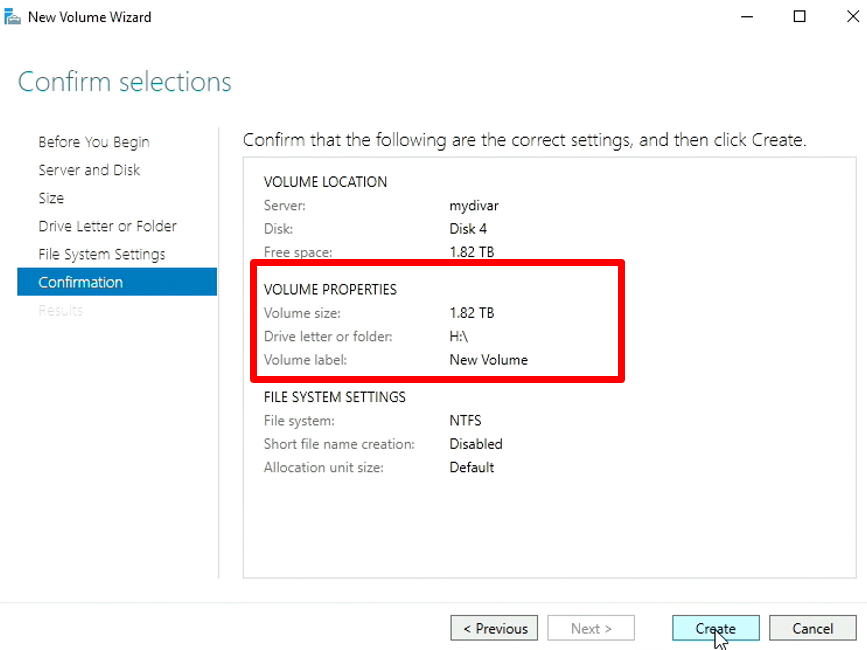
Note the letter allocated to the drive, in our case H and make sure the values are:
-
File system = NTFS
-
Allocation unit size = DEFAULT
-
Volume label = NEW VOLUME
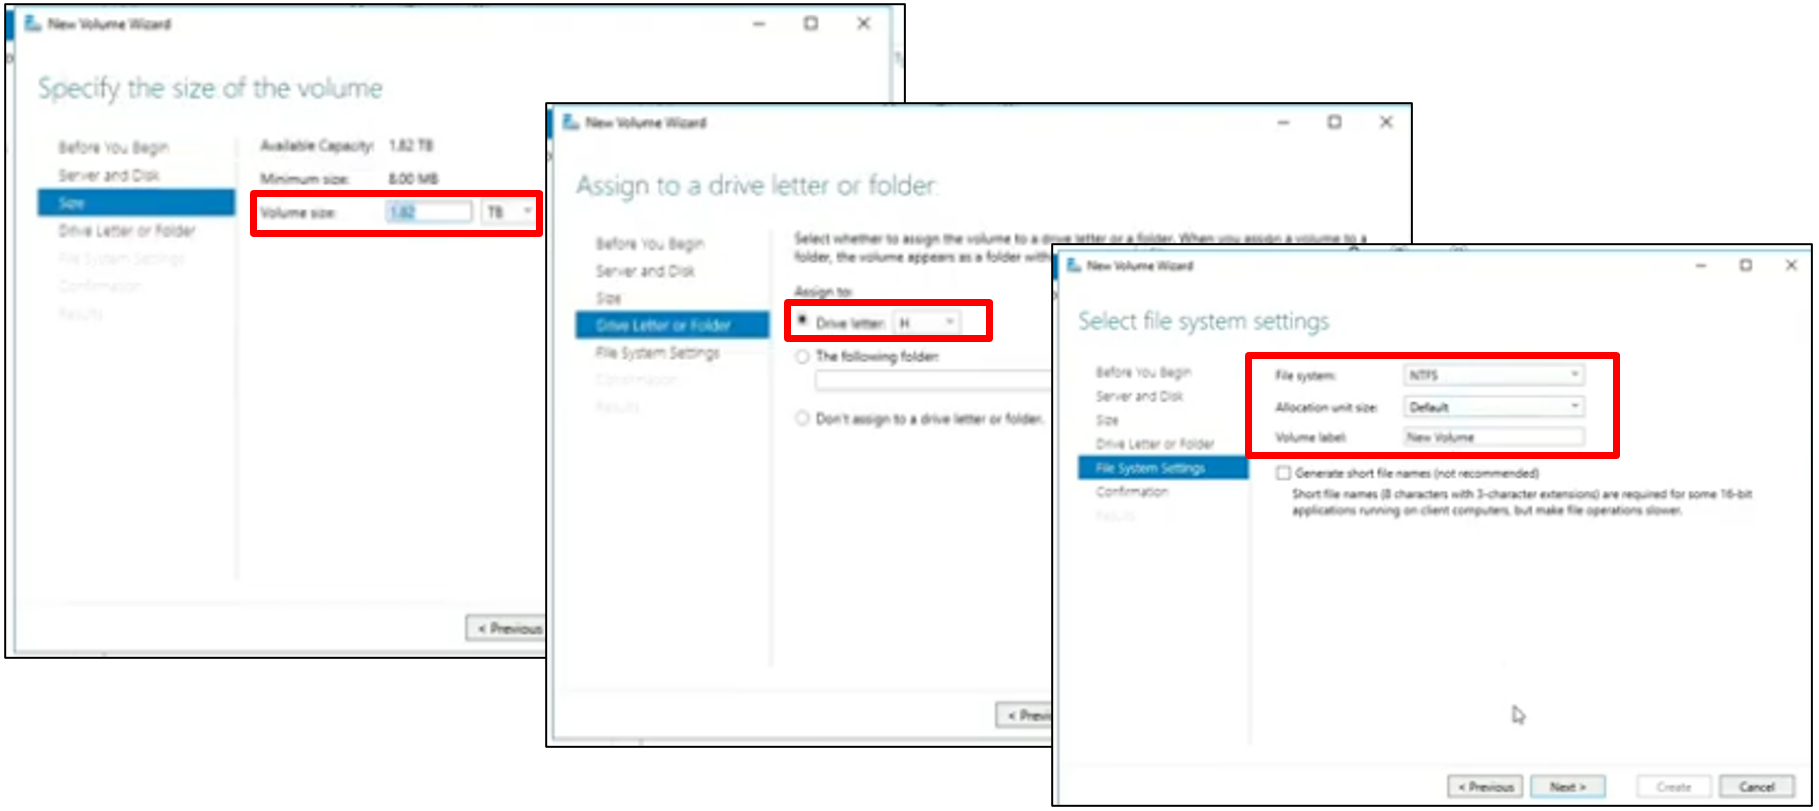
Click next and check if config is correct and select Create
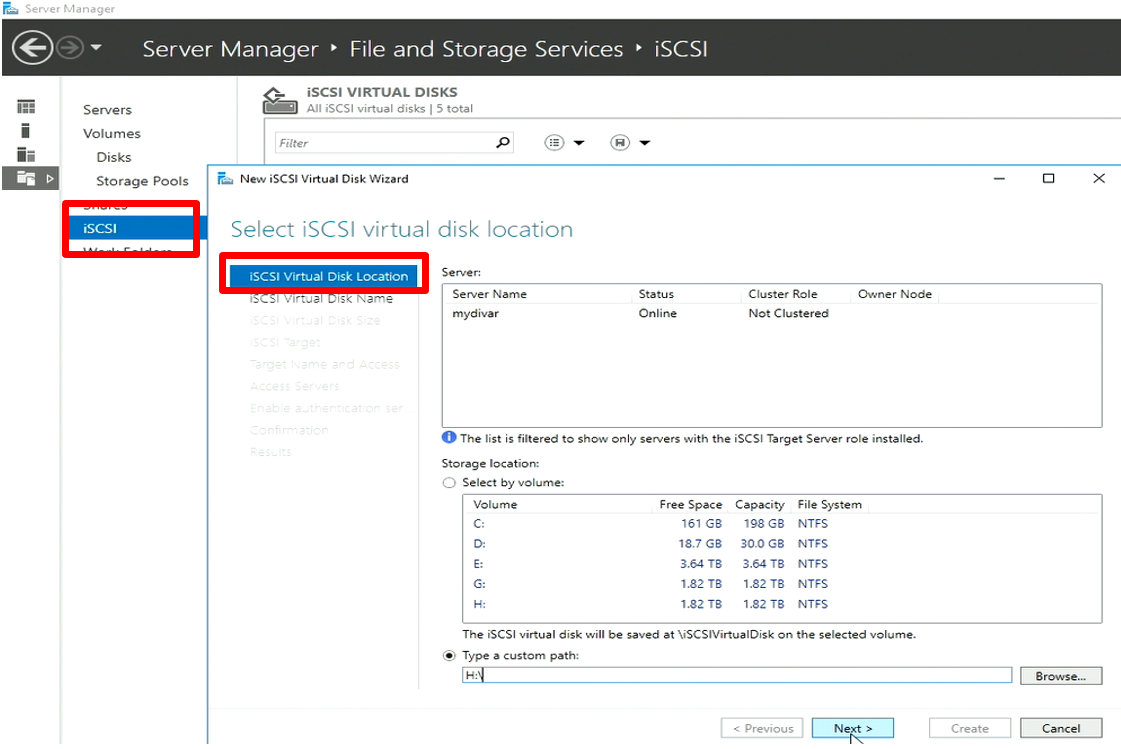
Step 5: Creating a .vhd volume for the iSCSI drive using “New iSCSI Virtual Disk Wizard”
Go to iSCSI in the same list at Server Manager and right click in the iSCSI virtual Disks and select New iSCSI Virtual Disk
Add the path of the drive you created in our case H:\ select Next -> Enter a name as example vhd_H
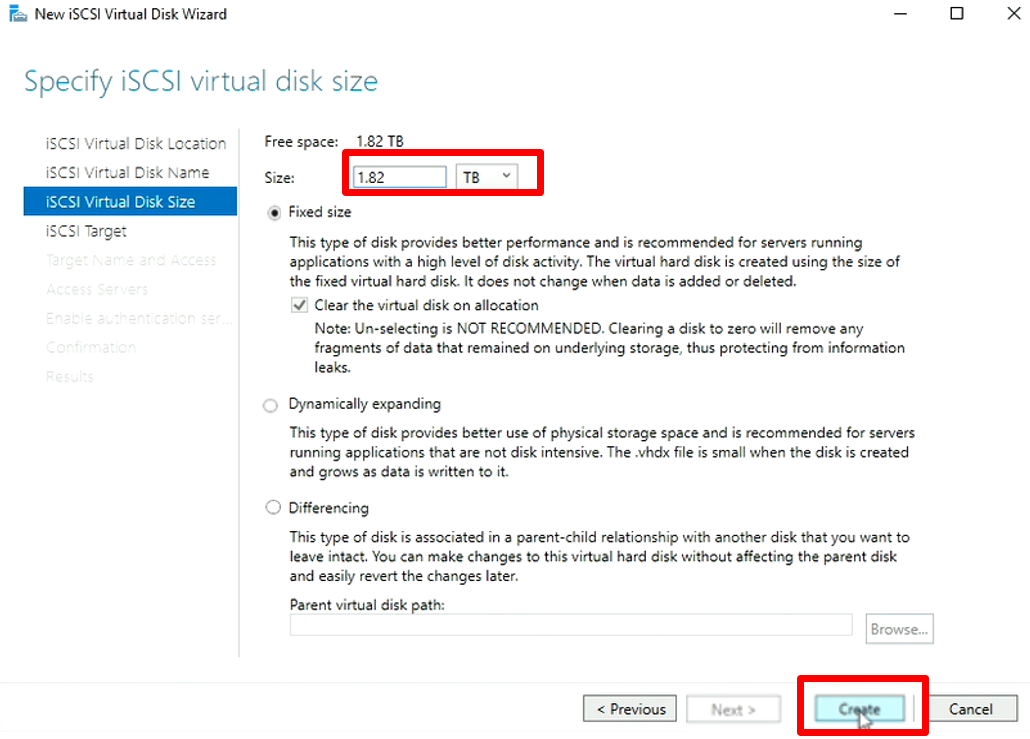
As you know, the recommended maximum size of a LUN is approximately 2TB .
Depending on the disk size you are adding in your system, you need to be sure the size of each LUN does not exceed the 2TB.
As presented in the picture the size of the HDD can be of 2TB, this will lead to the available free space for a LUN of 1,82 TB
If the HDD has a size of 4 TB for example then you can give it a Virtual Disk size of ~ 1.88 TB.
Proceed through the Wizard steps, select the existing iSCSI target
- check all the details in the confirmation tab and select the CREATE button.
Step 6: Creating a .vhd volume for the iSCSI drive in BVMS
-
Open Configuration Client
-
Go to the iSCSI drive of your local VRM
-
Right click and select Scan Target
-
-
The LUN list on TG0 should be updated

-
In TG0 select the LUN created select Format LUN
-
All LUNs should be available now.

Another way to create iSCSI Virtual Disk & LUNs after replacing an HDD on a DIVAR IP 5000 AIO can be done by using Disk Management, Service Management and BVMS Configuration Client by following the steps from this article: