
Question
What to consider when using the NDA-3080-CND Conduit adapter for DINION inteox 7100i IR installation?
Answer
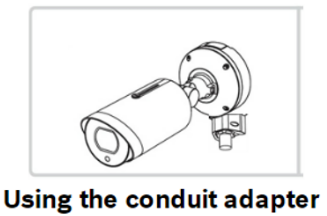
When using the conduit adapter NDA-3080-CND.pdf for the installation, be sure to:
-
For protection against water ingress we recommend to avoid top entry for the conduit adapter and use the side and bottom entry position
-
Mark the position of the hole of the surface
-
Drill the hole with the appropriate diameter drill
-
Install a plug in the hole
-
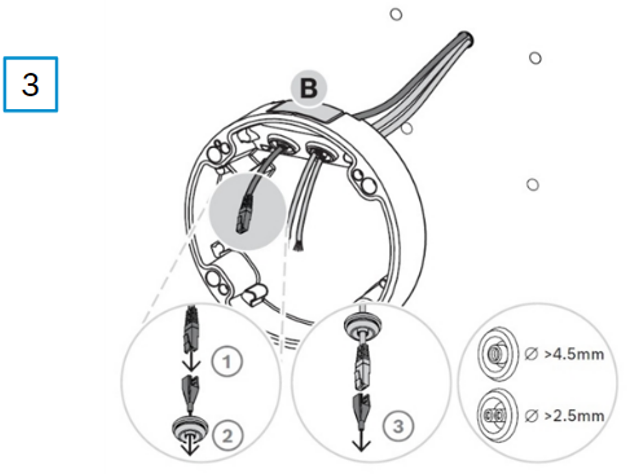
Put the cable through the hole of the conduit plate
-
Attach the conduit plate with the conduit plate adapter to the surface
-
Install the conduit cover on the conduit plate. Tighten the two screws with the TR15 Allen key
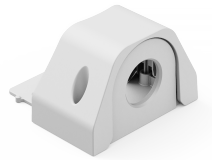
NDA-3080-CND:
RJ45 punch-through aid ( ![]()
![]()
![]()
![]()
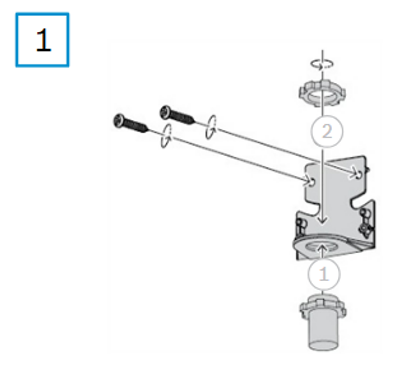
-
Put the RJ45 punch-through aid on the network cable and use it to go through the rubber grommet
-
Do the same process for the power cable and punch through the rubber grommet
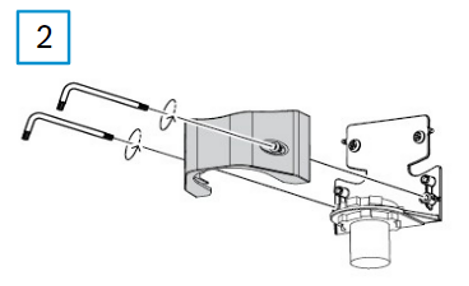
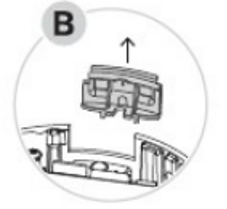
Mount it
-
Fix the rubber grommets in both cables inlets and make sure that the cable inlets are firmly closed. Mount the wall plate to the conduit adapter NDA-3080-CND
Wall plate
-
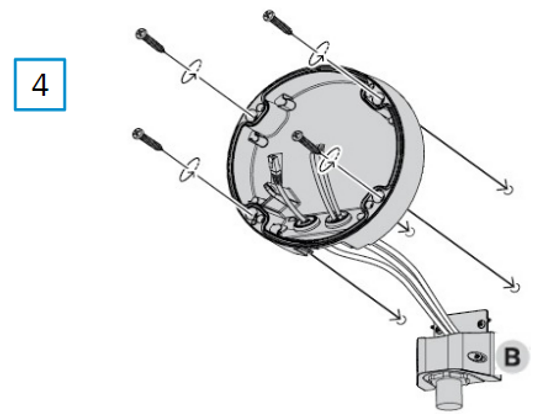
Attach the mounting plate to the surface with 4 screws
Compatibility with various existing mounting options
-
Please find all the fitting accessories in the Quick Selection Guide
Other useful information:
-
Cable management
-
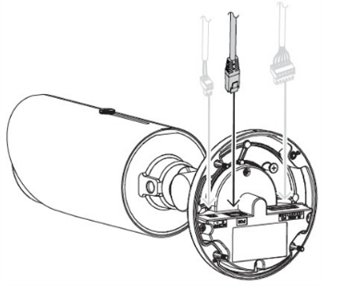
Connect the Ethernet cable to the unit
-
Connect the power cable in case no PoE is used
-
-
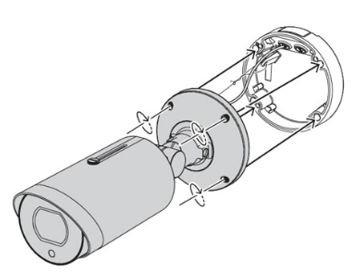
Installing the camera base
-
Mount the unit on its base
-
Tighten the four screws
-
-
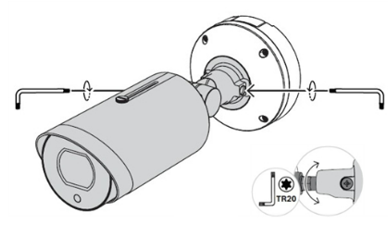
Angle adjustment
-
Using the Allen key, you can loose the camera articulation nuts to adjust the view angle of the camera towards the desired area
-
Always you need to tighten the nuts after positioning the camera as desired
-
-
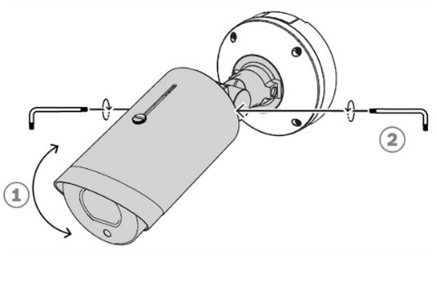
Tilt angle
-
The unit has three flexible joints used for defining camera position and view angle
-
-
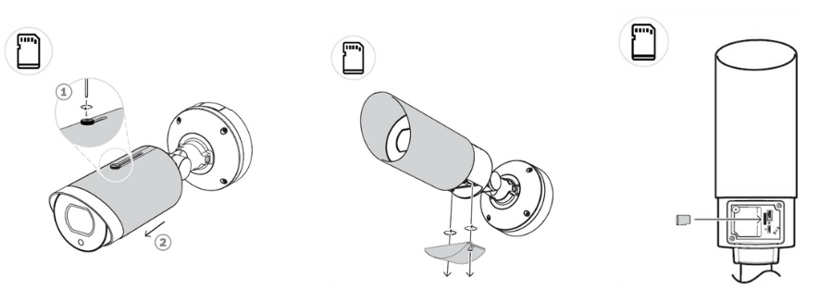
Adding a Micro SD card
-
You need to move the sun shield forward to the max position, in order to get access to the Micro SD card slot
-
Note: You will find the Reset button here as well
-
![]()
-
YouTube videos:
-
For a better understanding of using this camera, we encourage you to join our online DINION inteox 7100i IR product introduction training from Keenfinity Academy!