
🕒 This procedure takes in average ~ 5 min to complete
Preparation
-
Refer to DIP-74 installation manual before replacing components
-
The DIP-74 system supports power redundancy allowing the user to swap the power supply without shutting down the system. However, it is recommended to turn off the system power to avoid potential risks during maintenance.
Step-by-step guide
-
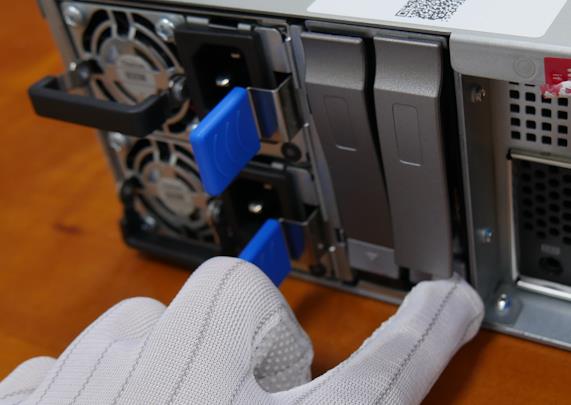
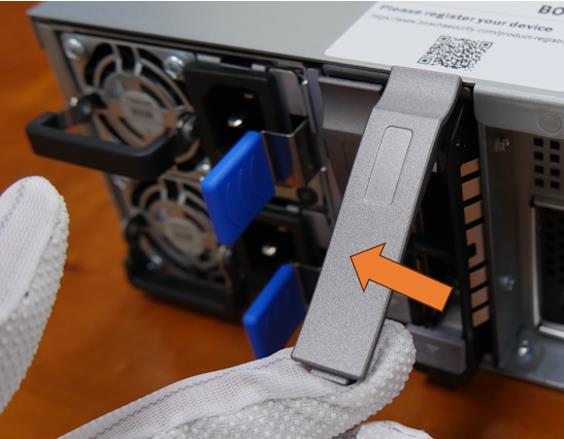
Press the release button to the bottom of the solid-state drive tray. This extends the solid-state drive tray handle.
-
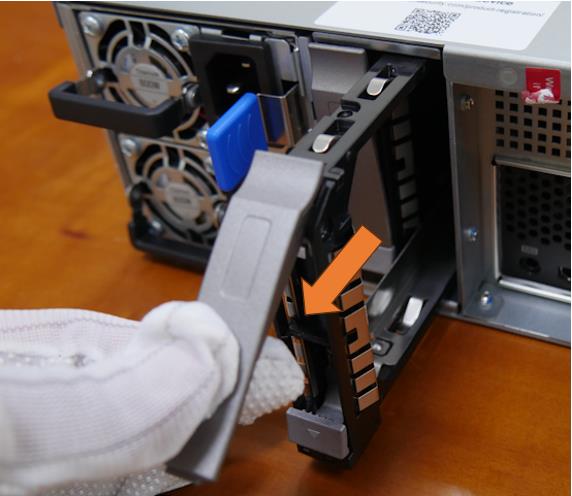
Use the handle to pull the solid-state drive tray out of the chassis.
-
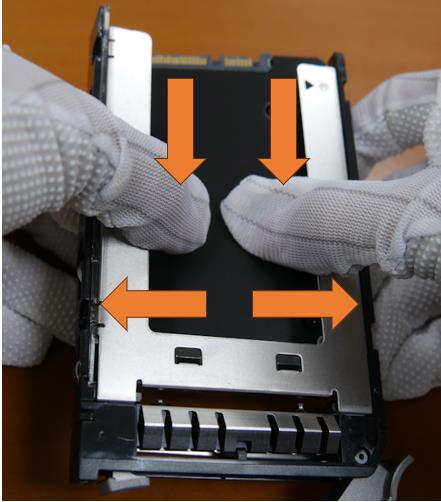
Press the 2.5” solid-state drive from the bottom of the solid-state drive tray to loosen it from the solid-state drive tray, then remove the 2.5” solid-state drive from the solid-state drive tray.
-
By finger press to remove the solid-state drive out of solid-state drive tray.
-
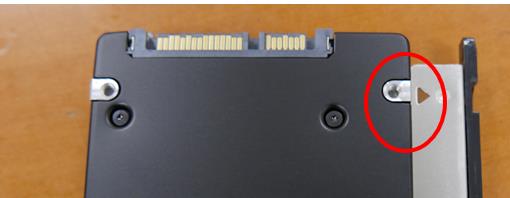
With new/replaced solid-state drive, find the location pin.
-
Move the solid-state drive into solid state-drive tray. Please make sure not using too much power when push solid-state drive into solid-state drive tray to avoid damage.
-
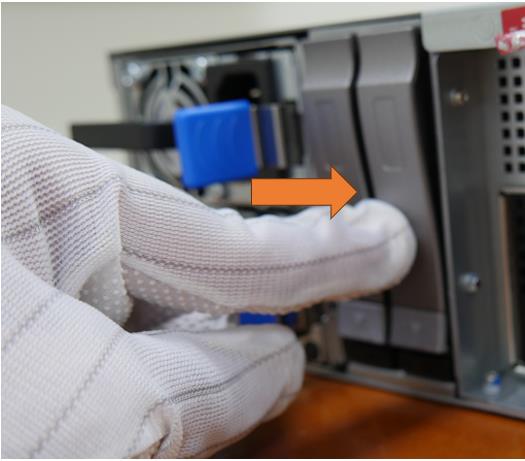
Insert the solid-state drive tray vertically into the solid-state drive bay, orienting the solid-state drive tray so that the release button is on the bottom.
-
Push the solid-state drive tray into the bay until the handle retracts and the solid-state drive tray clicks into the locked position.
Once the replacement steps are completed, check that the SSD was installed properly:
-
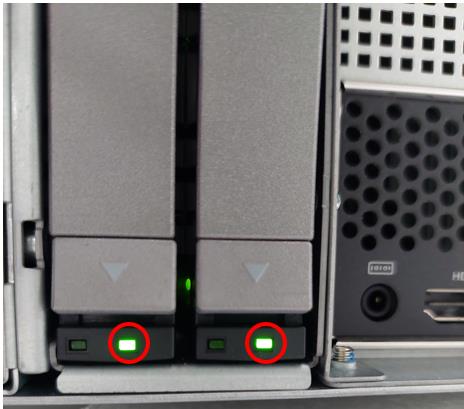
The solid-state drive bay’s LED will become green color that indicated system detected the drive when the solid-state drive installed properly.
-
Power on the system and check if storage bay’s LED is lighting with green color.
-
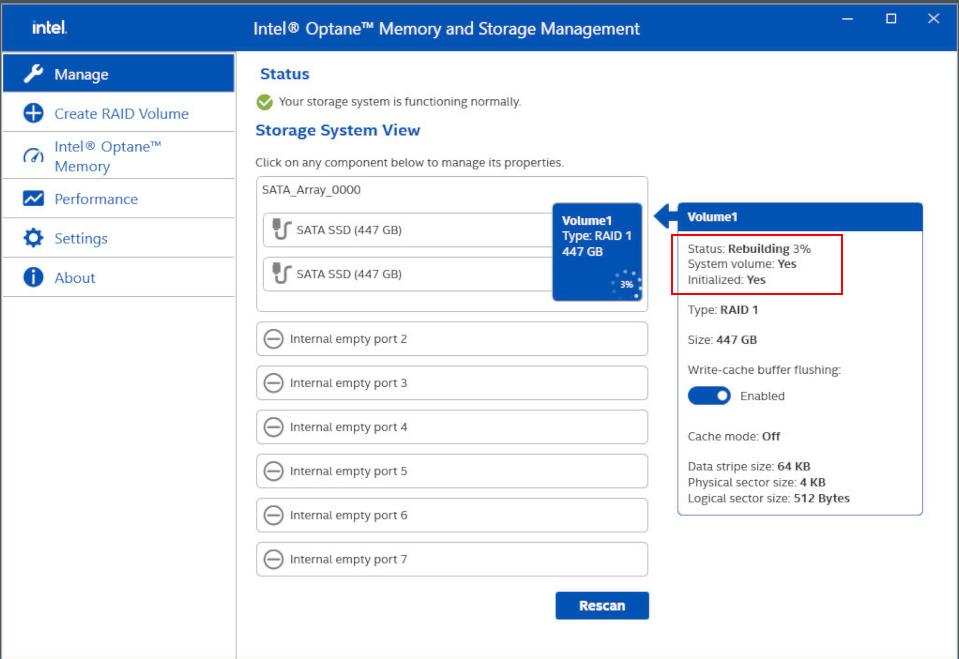
Boot into DIP-74 operating system and open Intel Optane Memory and Storage Management and check if Status is in Rebuilding.
![]()
-
How to replace the HDDs in the DIVAR IP all-in-one 7000 (gen4)?
-
How to rebuild RAID 5 after replacing a damaged HDD on the RAID 5 pool of the DIP AIO 7000 gen4?