
This guide explains how to onboard a FLEXIDOME multi+ 7100i with an attached AUTODOME 7100i IR into Milestone XProtect using the Hardware Wizard.
Step-by-step guide
Step 1 – Sign In to the XProtect Management Client
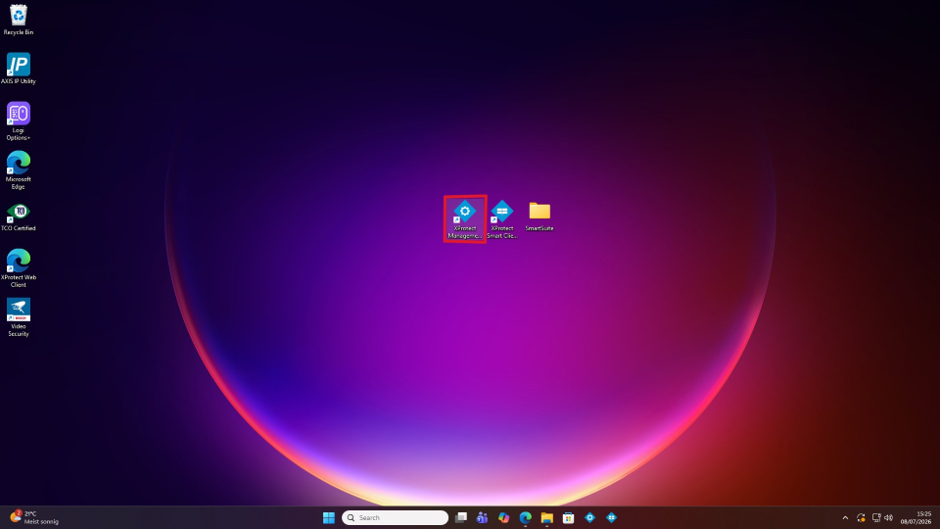
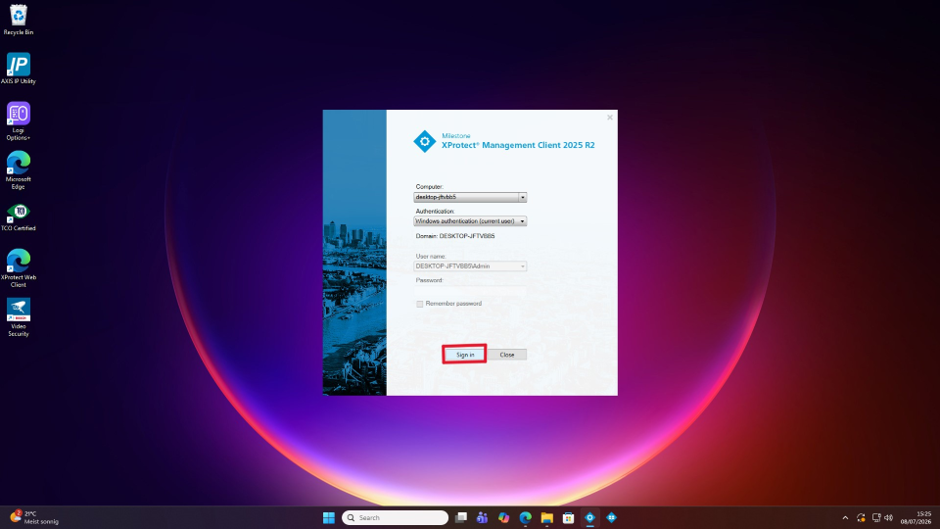
Launch the Milestone XProtect Management Client and sign in using an account with administrator privileges.
Step 2 – Select the Recording Server
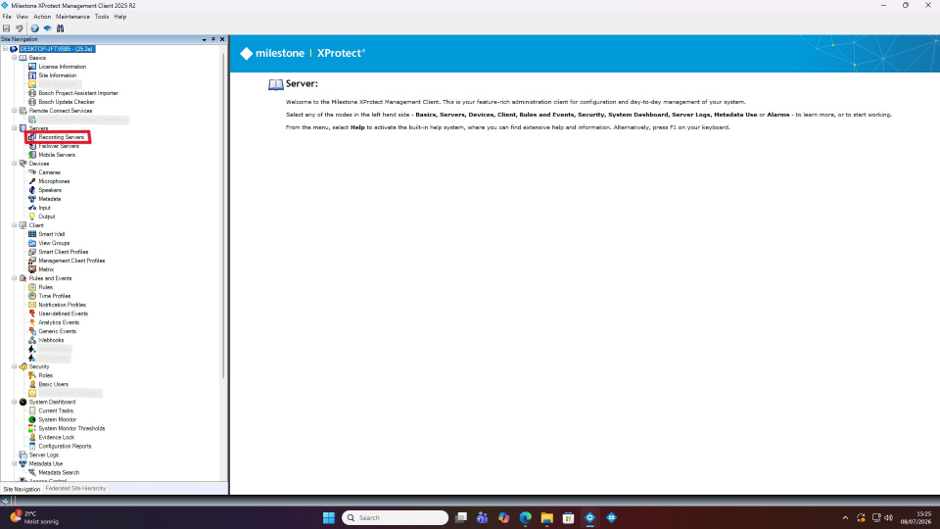
In the navigation pane, locate and select the Recording Server to which you would like to add the cameras.
Step 3 – Start the Add Hardware Wizard
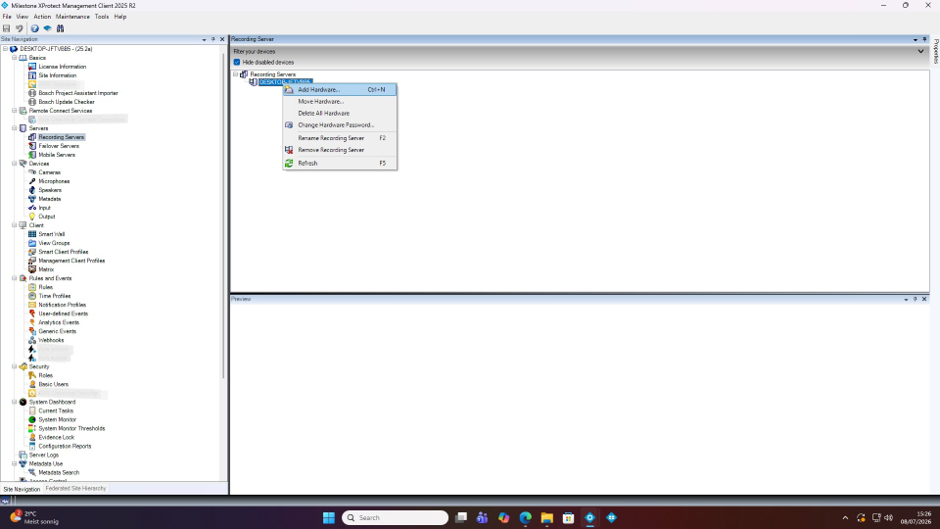
Right-click the selected Recording Server and choose Add Hardware.
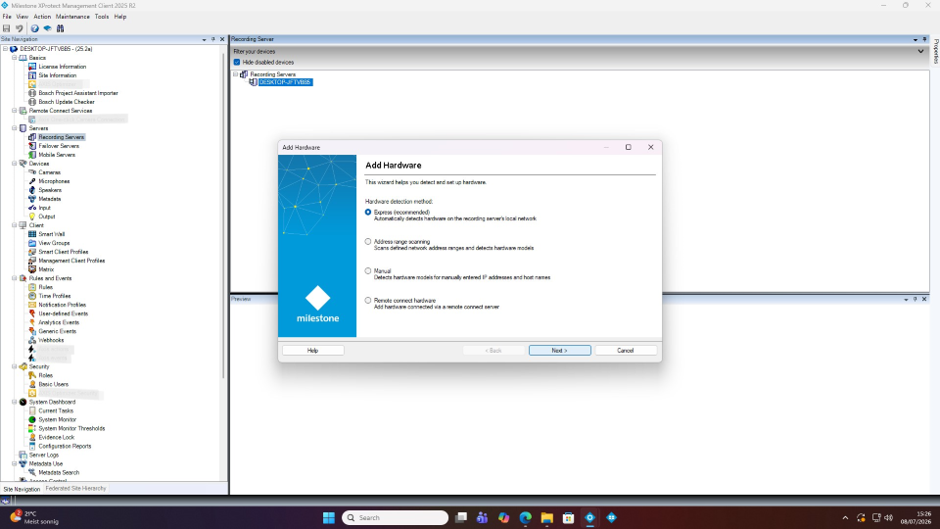
Step 4 – Select Express Mode
In the Add Hardware Wizard, select Express mode and click Next.
Express mode automatically scans the network for supported devices using the credentials you provide.
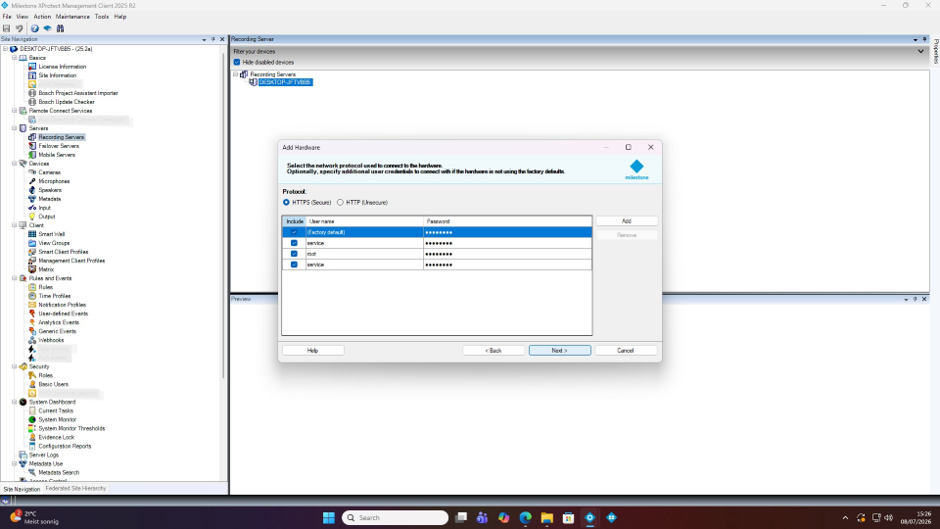
Step 5 – Enter Camera Credentials
Enter the camera username (service) and the corresponding password.
For secure communication, it is recommended to select HTTPS as the connection method. Click Next to continue.
XProtect will now initiate a network scan based on the provided credentials and network parameters.
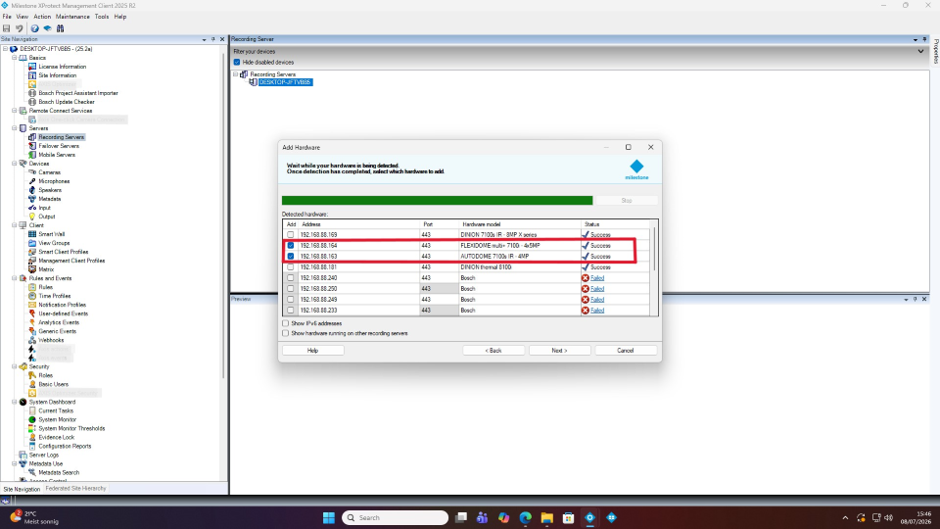
Step 6 – Select the Cameras to Add
Once the search has completed, a list of detected devices will be displayed.
Select the FLEXIDOME multi+ 7100i and AUTODOME 7100i IR, then click Next.
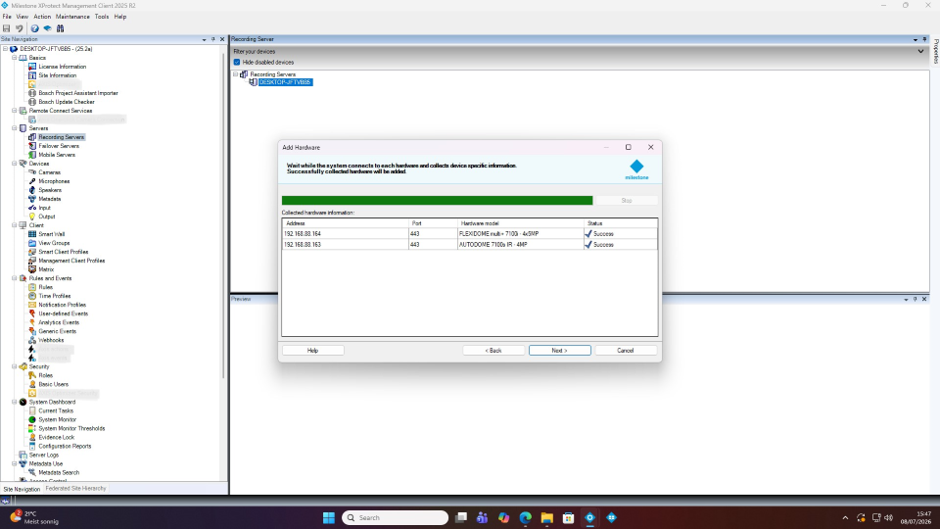
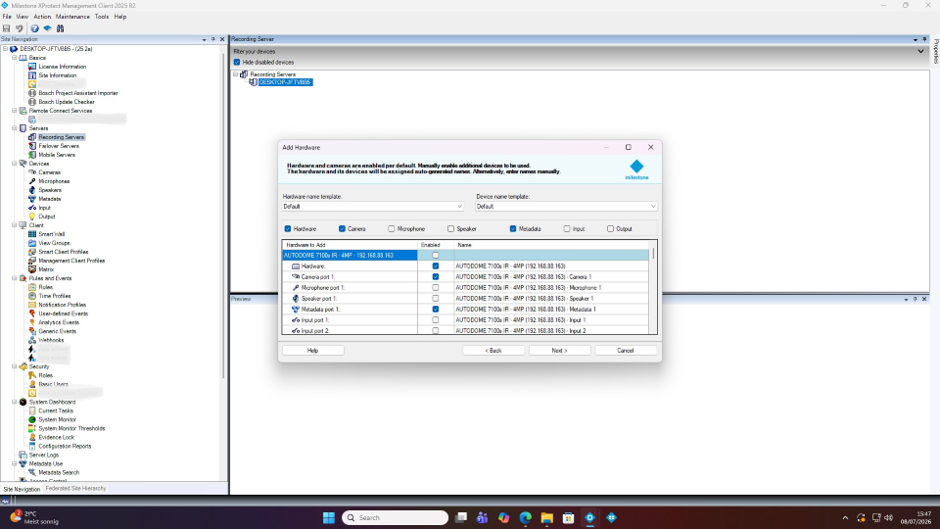
Step 7 – Select Camera Capabilities
The cameras have now been successfully detected by XProtect.
Review the available camera capabilities and select the parameters you would like to activate and use within XProtect, such as video streams, audio streams, inputs, outputs, events, and metadata where applicable.
Click Next to proceed.
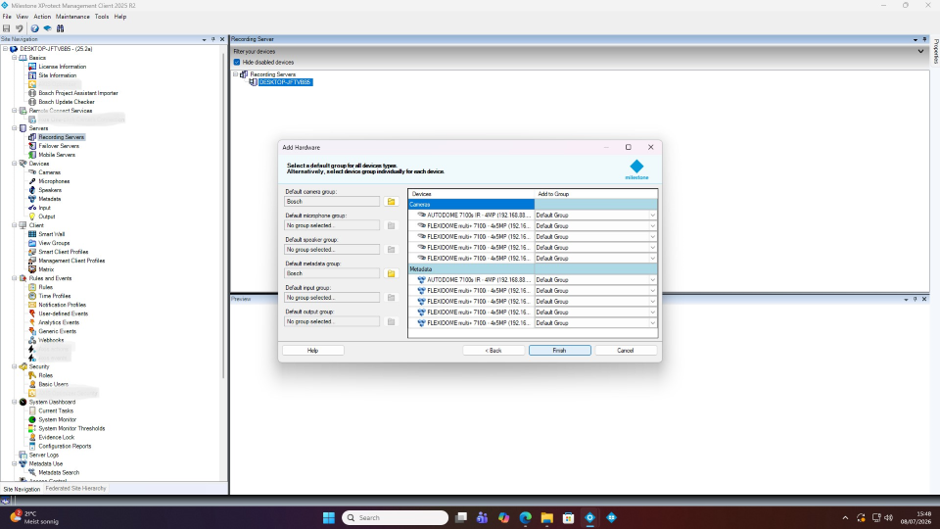
Step 8 – Configure Device Organization
Create and/or select the folders in which you would like to organize the activated camera components and channels.
Once the desired folder structure has been configured, click Finish to complete the onboarding process.
Step 9 – Verify Successful Camera Addition
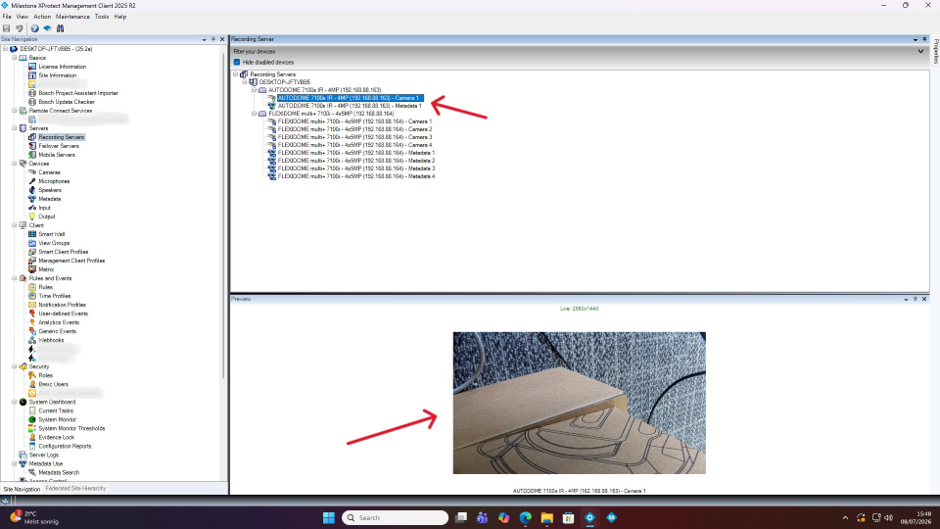
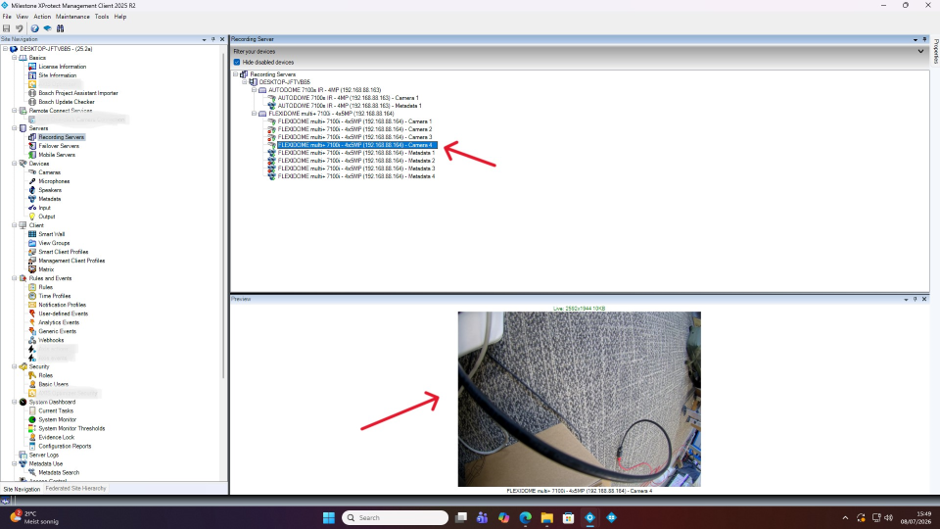
The cameras are now available in your XProtect system.
Verify that the FLEXIDOME multi+ 7100i and AUTODOME 7100i IR channels appear correctly in the device tree. A live video preview tile should be visible at the bottom of the Management Client.
Step 10 – Open XProtect Smart Client
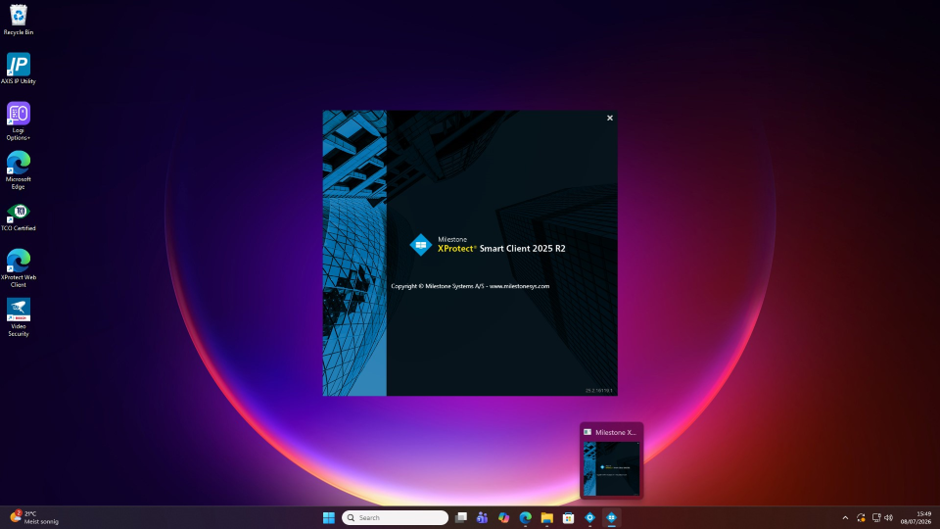
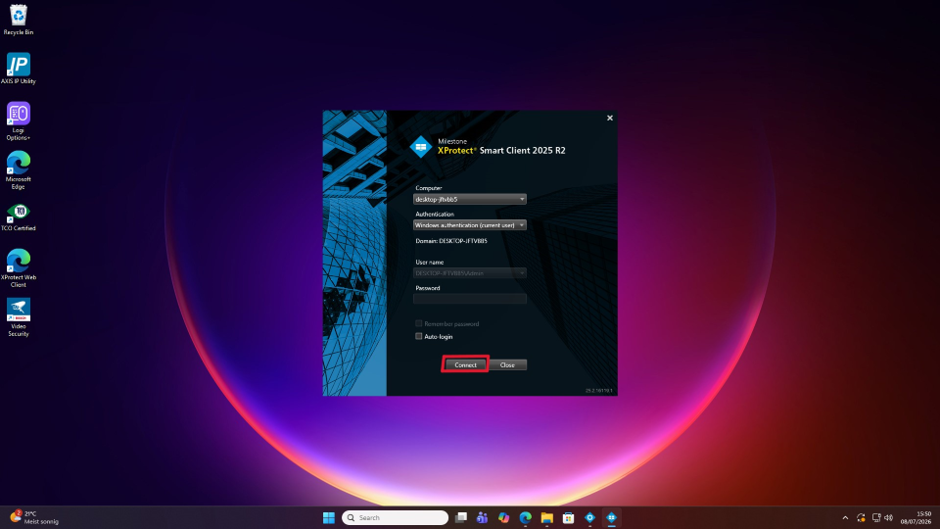
Return to your desktop and launch the Milestone XProtect Smart Client.
Sign in using your operator credentials.
Step 11 – Create an Operator View
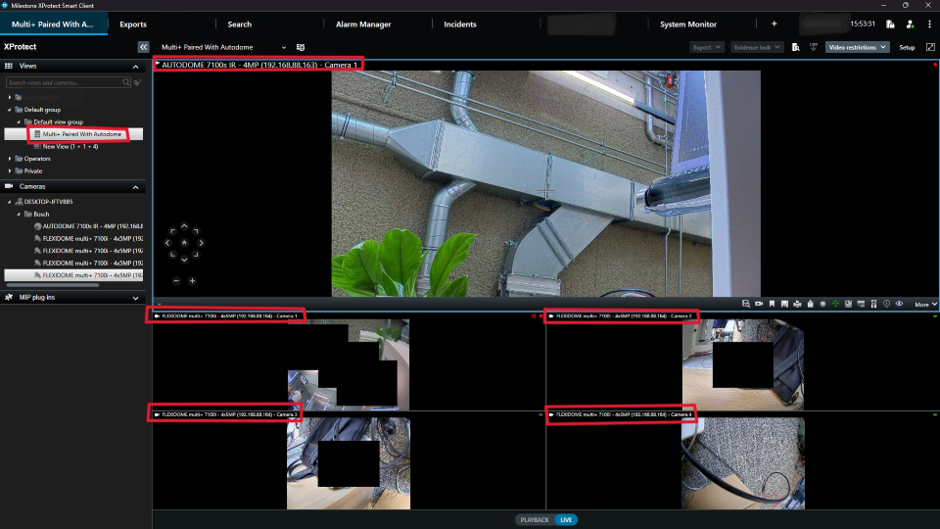
Create a new view and drag-and-drop the newly onboarded camera channels into the layout as desired.
You can arrange the four FLEXIDOME multi+ sensor streams and the AUTODOME 7100i IR stream in any configuration that best supports your operational requirements.
Your camera system is now ready for live monitoring, recording, playback, and operator control within Milestone XProtect.
Expected Result
After successful onboarding, the FLEXIDOME multi+ 7100i (4 channels) with integrated AUTODOME 7100i IR (1 channel) will be available within XProtect as separate camera streams that can be viewed and managed independently.
The combination provides:
-
Four 5 MP FLEXIDOME multi+ sensors for comprehensive situational awareness.
-
One centrally mounted 4 MP AUTODOME 7100i IR for PTZ operation and detailed scene inspection.
-
Seamless operation, recording and event management within the Milestone XProtect environment.
-
If configured: analytics overlays, object icons, trajectory lines for all camera-detected attributes.